


BAG END MOD Installation
MAKE SURE PINBALL MACHINE IS OFF AND GLASS IS REMOVED.
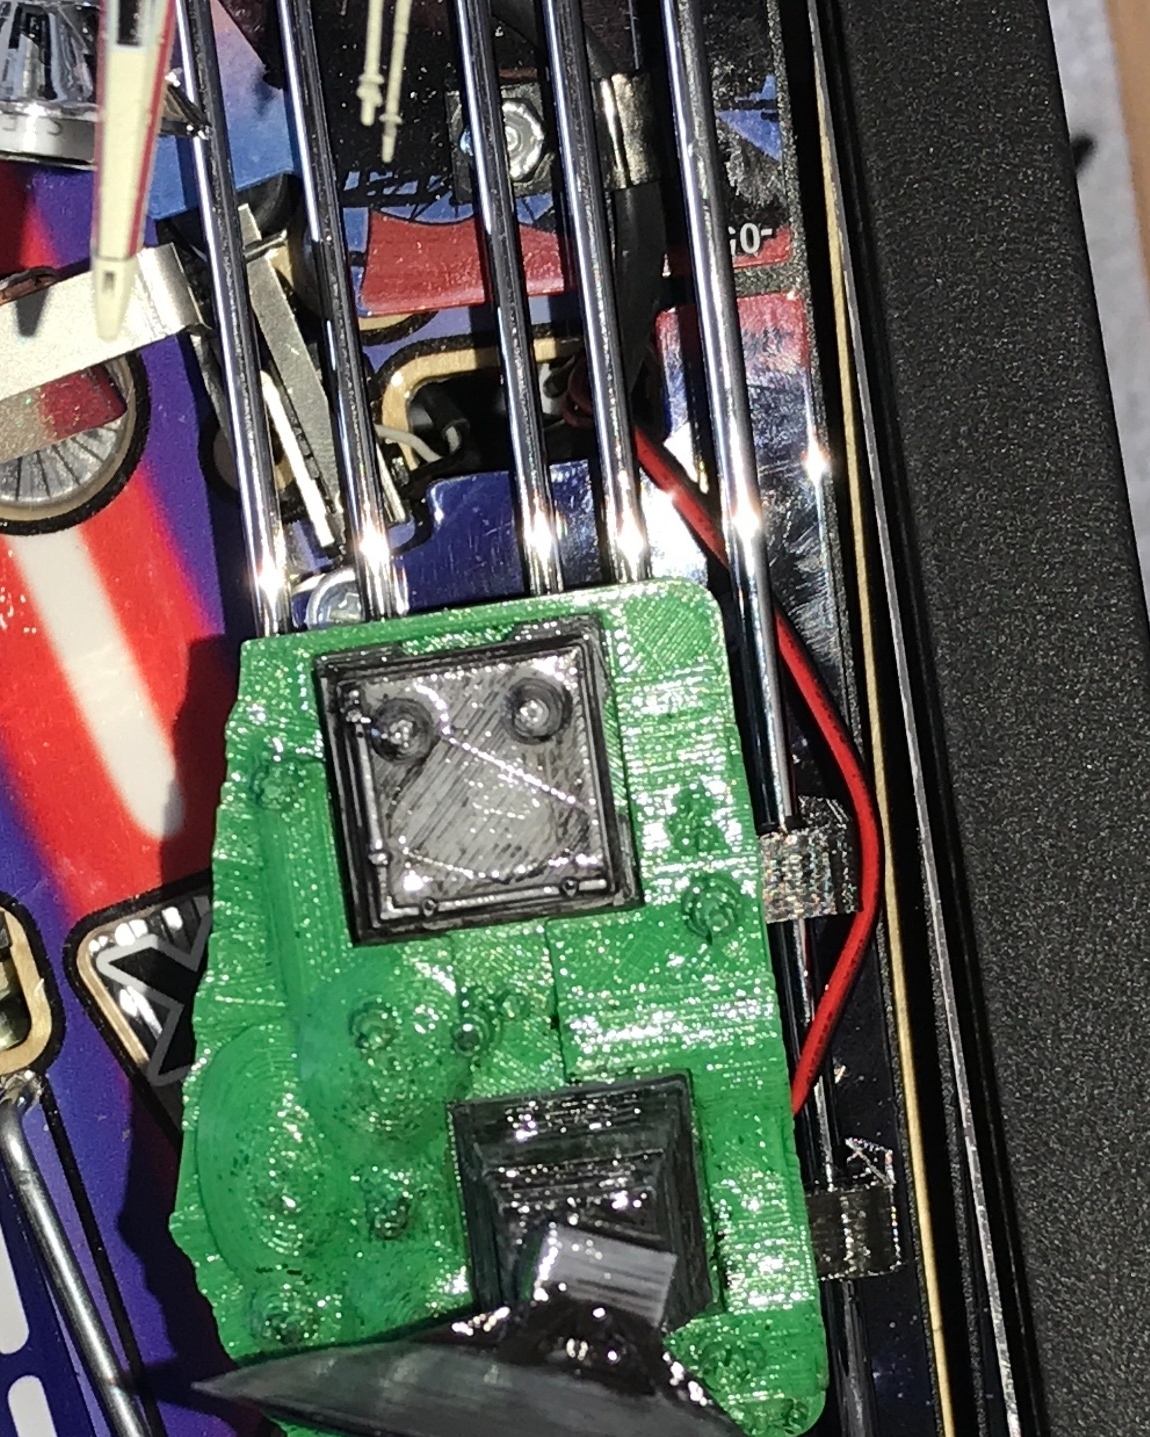
Remove nylon nuts, mount Bag End mod and replace nylon nuts
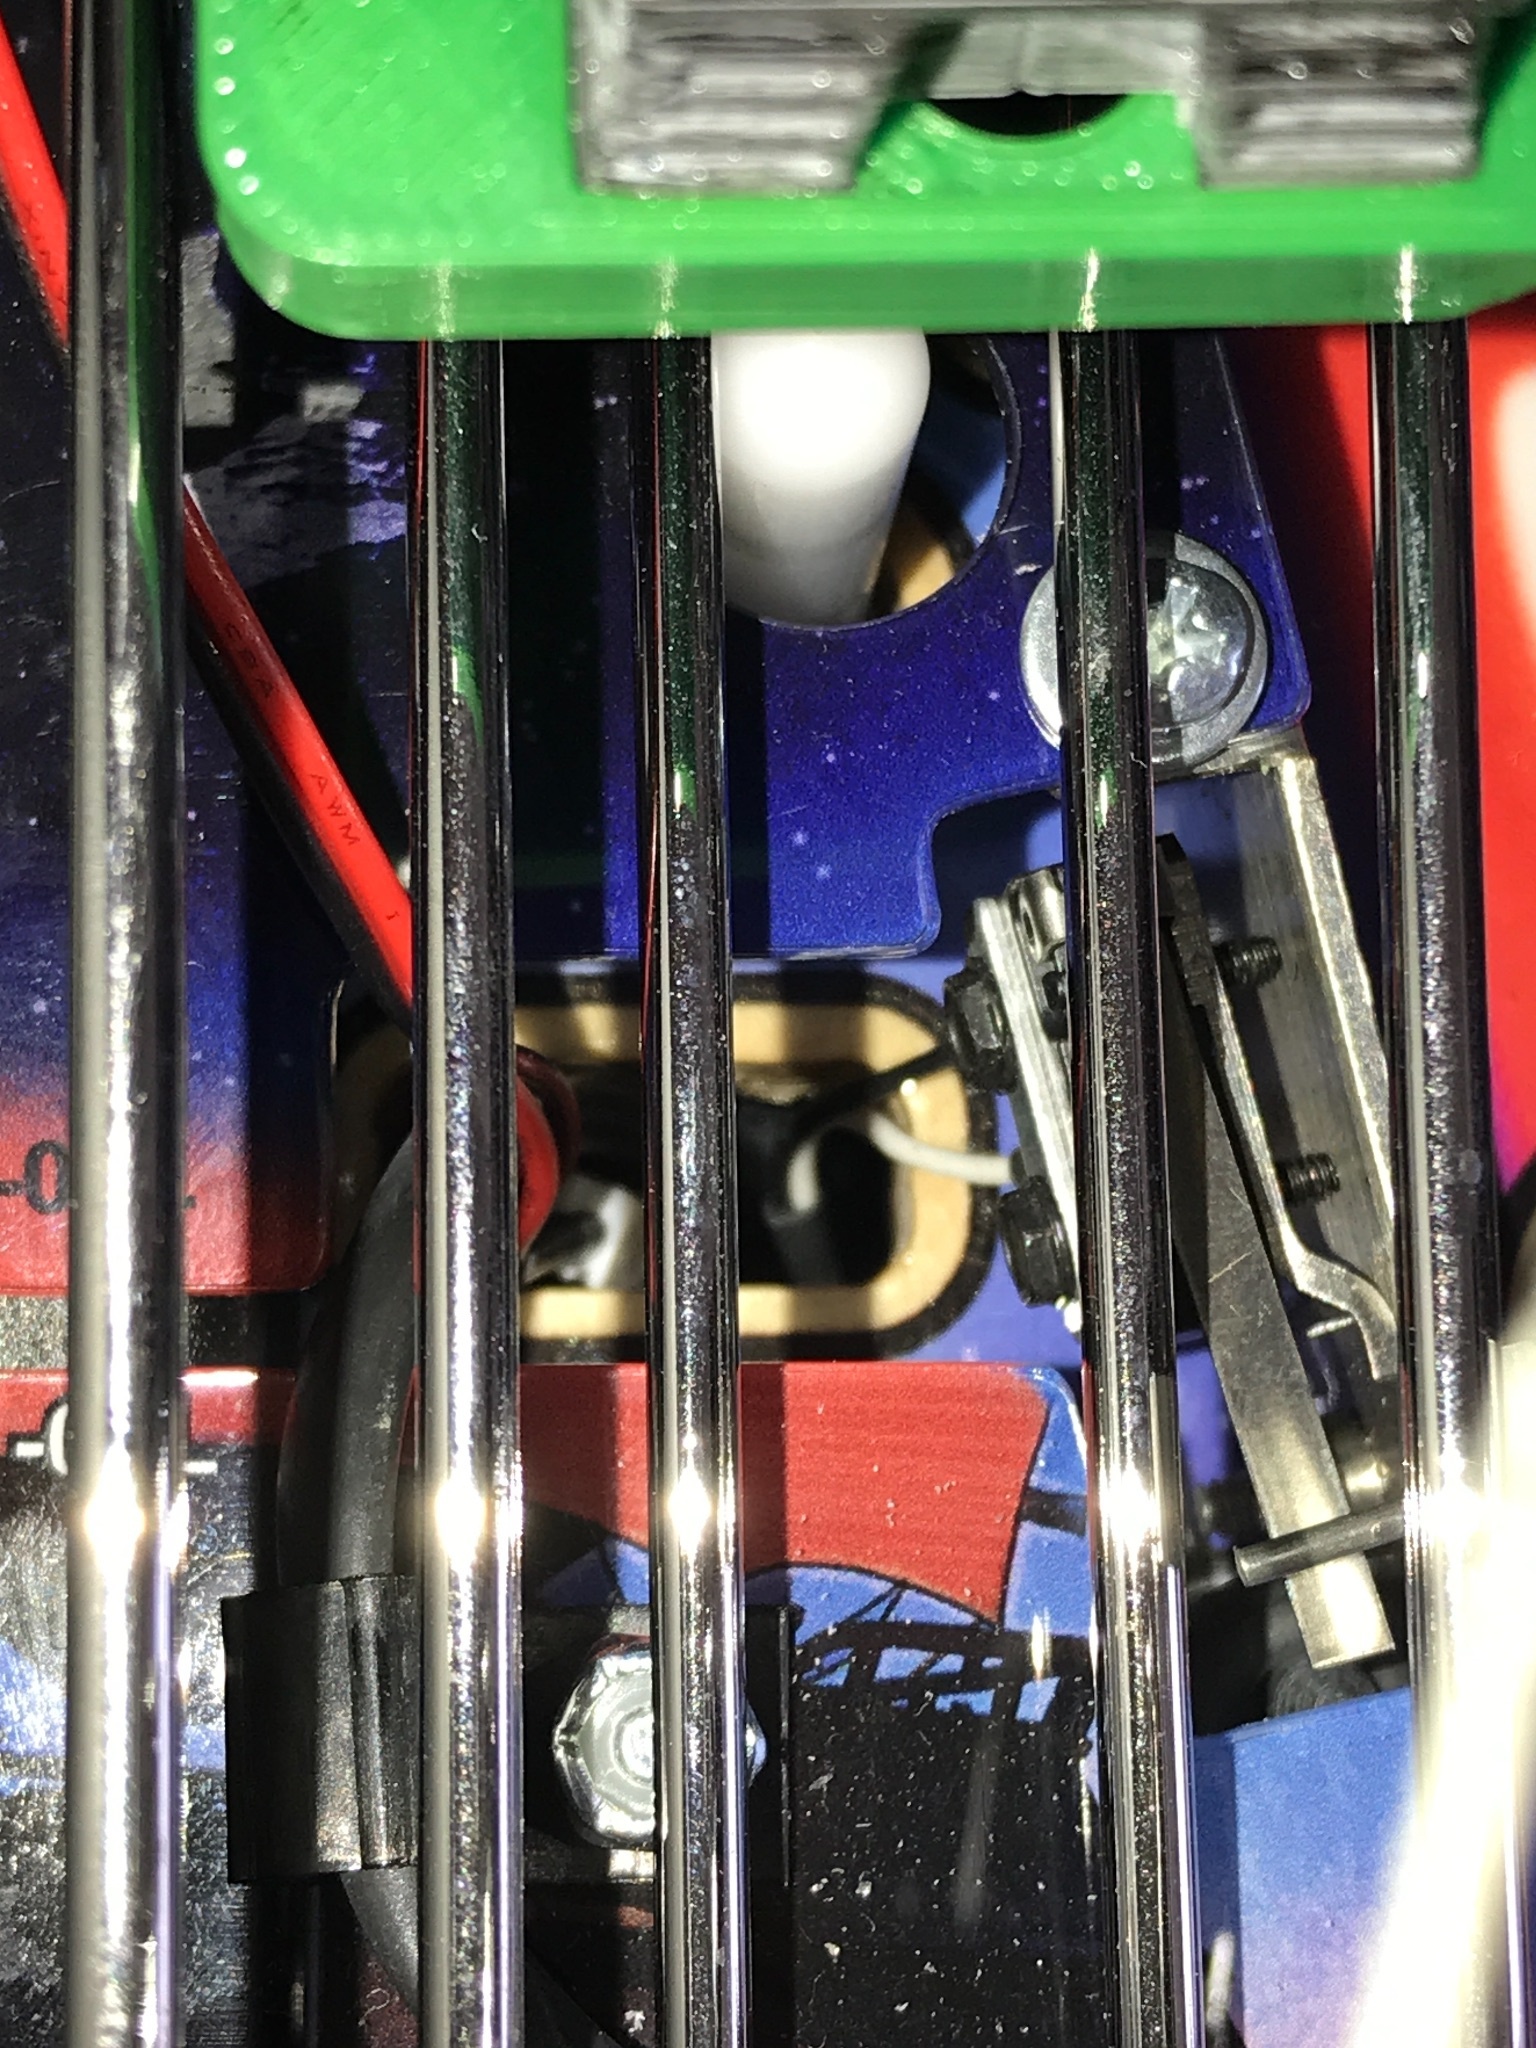
Route Matrix power wire down through 'MYSTERY" target hole
Place playfield in full upward service position to access backside of playfield
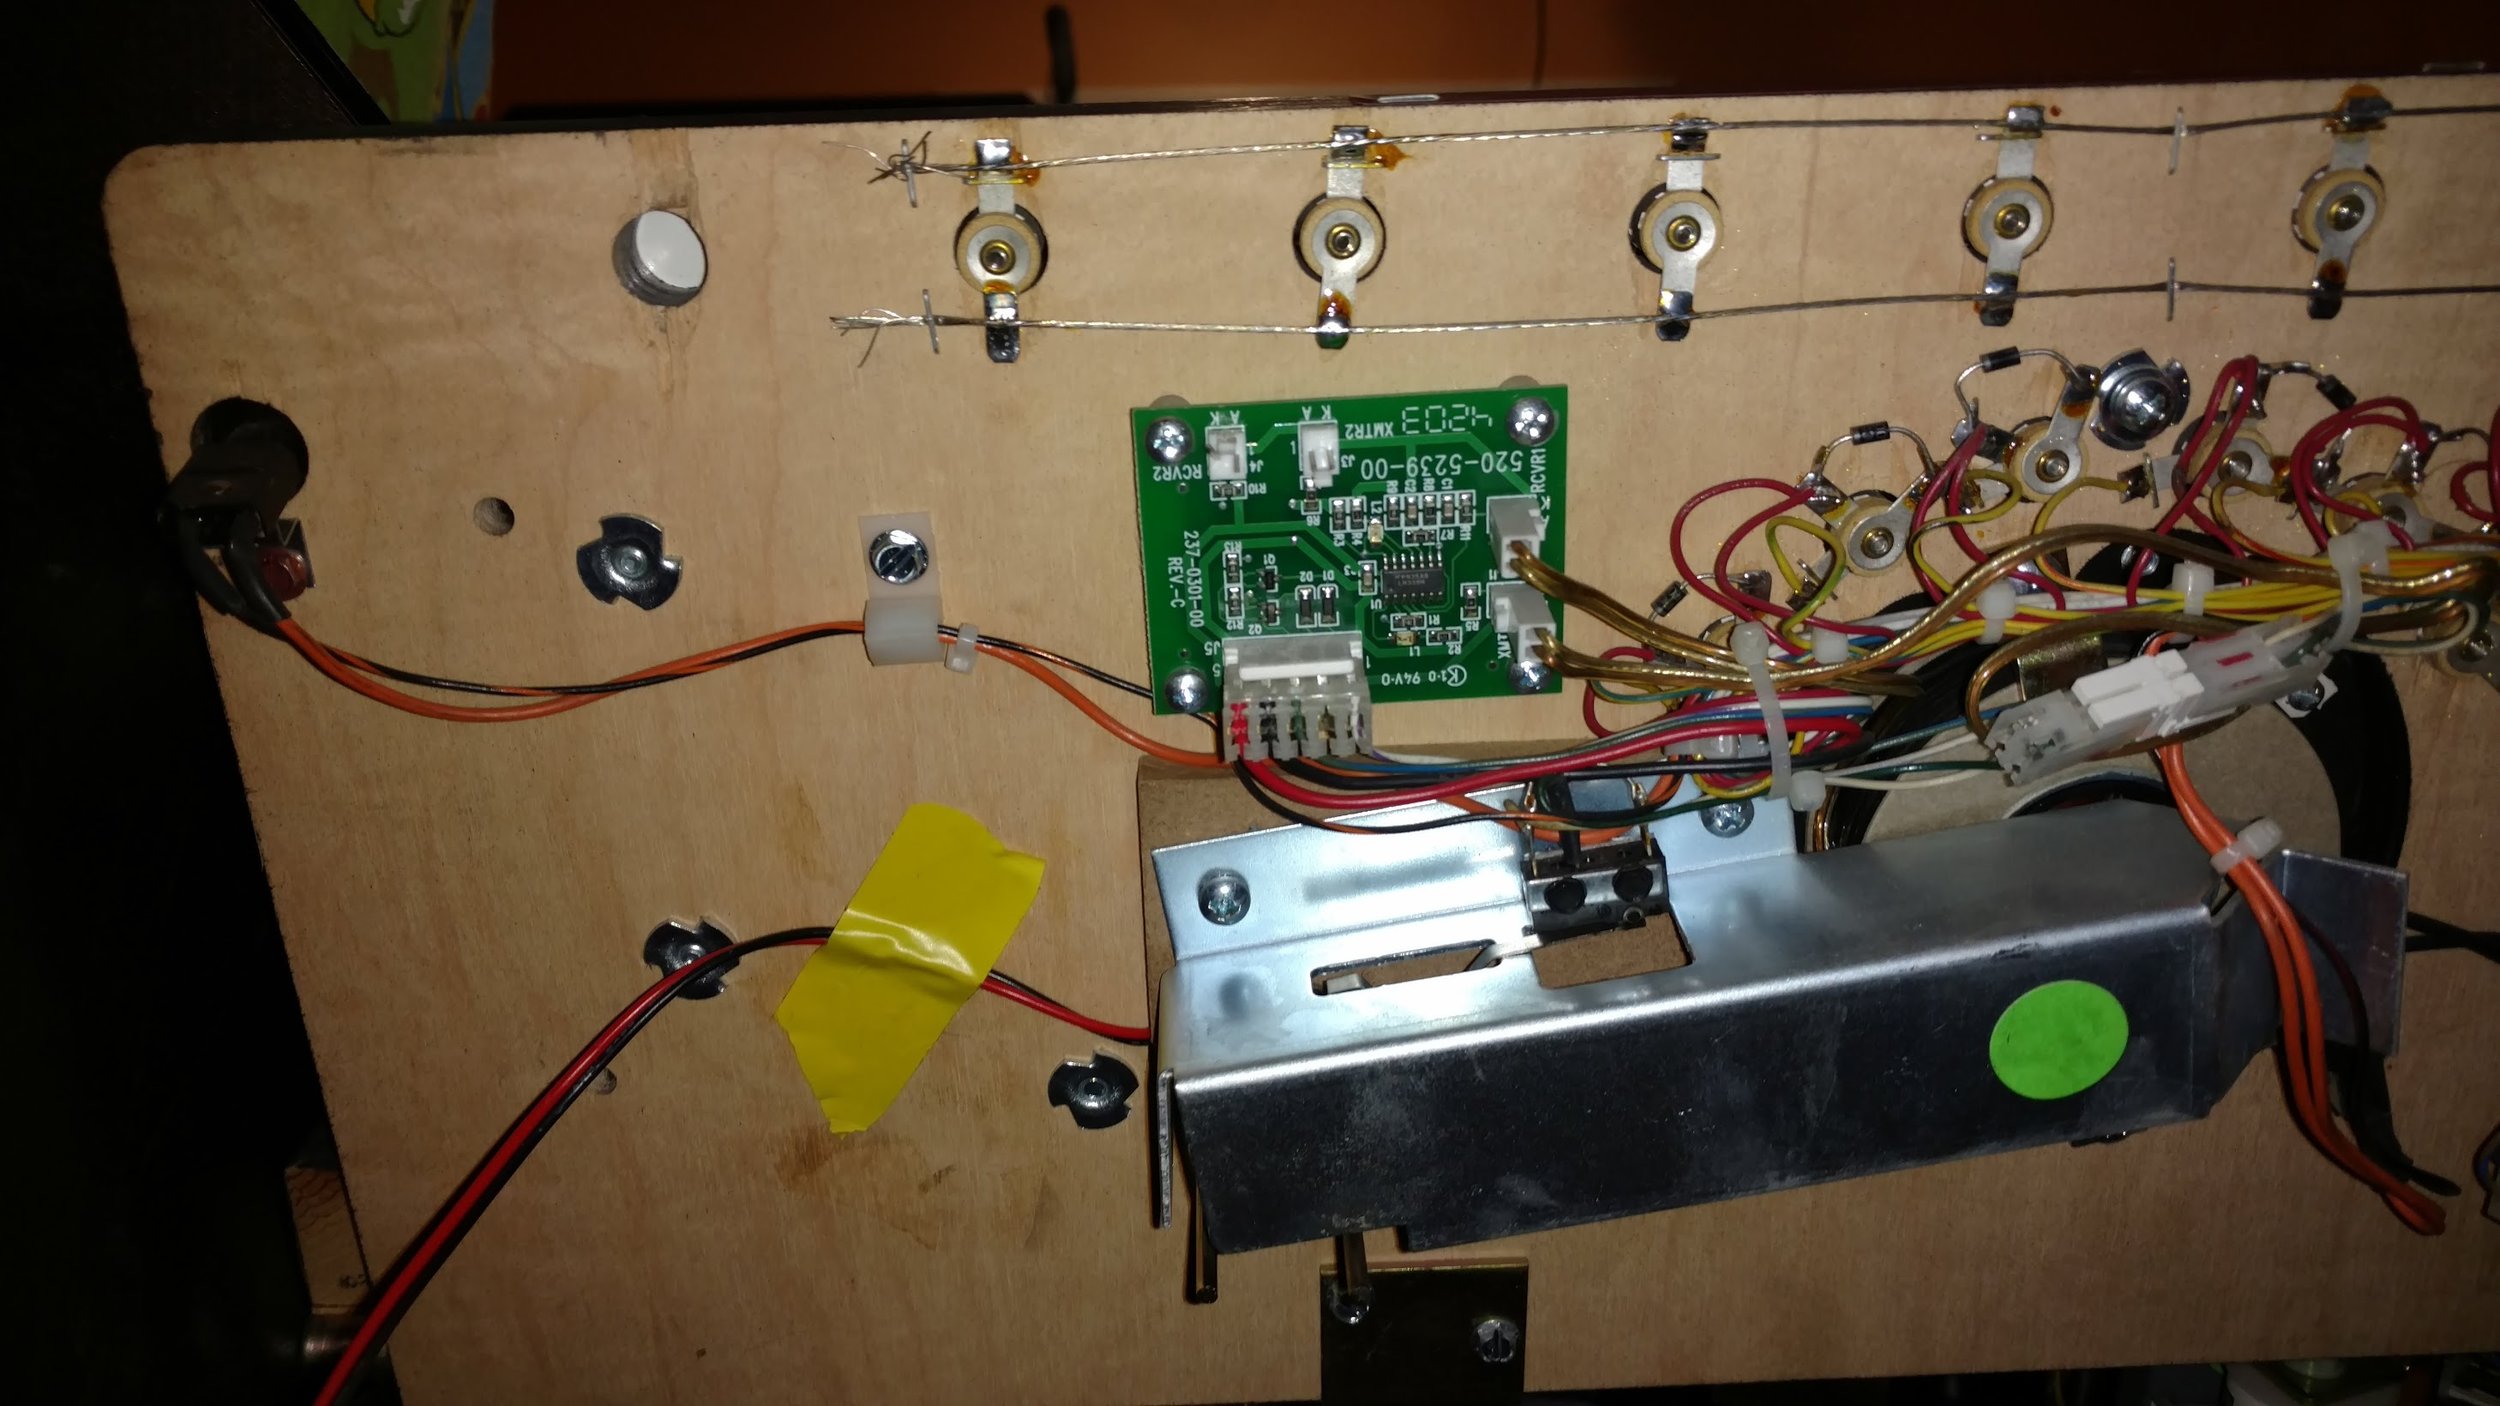
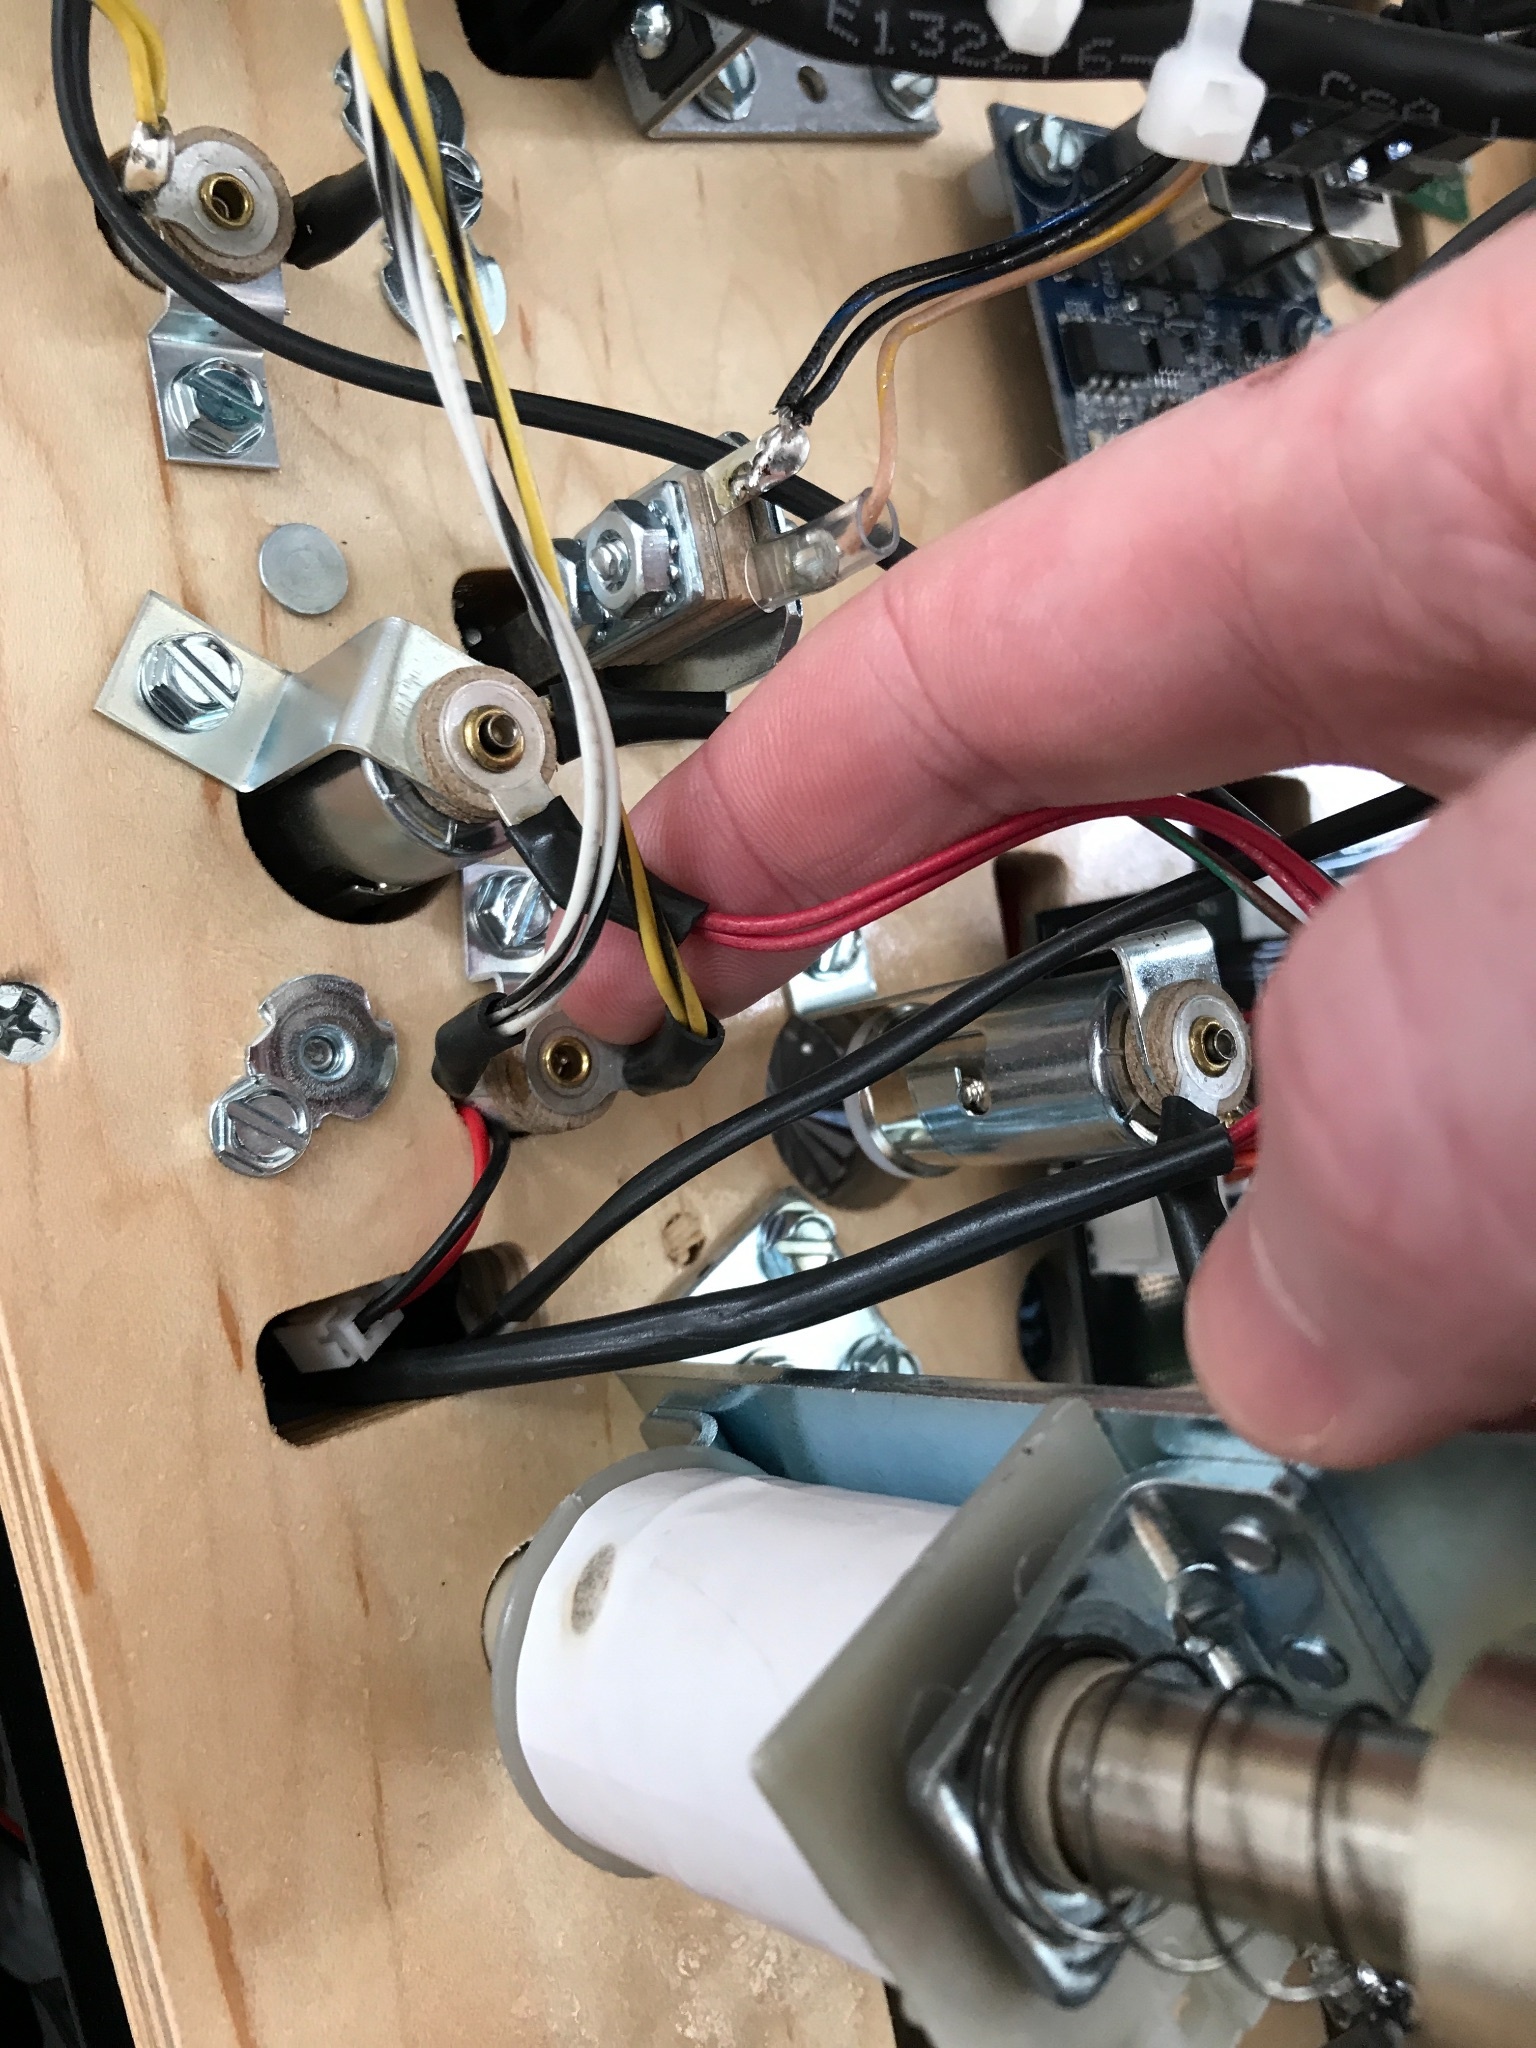
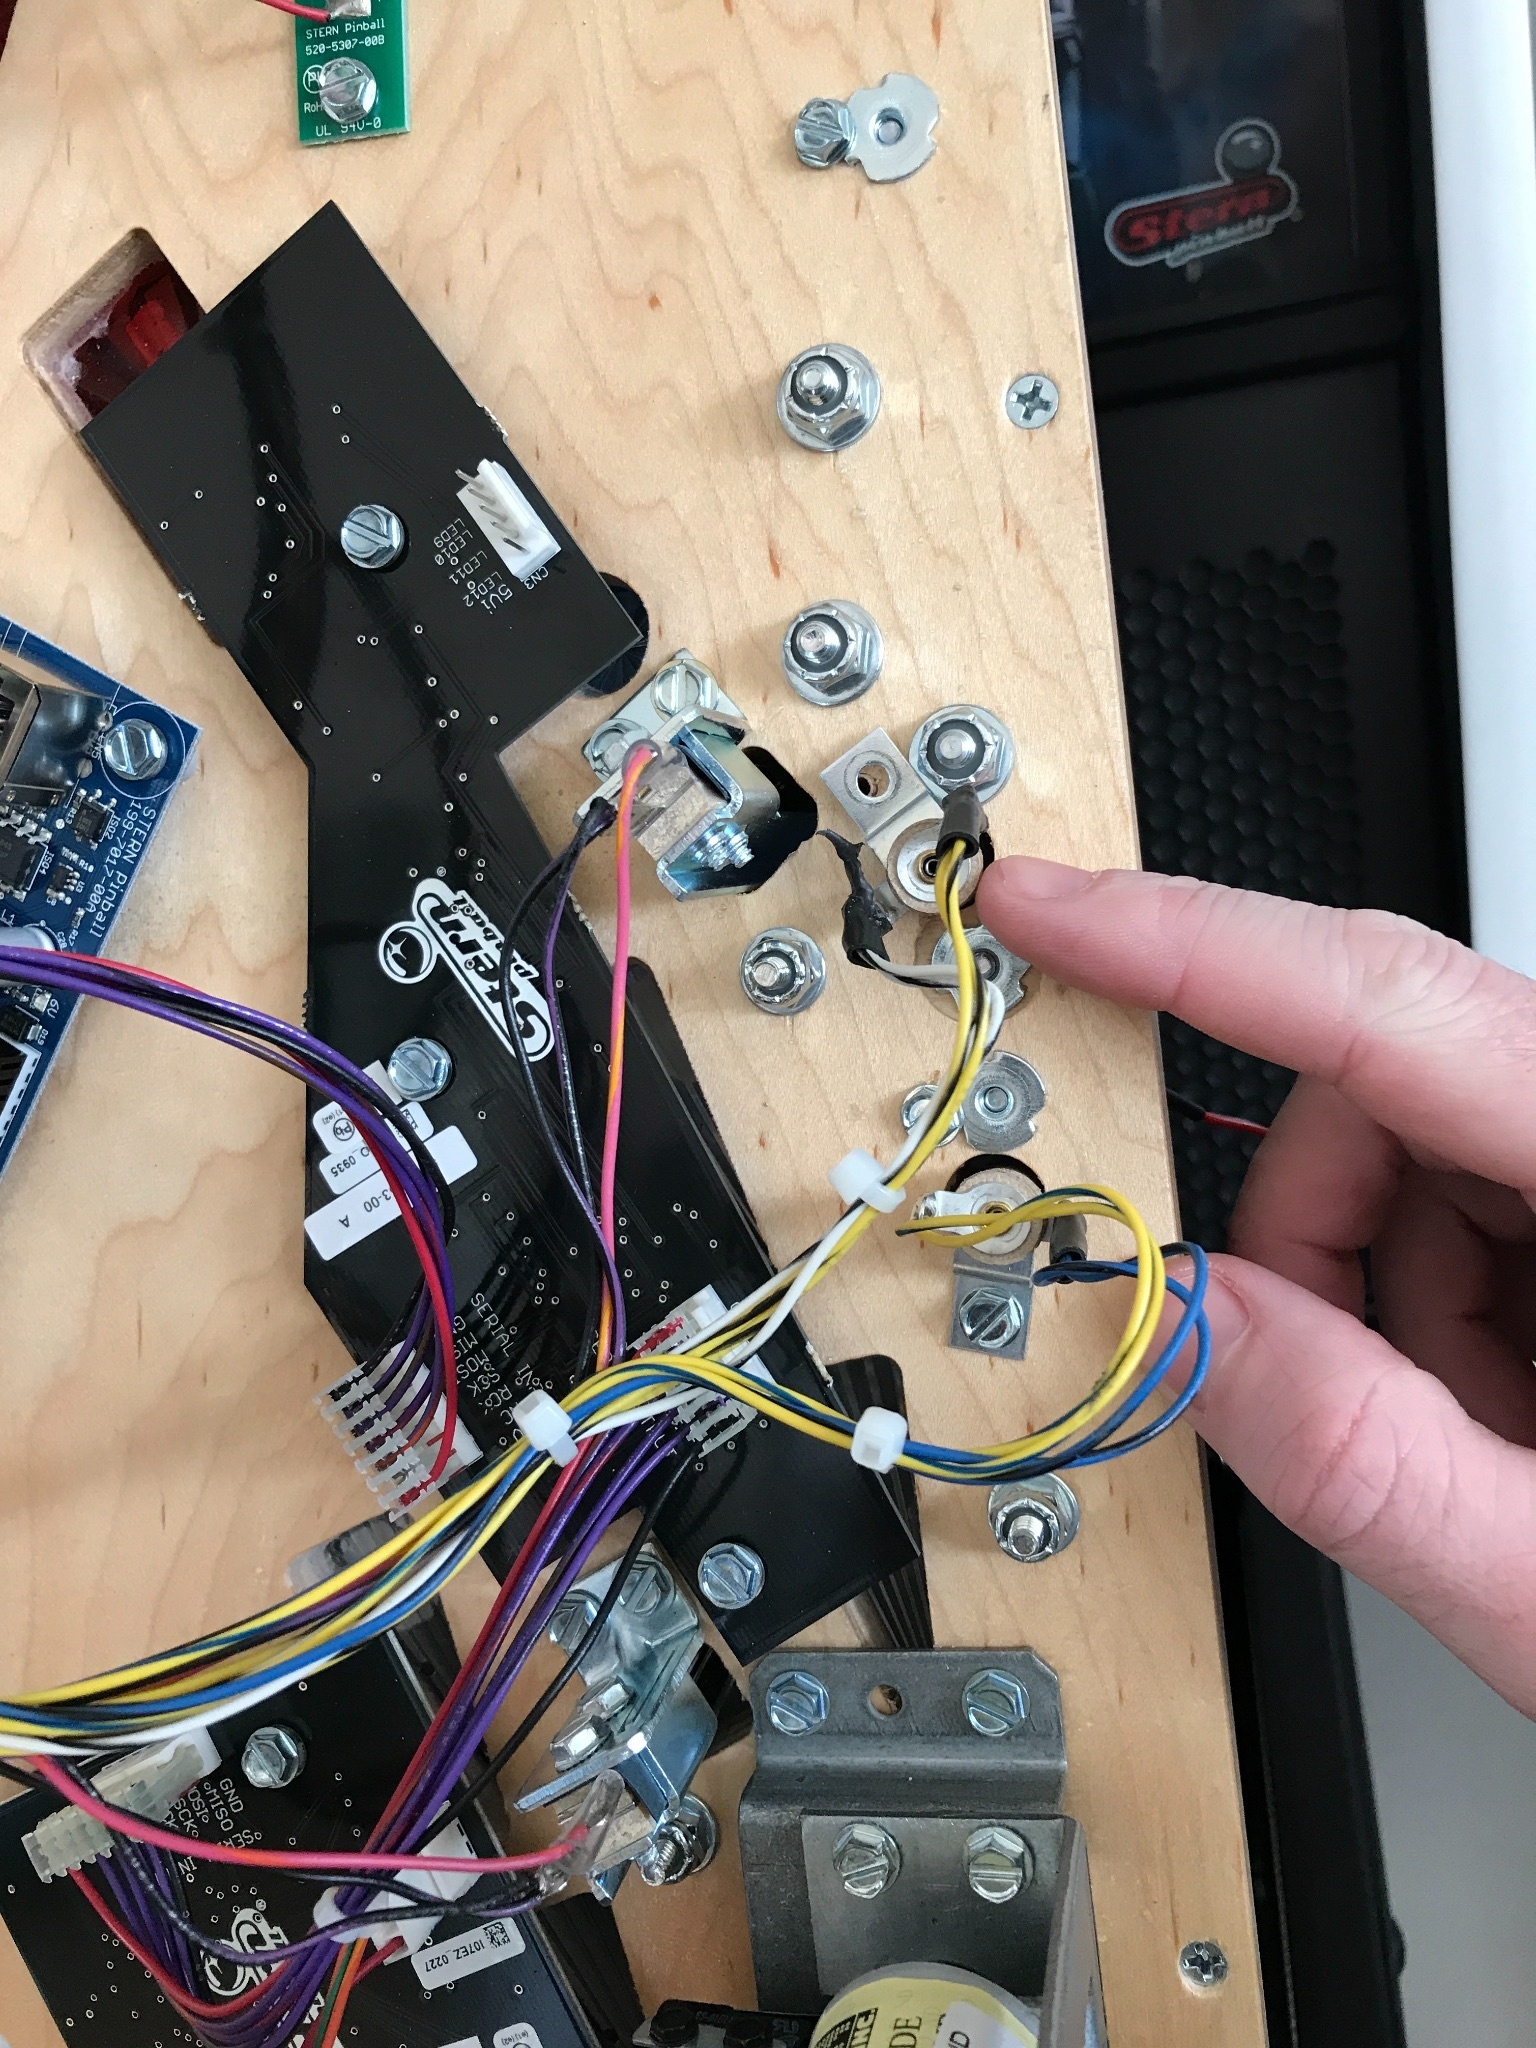
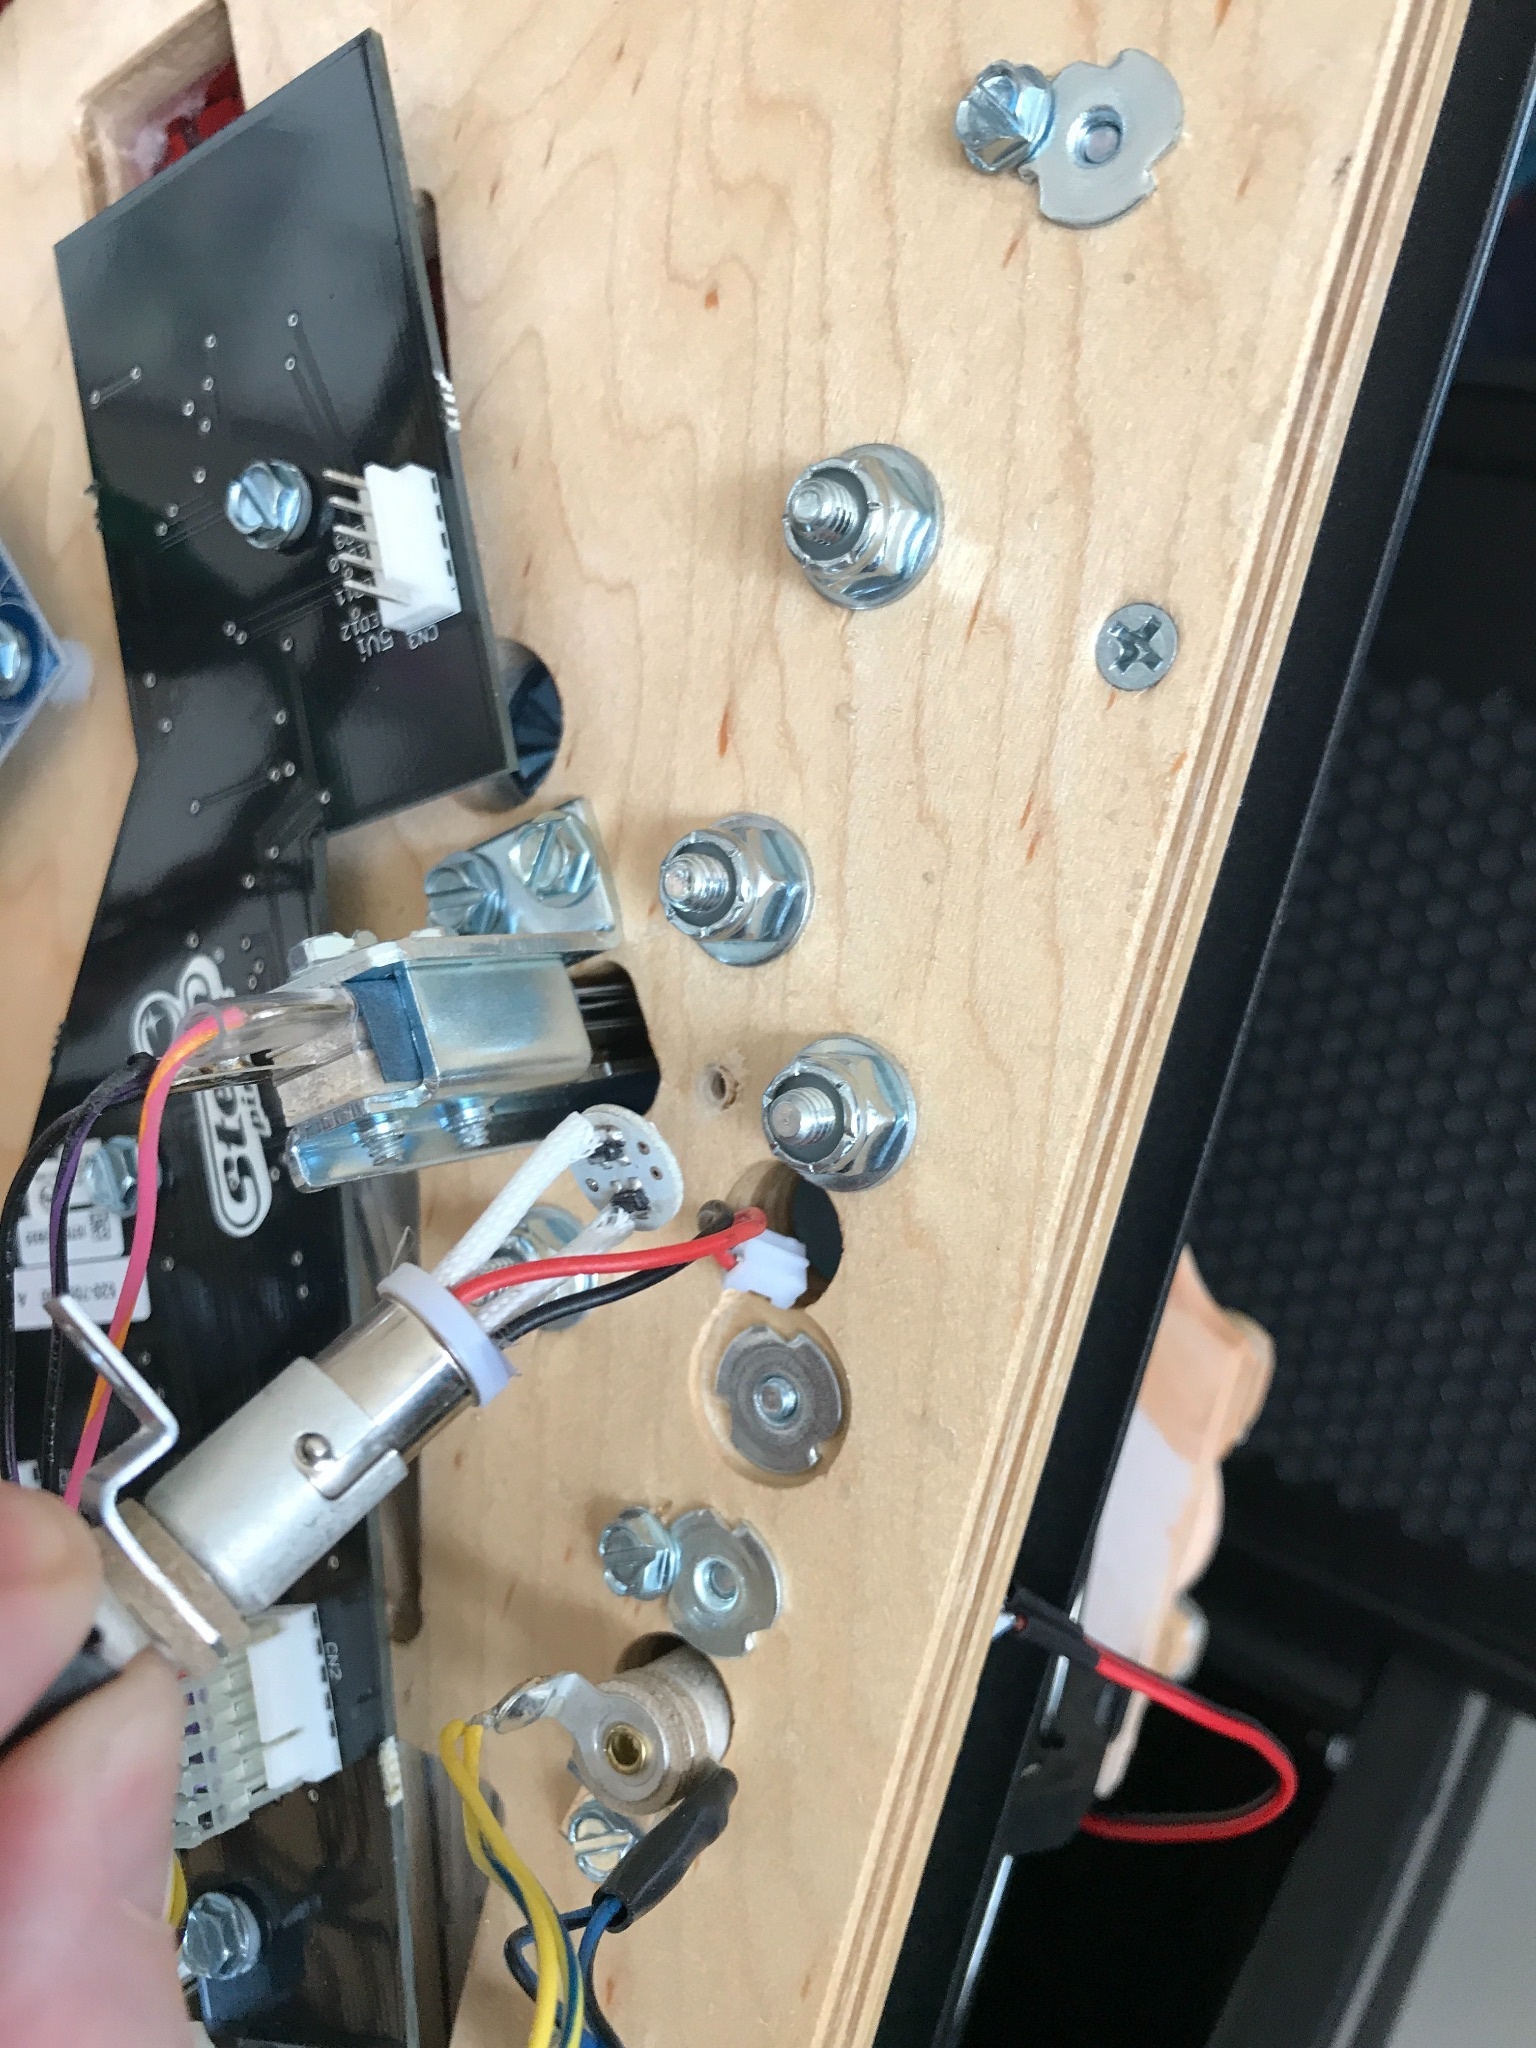
Disconnect 12v 2-pin connecter #94 (upper right spotlight; YEL/BLK wire, coil #041))
Install power splitter harness at connector #94 (see diagram above)
Route Matrix power connector to "MYSTERY" target area (avoid mechanical assemblies)
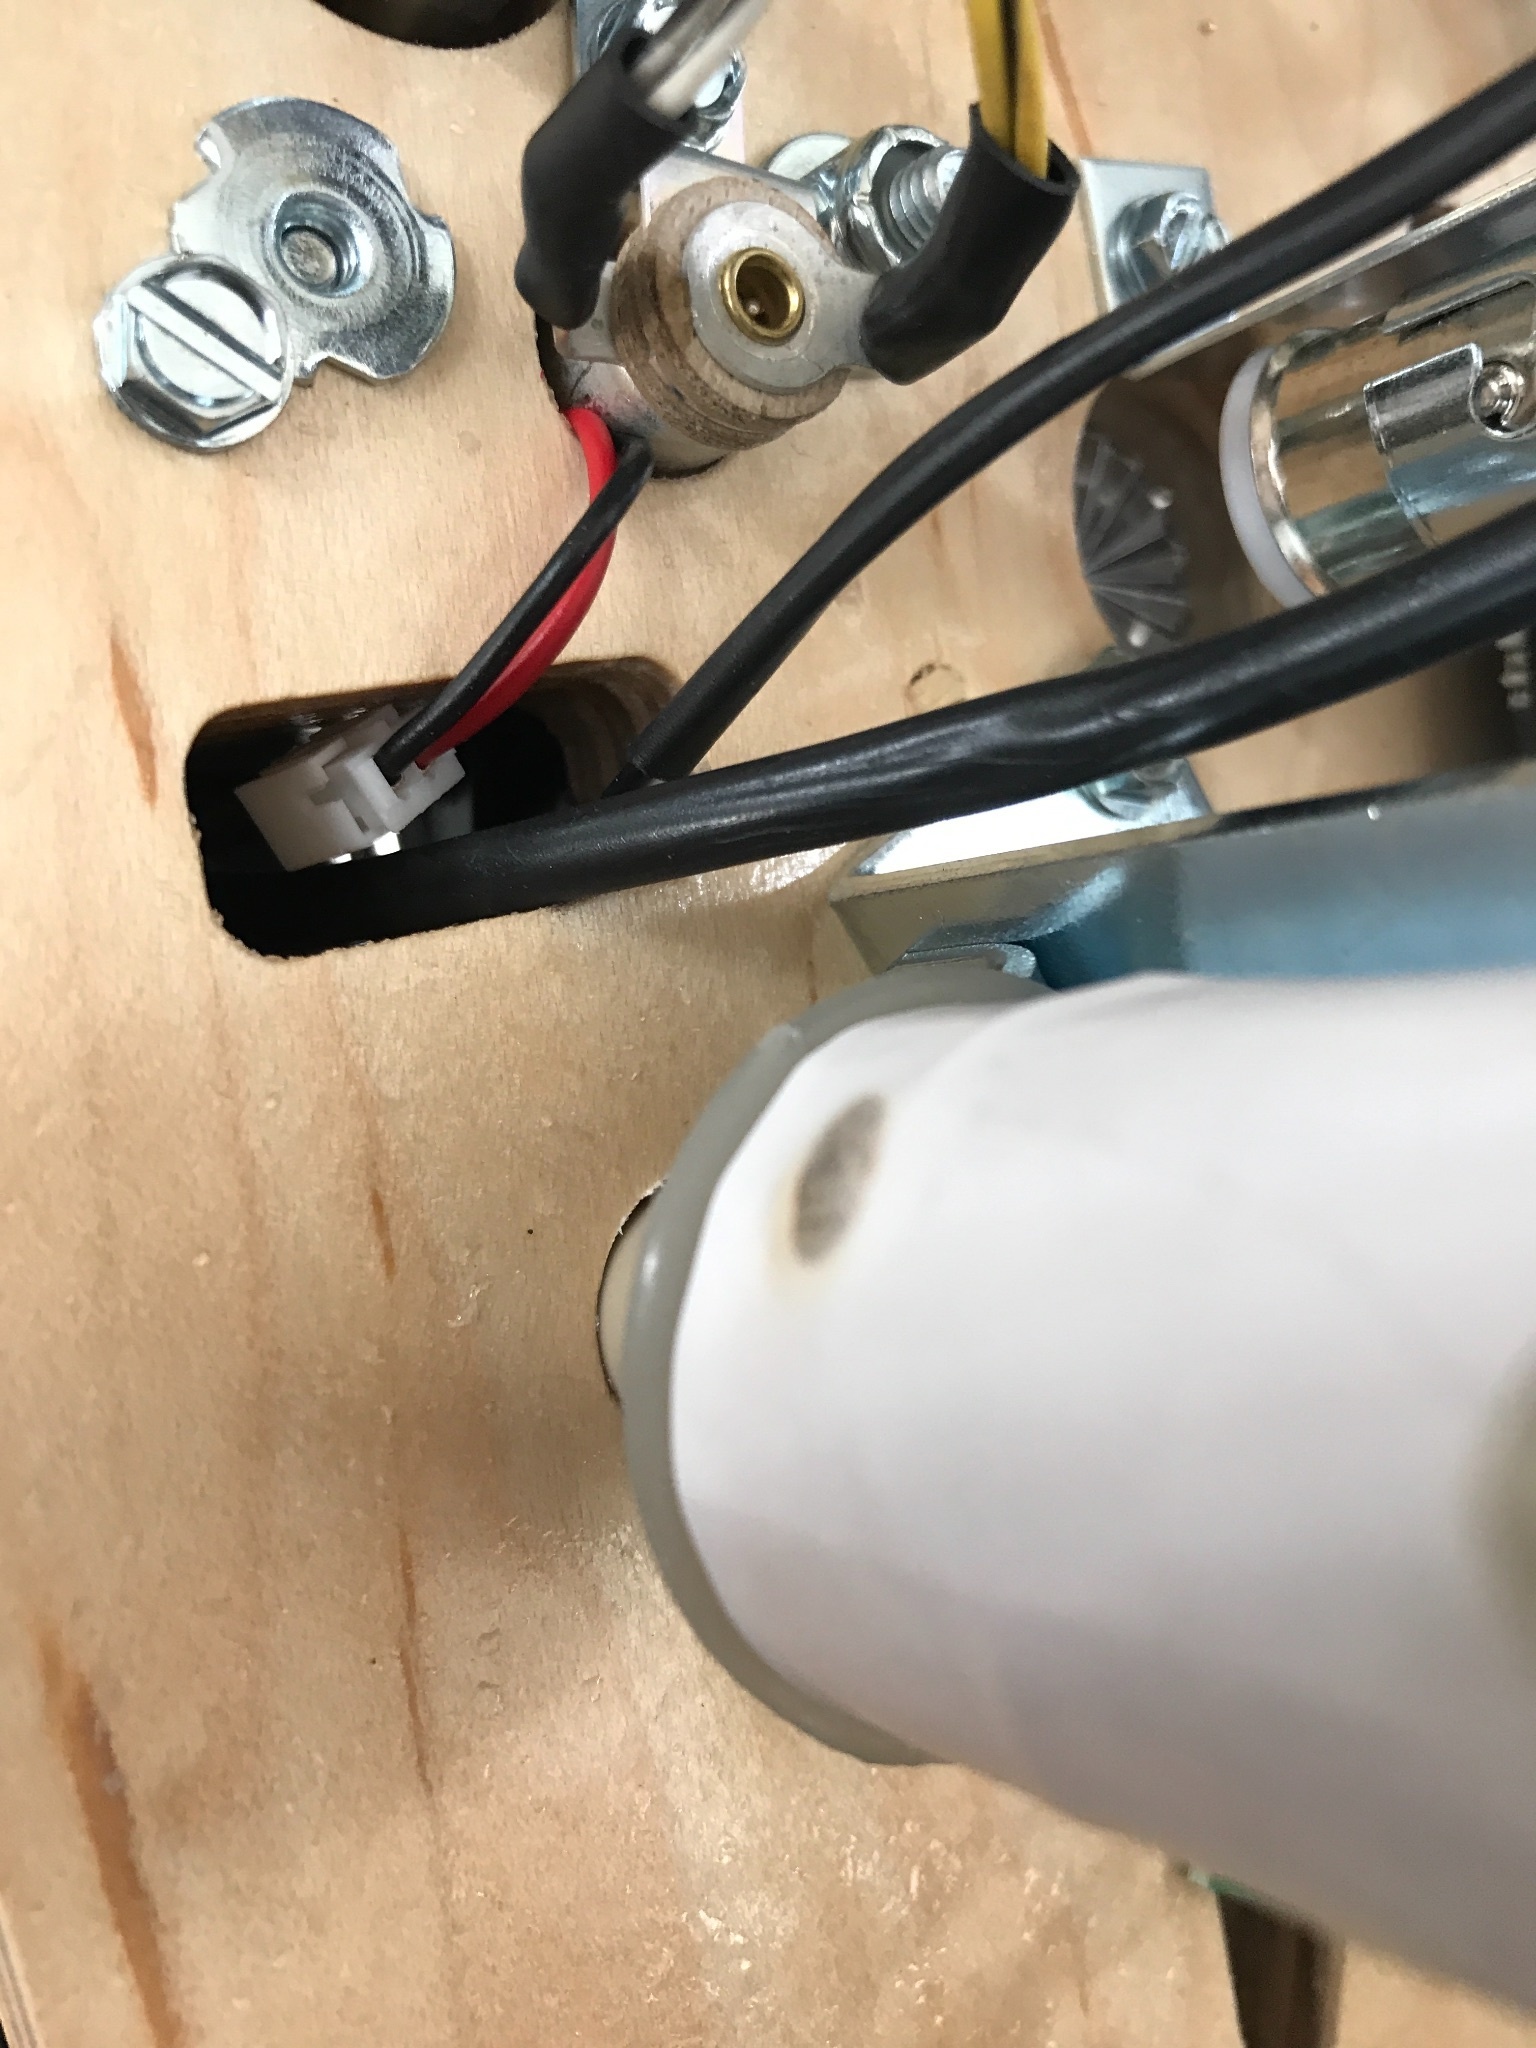
Connect power to mod below playfield (make sure Matrix connectors fit cleanly together). Optionally use included wire tie to secure Matrix wire cleanly below playfield.
Return playfield to operating position and replace glass. Mod is installed!

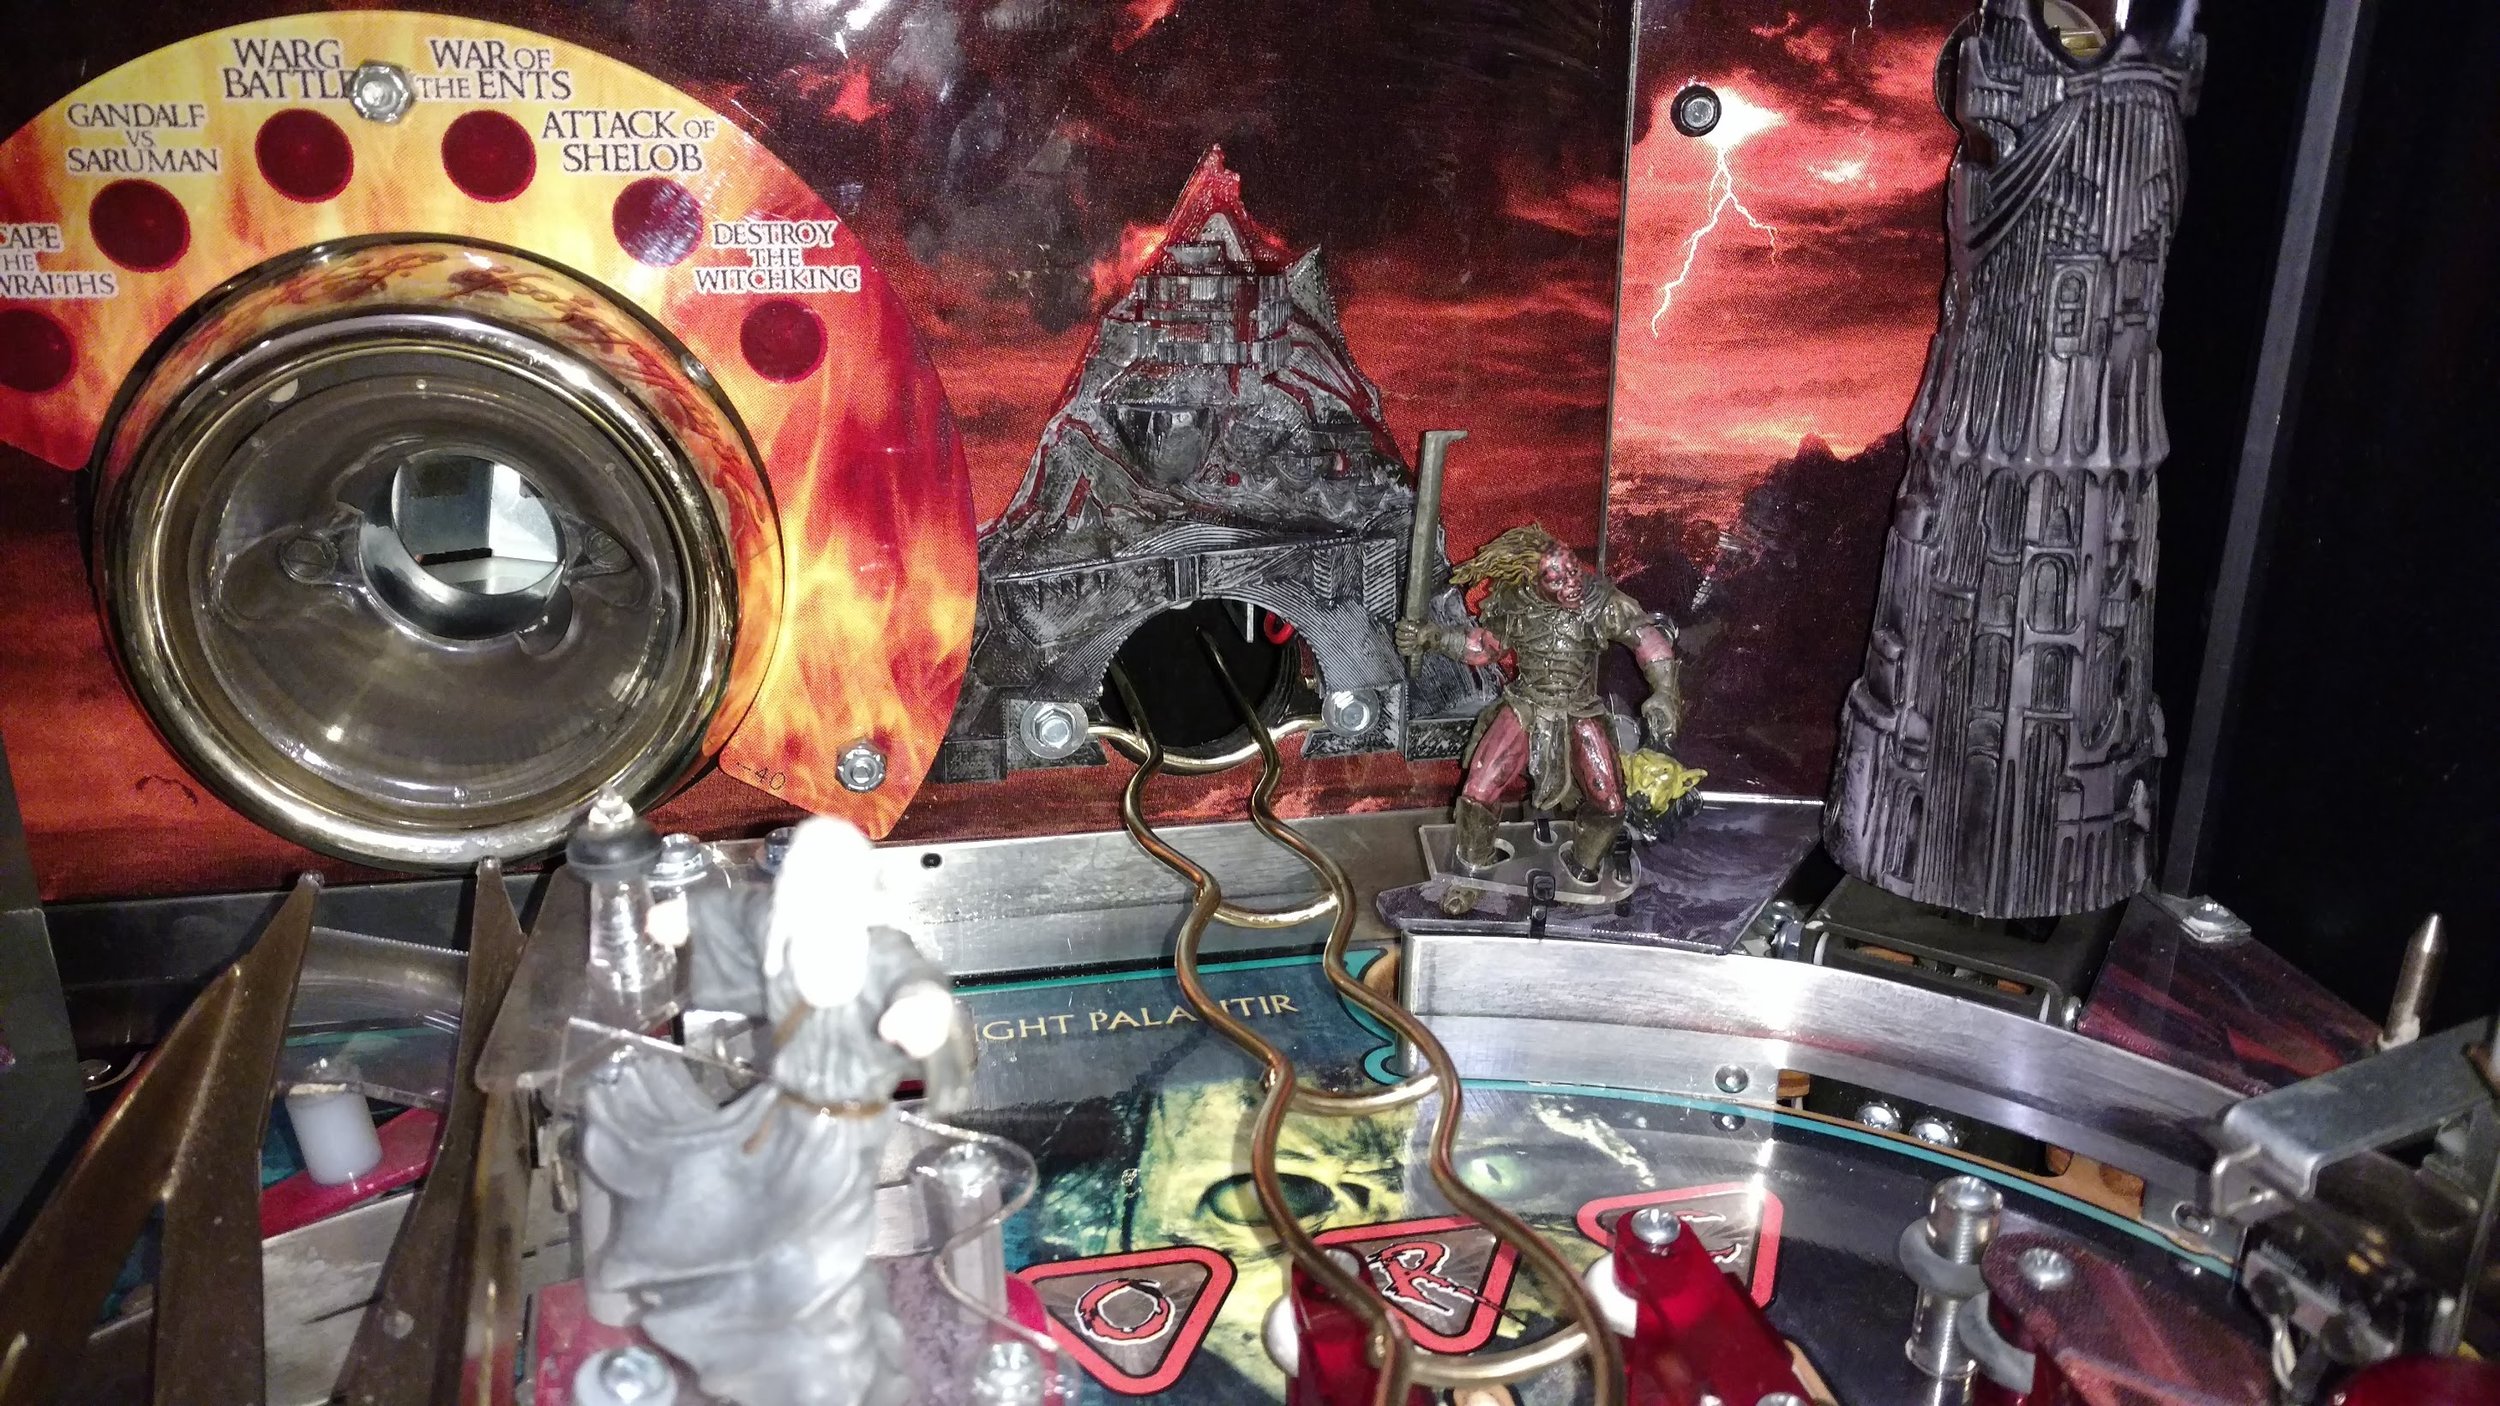
Volcano for mt. doom installation
MAKE SURE PINBALL MACHINE IS OFF AND IN THE FULL HORIZONTAL SERVICE POSITION TO ALLOW ACCESS TO THE BACK SIDE OF THE BACKPANEL.
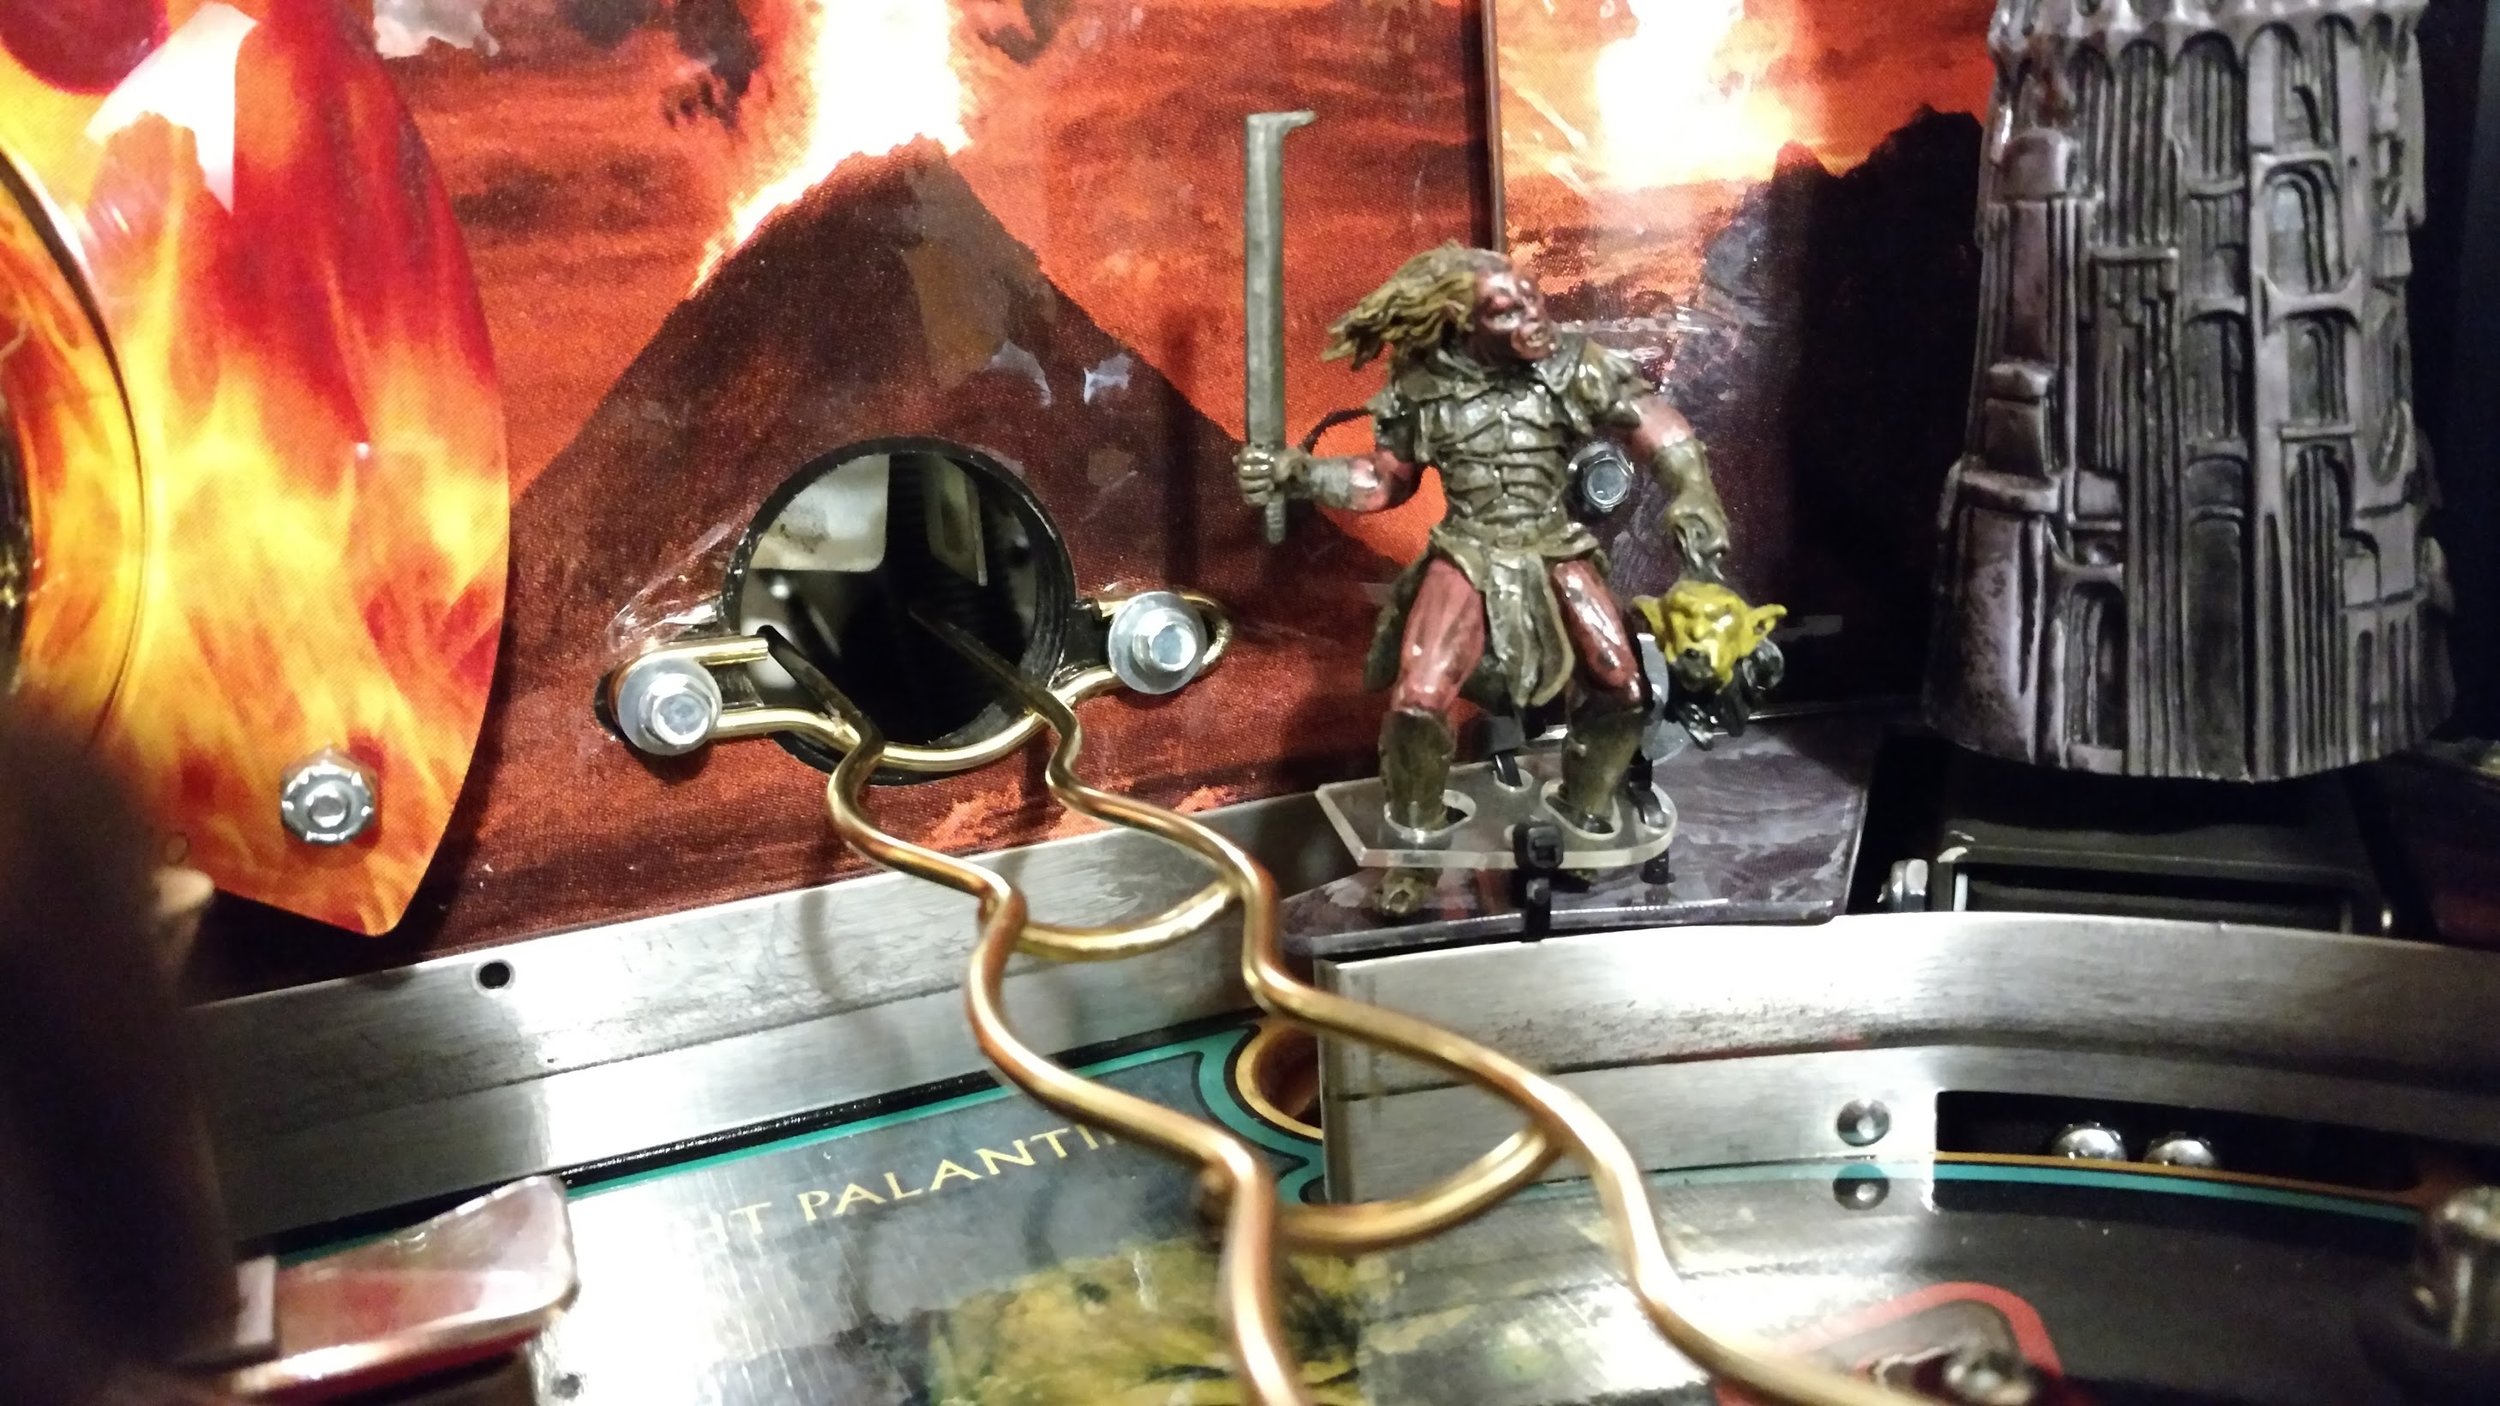
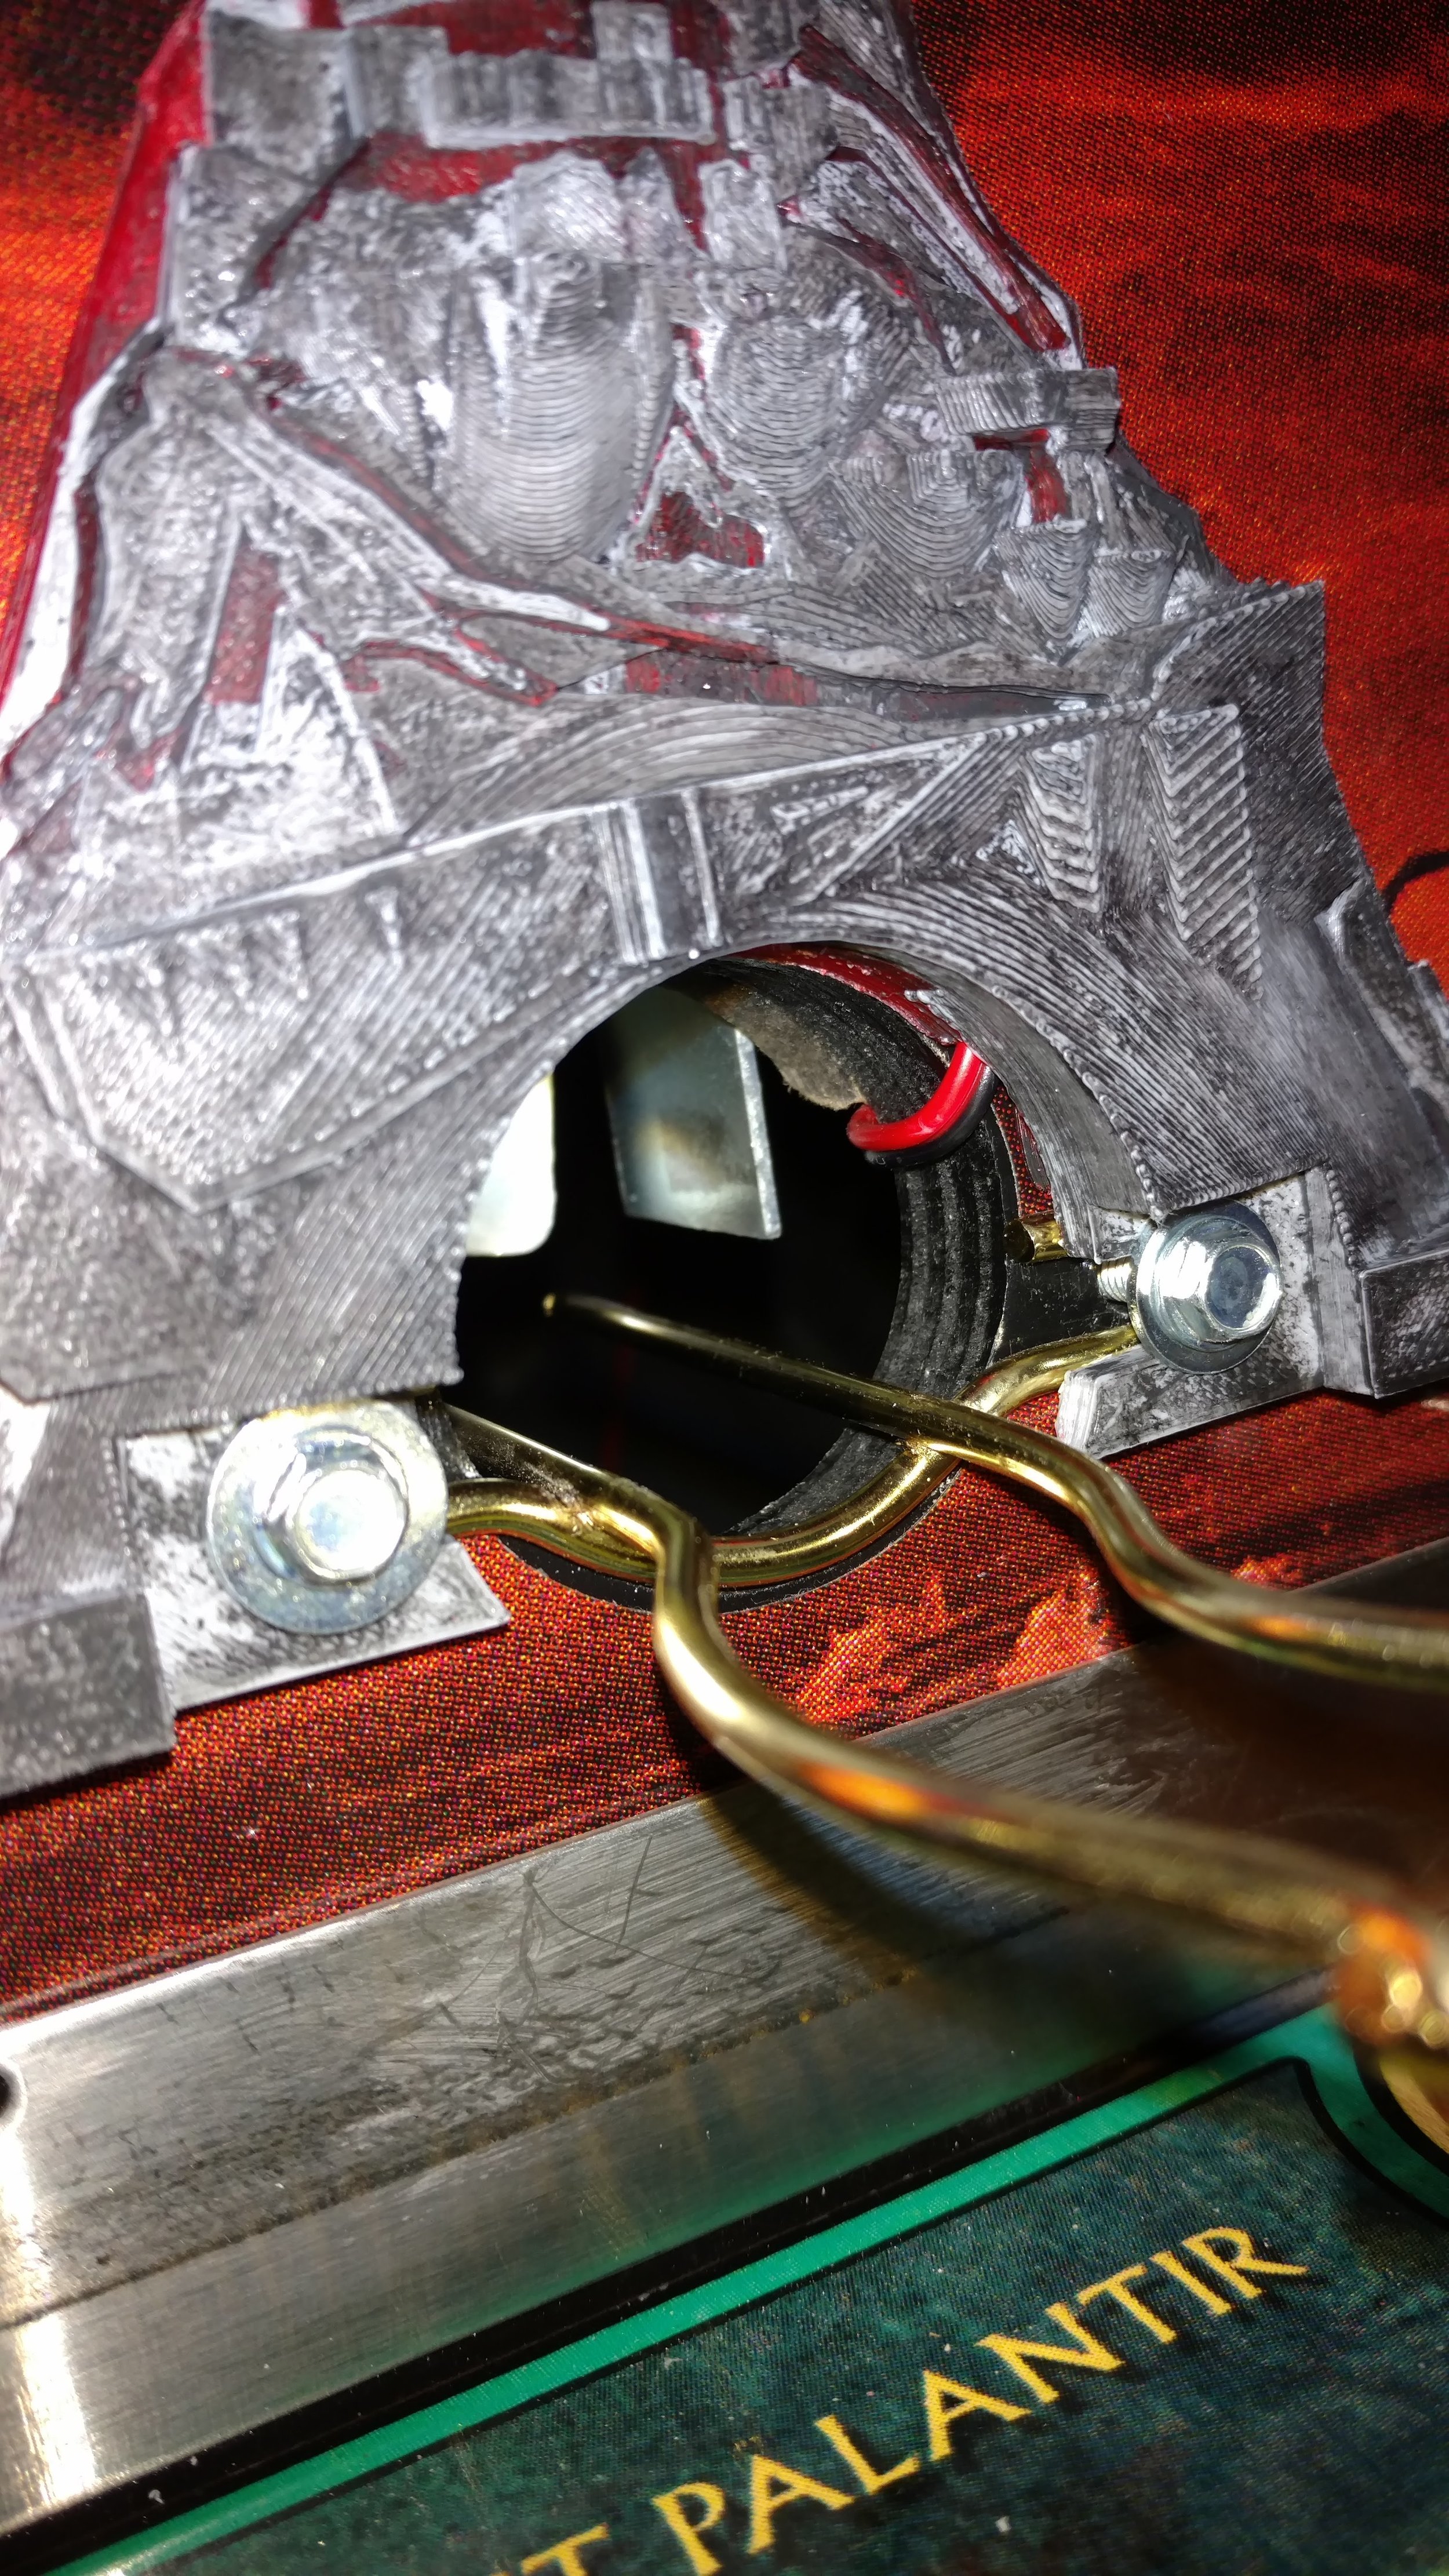

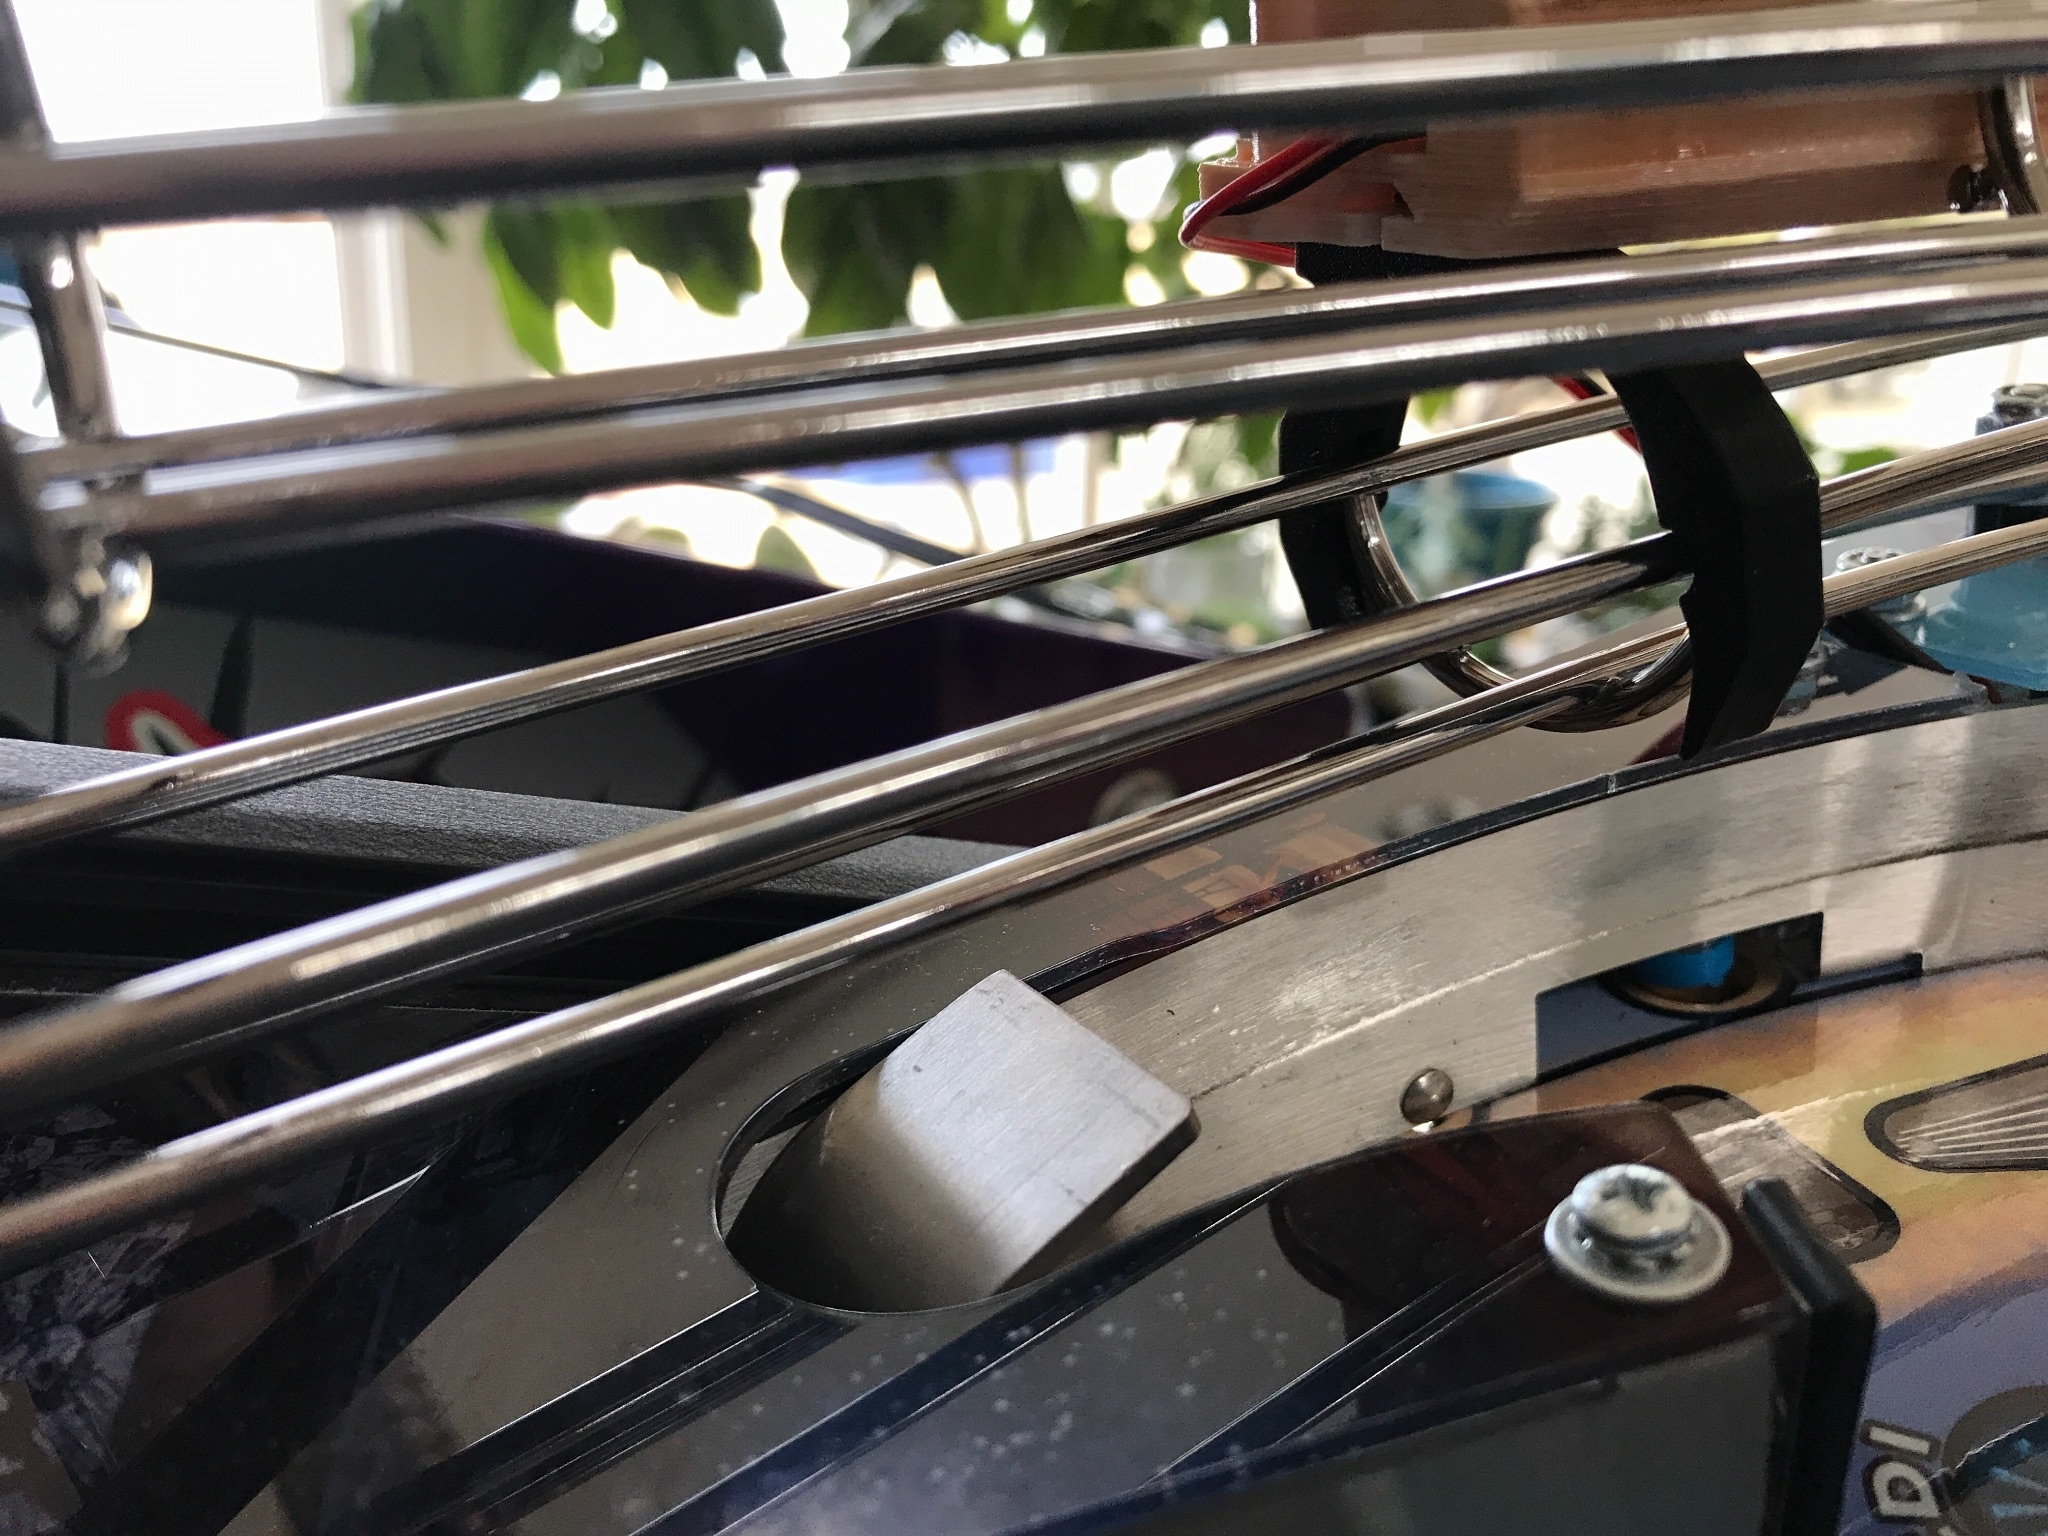
Remove the two ¼” hex-head machine screws and washer where the curvy wireform connects to the playfield backboard.
Feed the harness through the ball hole and drape around right wireform down into cabinet.
Locate the mod into position and replace screws/washers. DO NOT OVERTIGHTEN!!
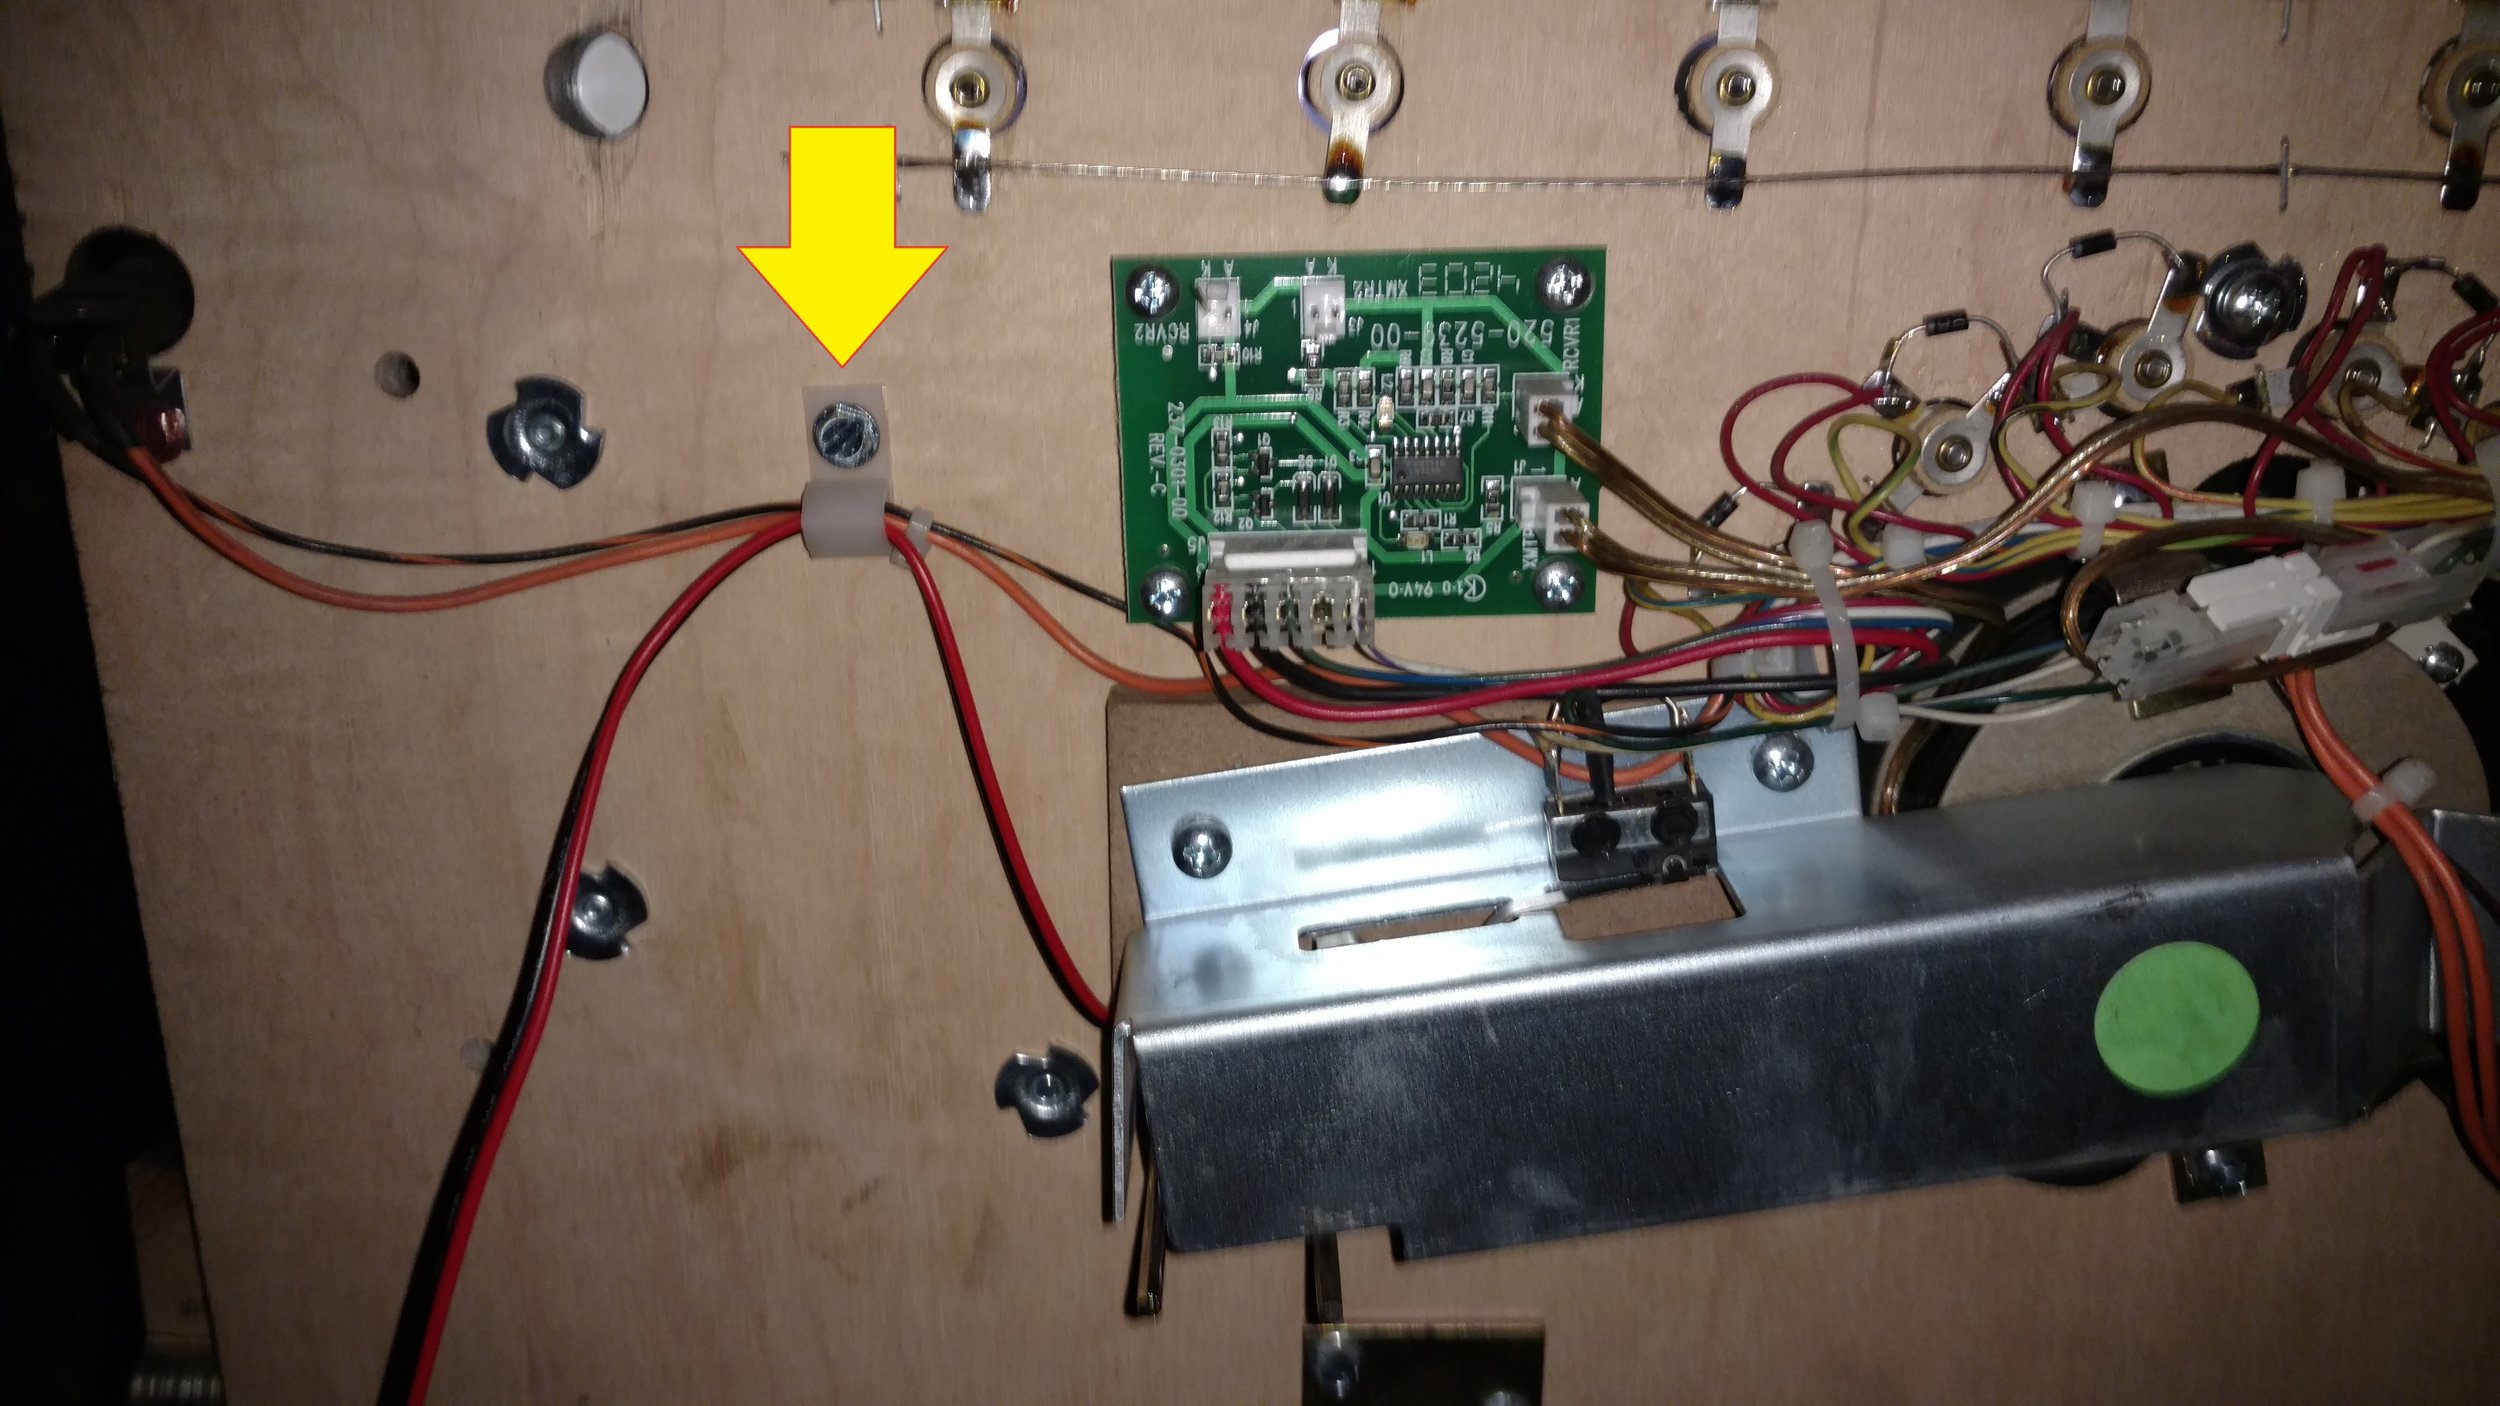
Run wire harness through existing cable clip or secure to backboard using electrical tape.
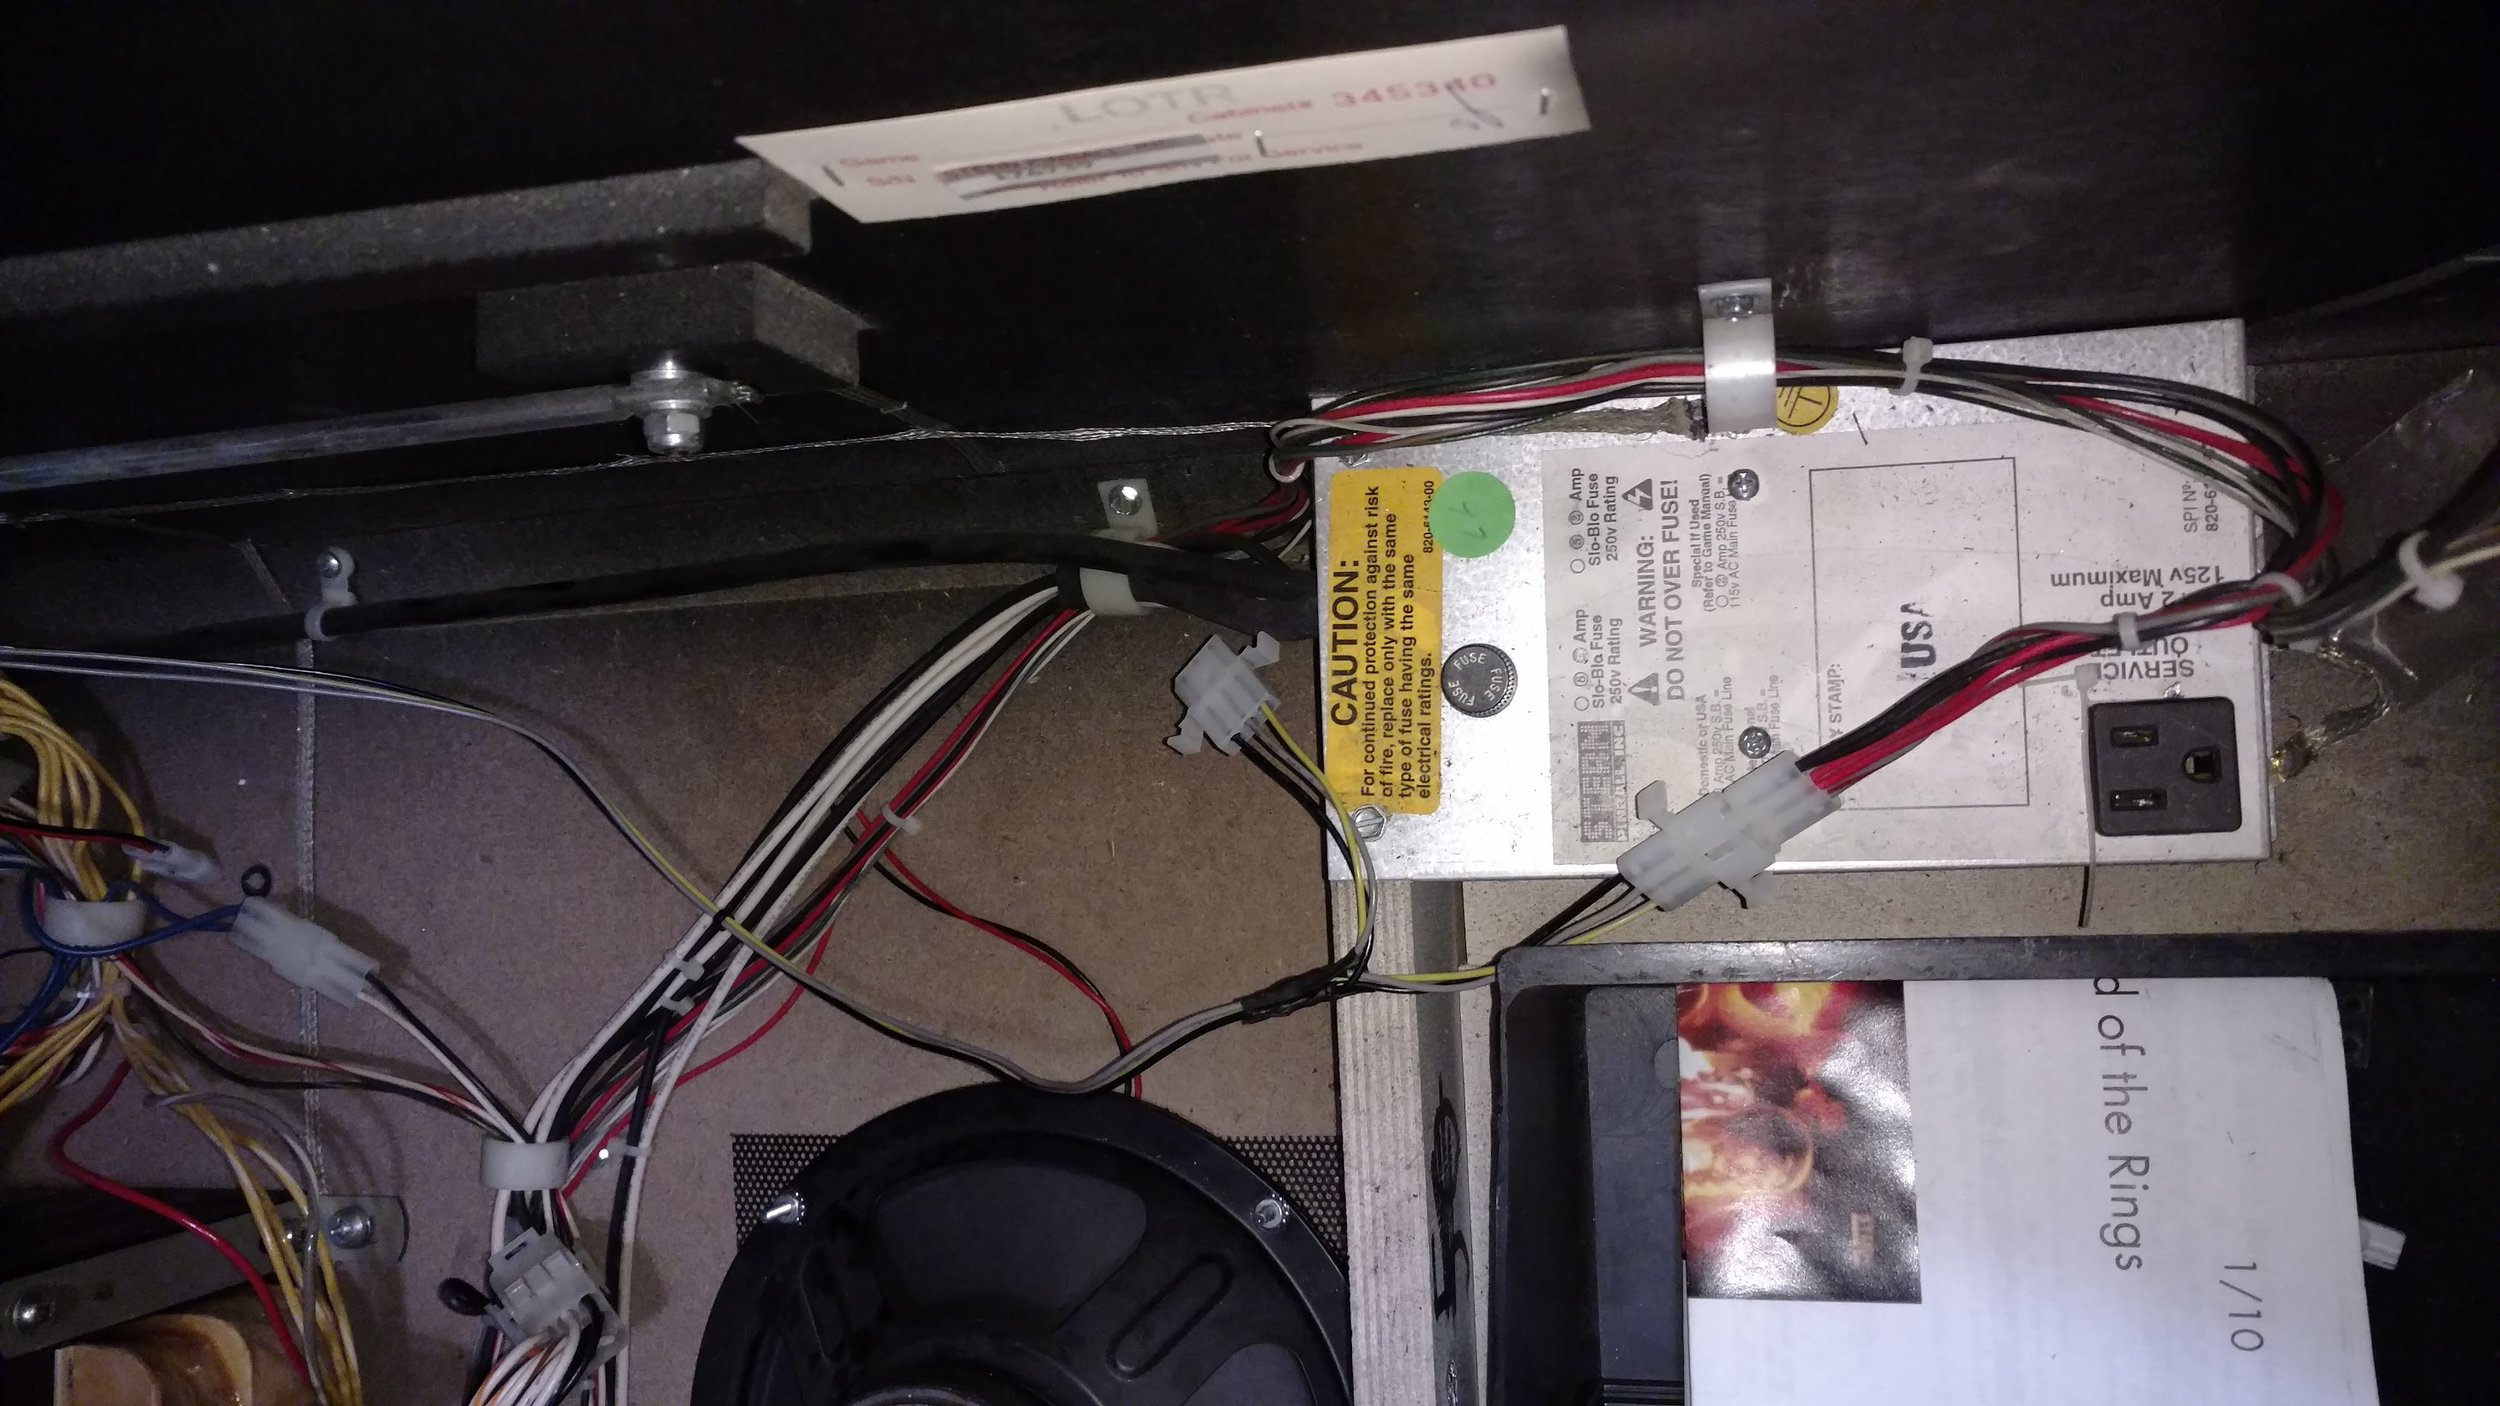
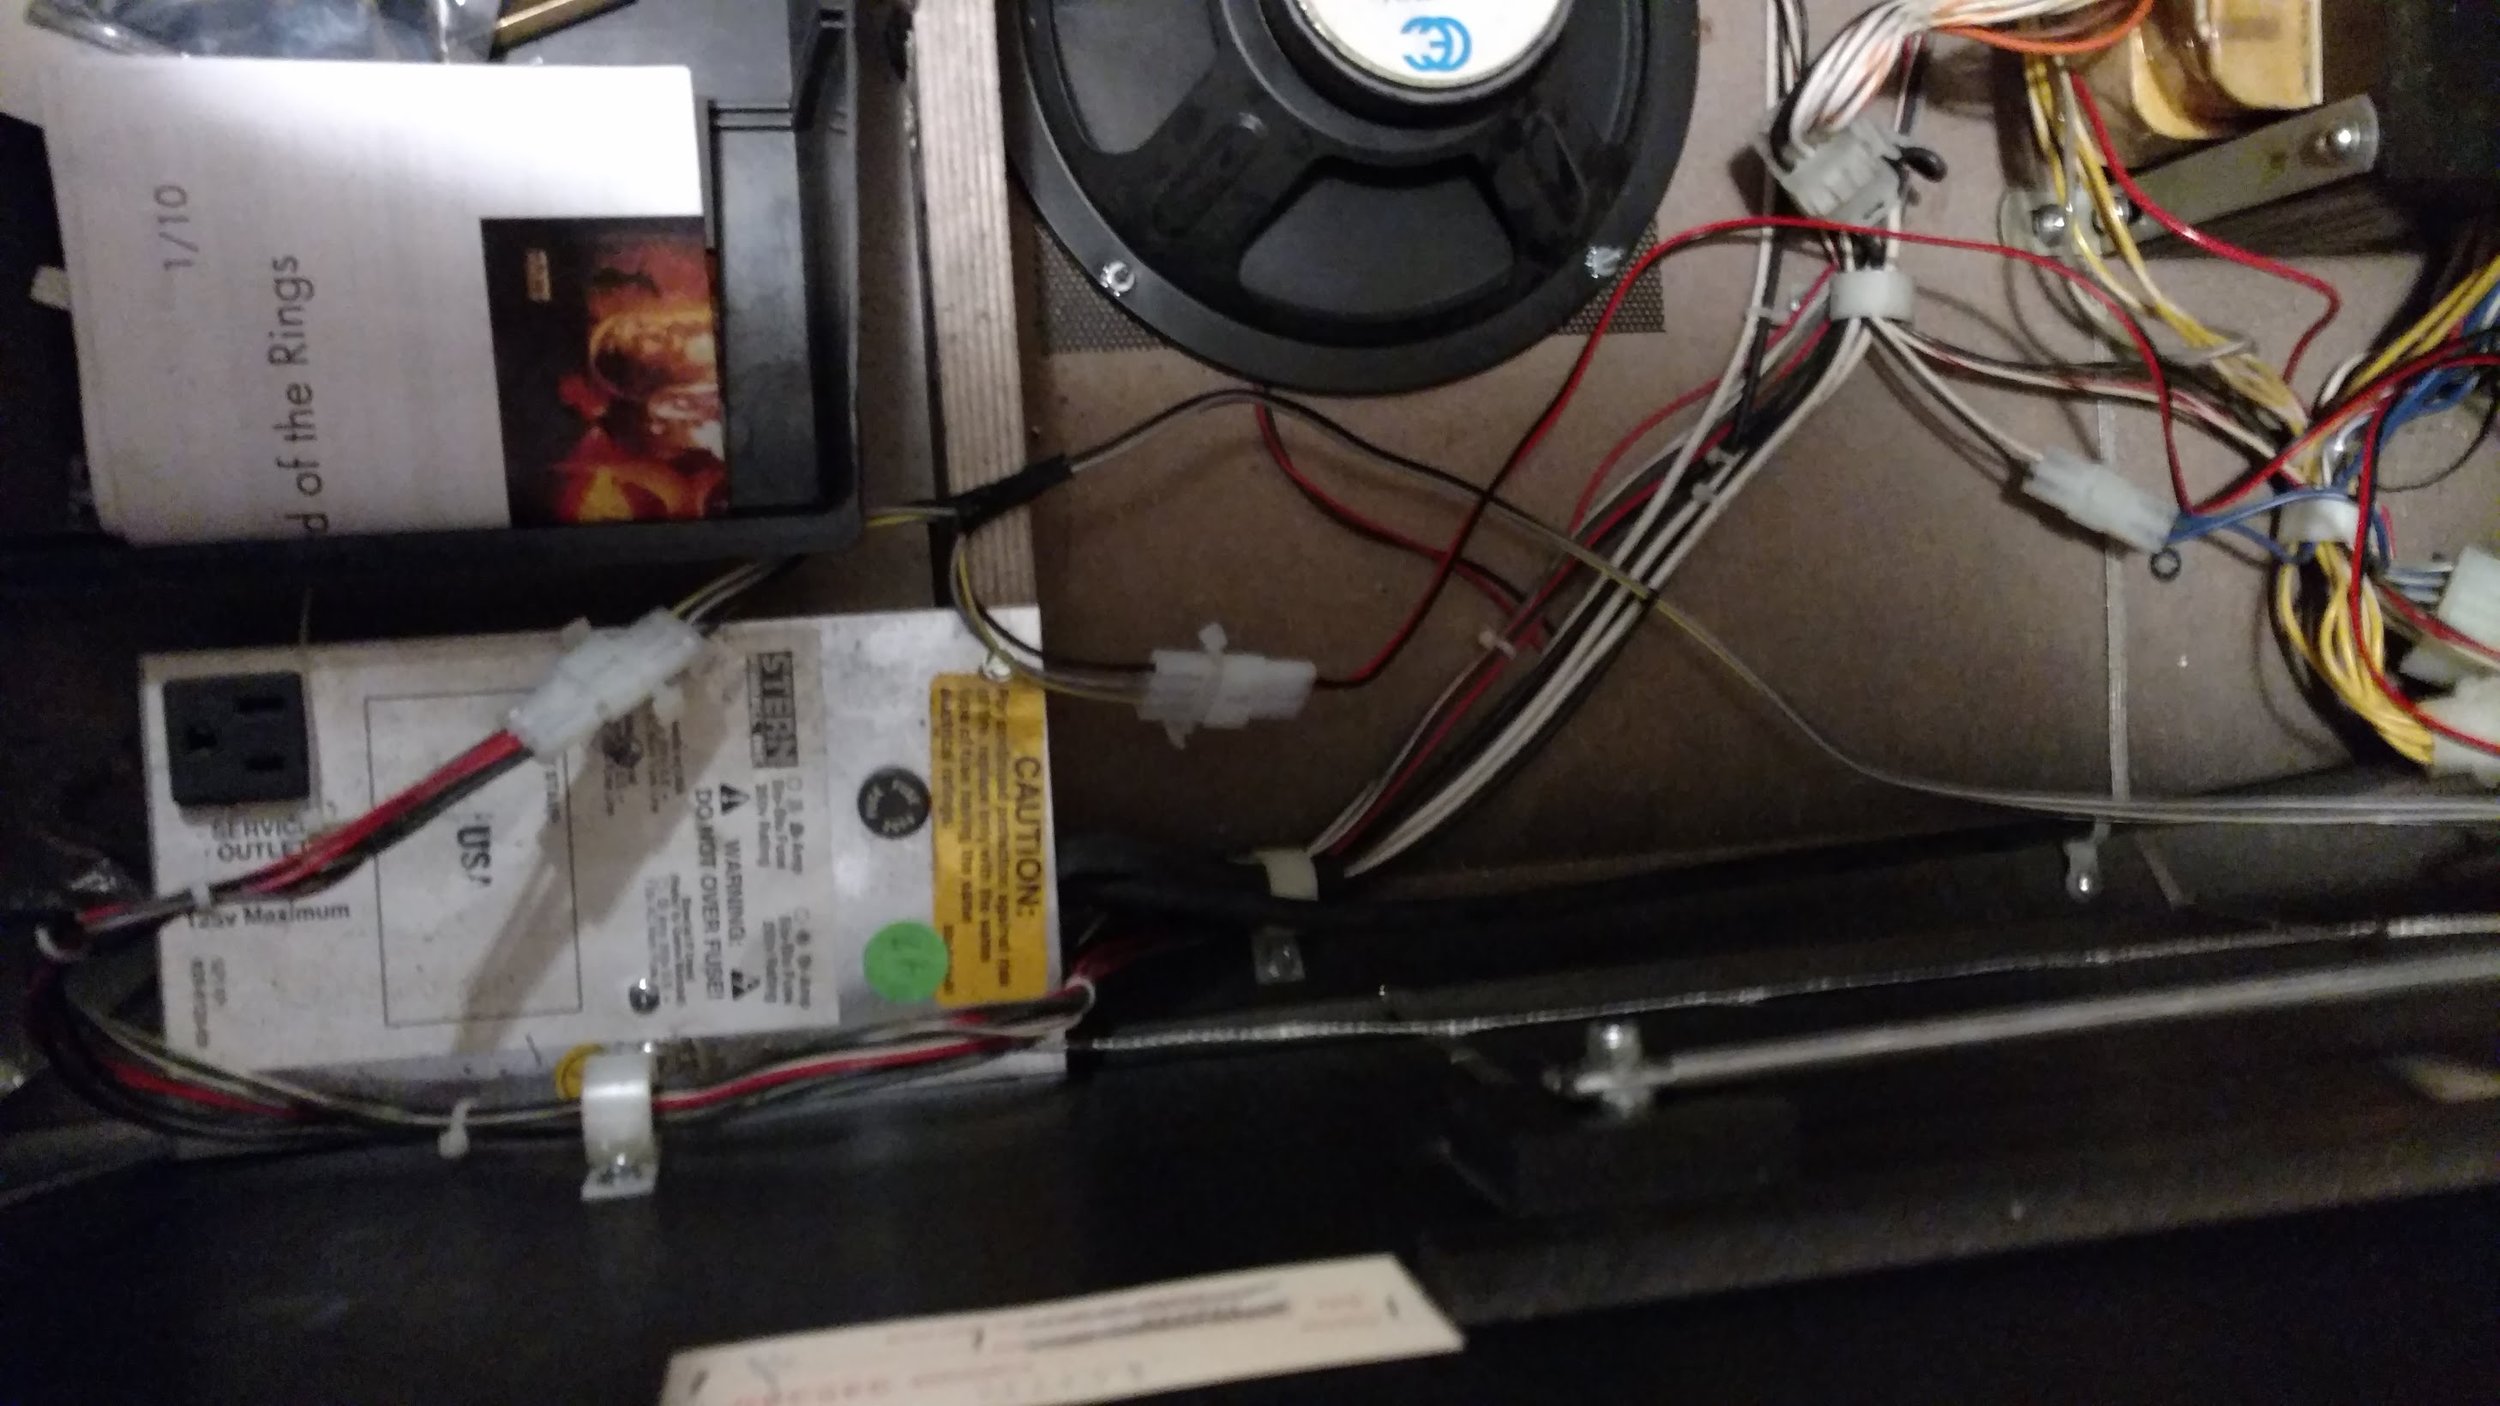
Feed wire harness and connector to the front right of the machine.
Connect the mod to the existing 3-pin Molex connector (as shown)
Installation is complete. You can loosen the machine screws and tweak the position of the mod as needed to make sure there is no interference with ball travel.
Forest World Installation
MAKE SURE PINBALL MACHINE IS OFF AND BALLS ARE REMOVED DURING INSTALLATION.
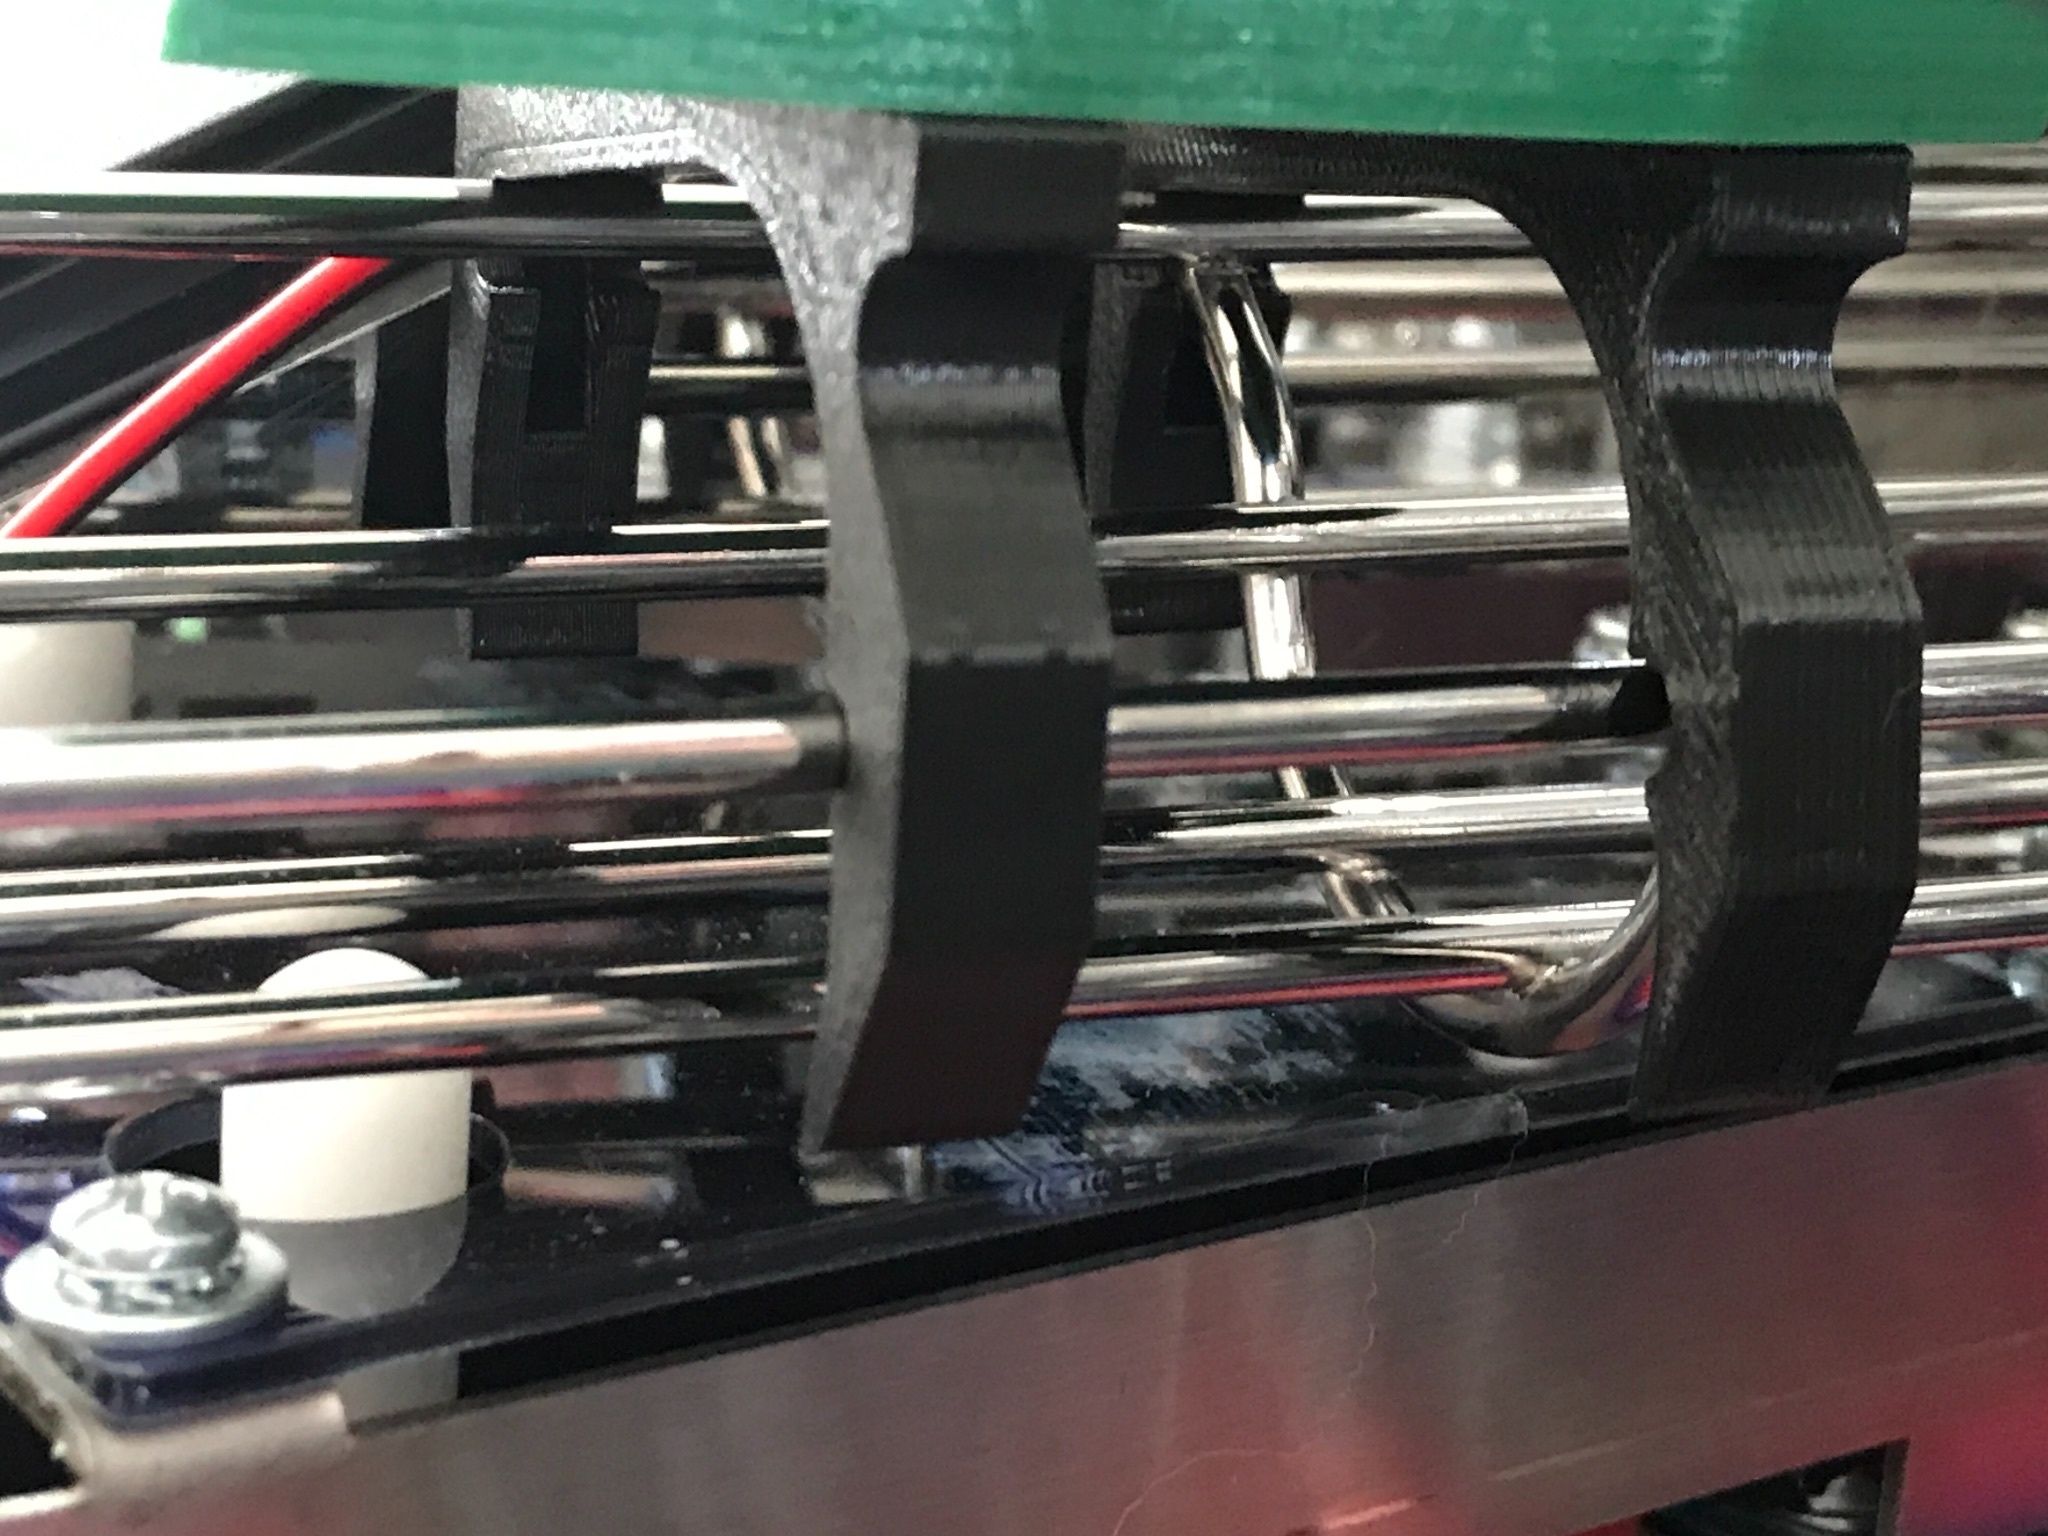
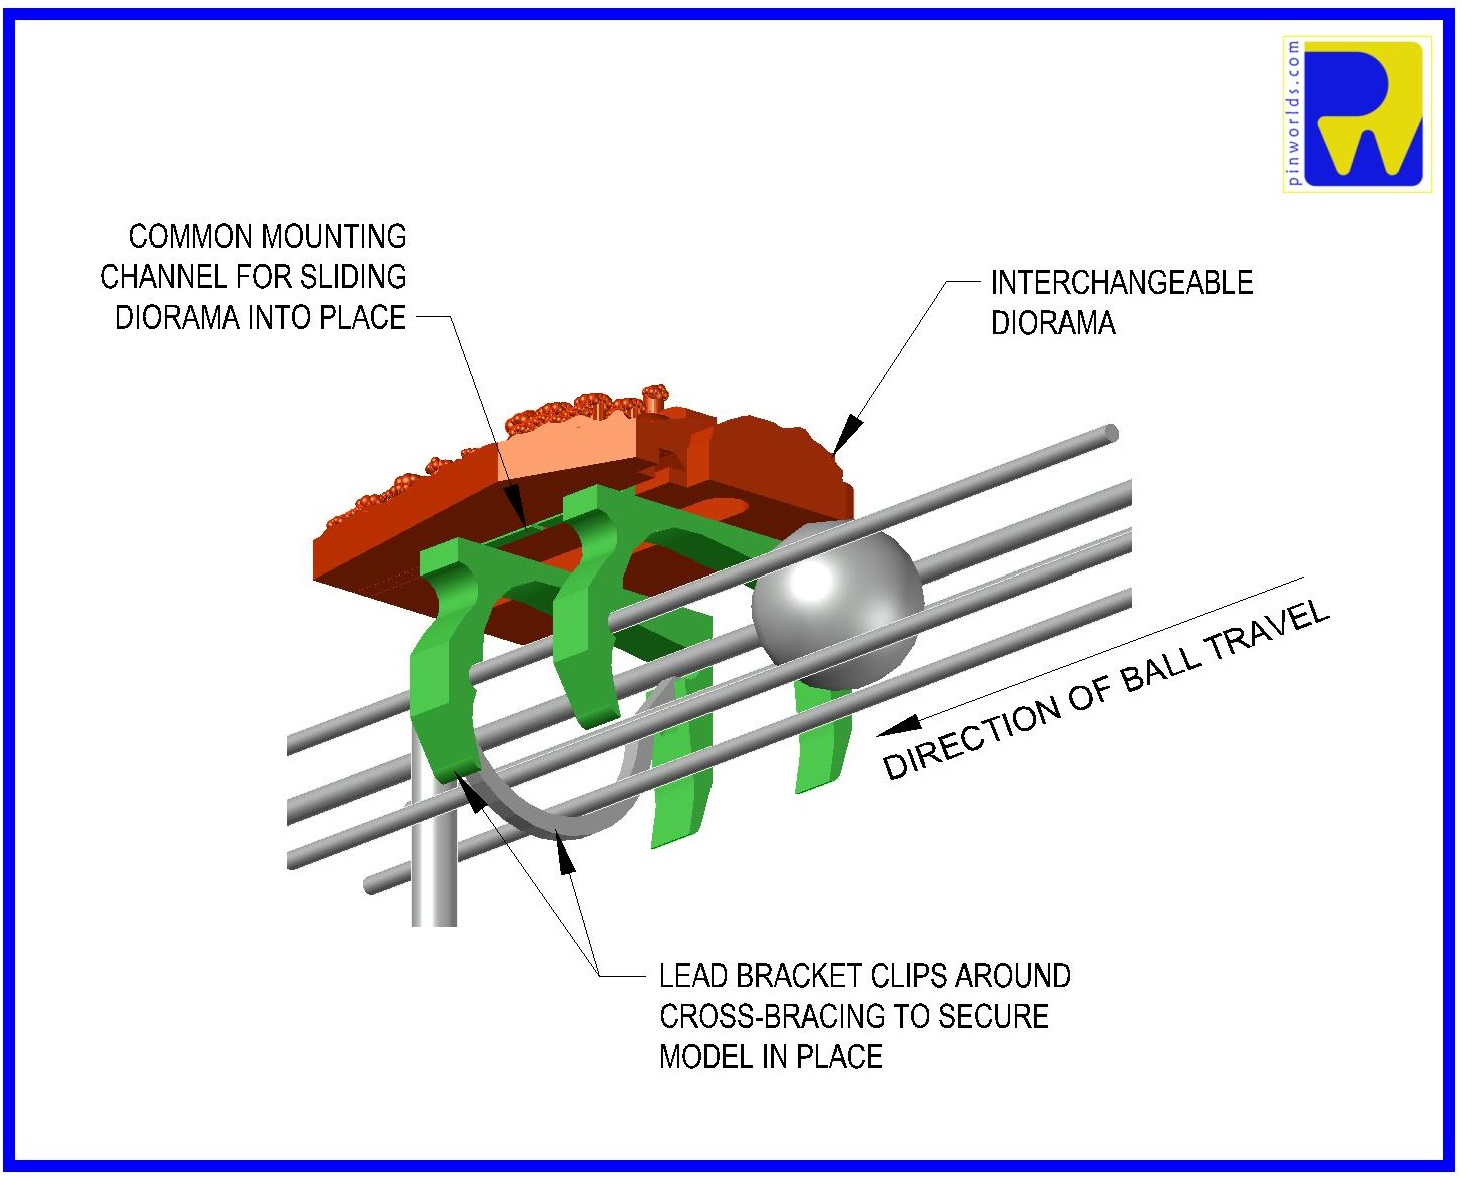
Attach Forest World base to the wireform or plastic ramp as shown.
Feed the wires between the two plastics and down the hole shown.
From under the playfield, locate the correct lamp. Loosen the screw and drop the socket/LED out of the hole in the playfield.
Replace the exiting white GI LED with the LED/Matrix connector.
Make sure the wires point down when replacing the socket/LED. The LED will point up. This connection happens under the playfield.
Locate the connector from the Forest World mod that you dropped through the above hole.
Connect the Matrix connectors.
Install the optional green acrylic rod through the hole on top of the satellite base. Rotate the rod clockwise until it goes all the way down and rests on the LED (rod will glow much brighter when it hits the lamp).
NOTE: If base is not tight to the wireform, check the hollowed-out channels in the mounting brackets. If there is some remaining plastic visible in the channel from the printing process, scrape out with a razor blade.
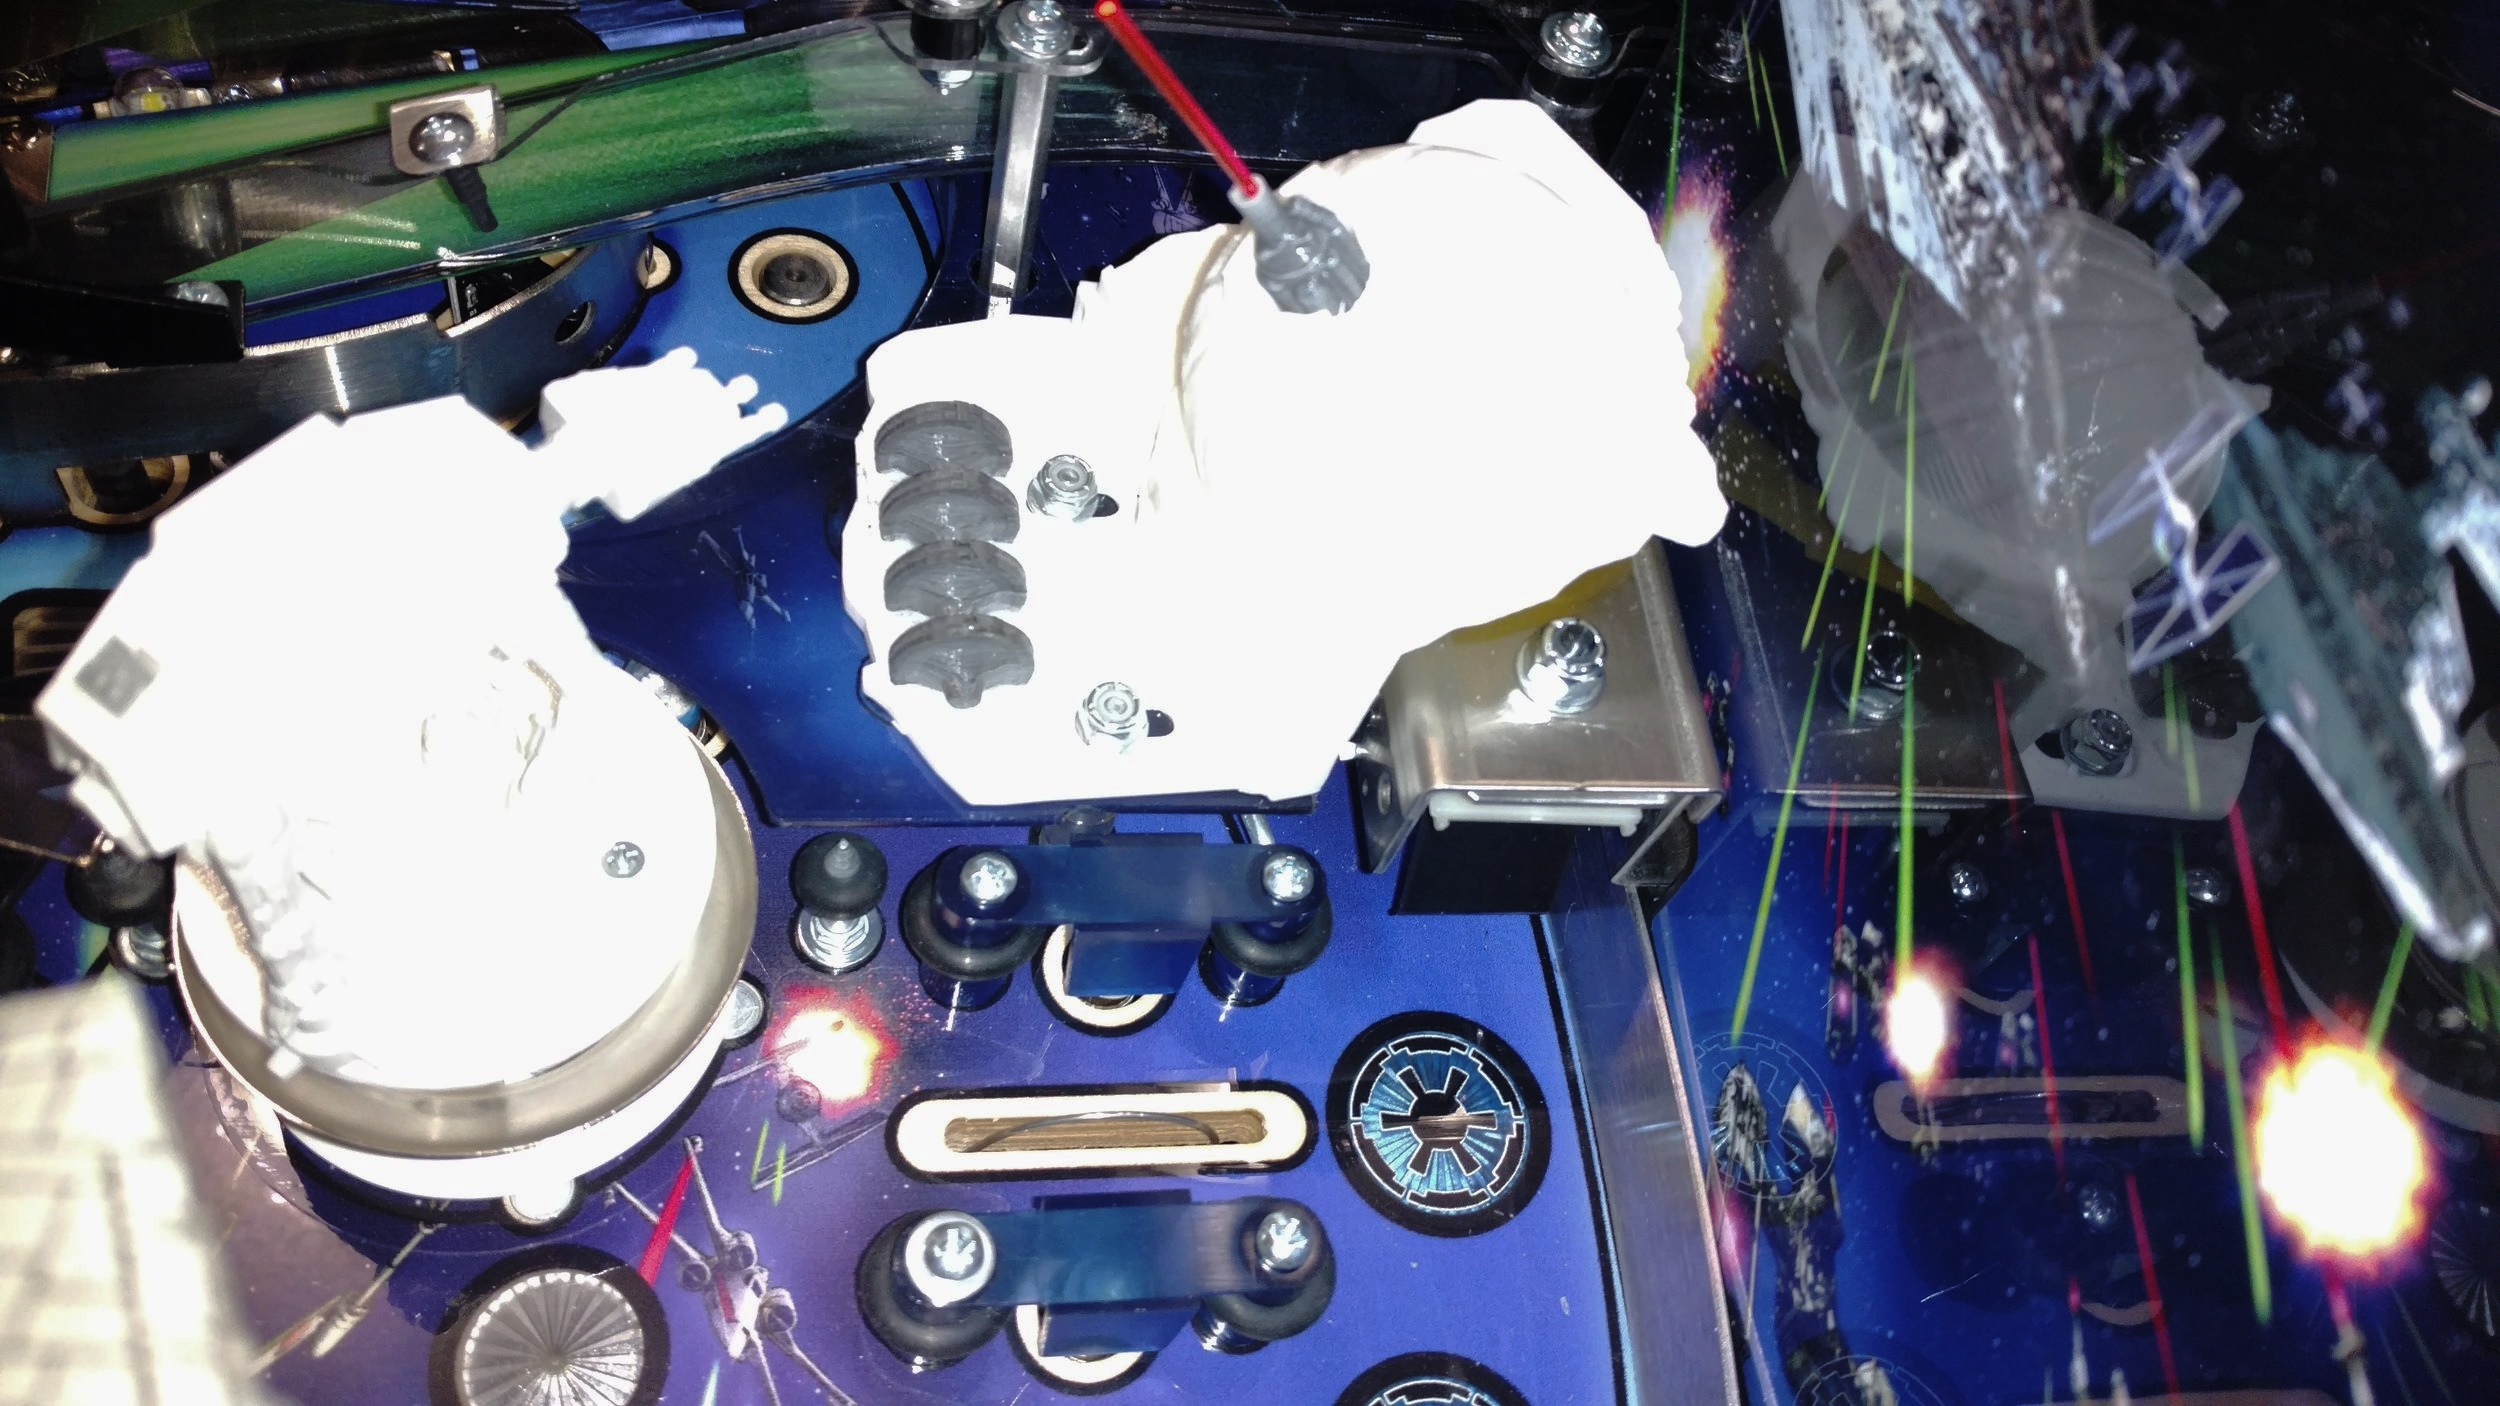
SAND World Installation
MAKE SURE PINBALL MACHINE IS OFF AND BALLS ARE REMOVED DURING INSTALLATION.
Mount the Sand World diorama as shown (LE/PREMIUM). For PRO version, located above the gobble hole.
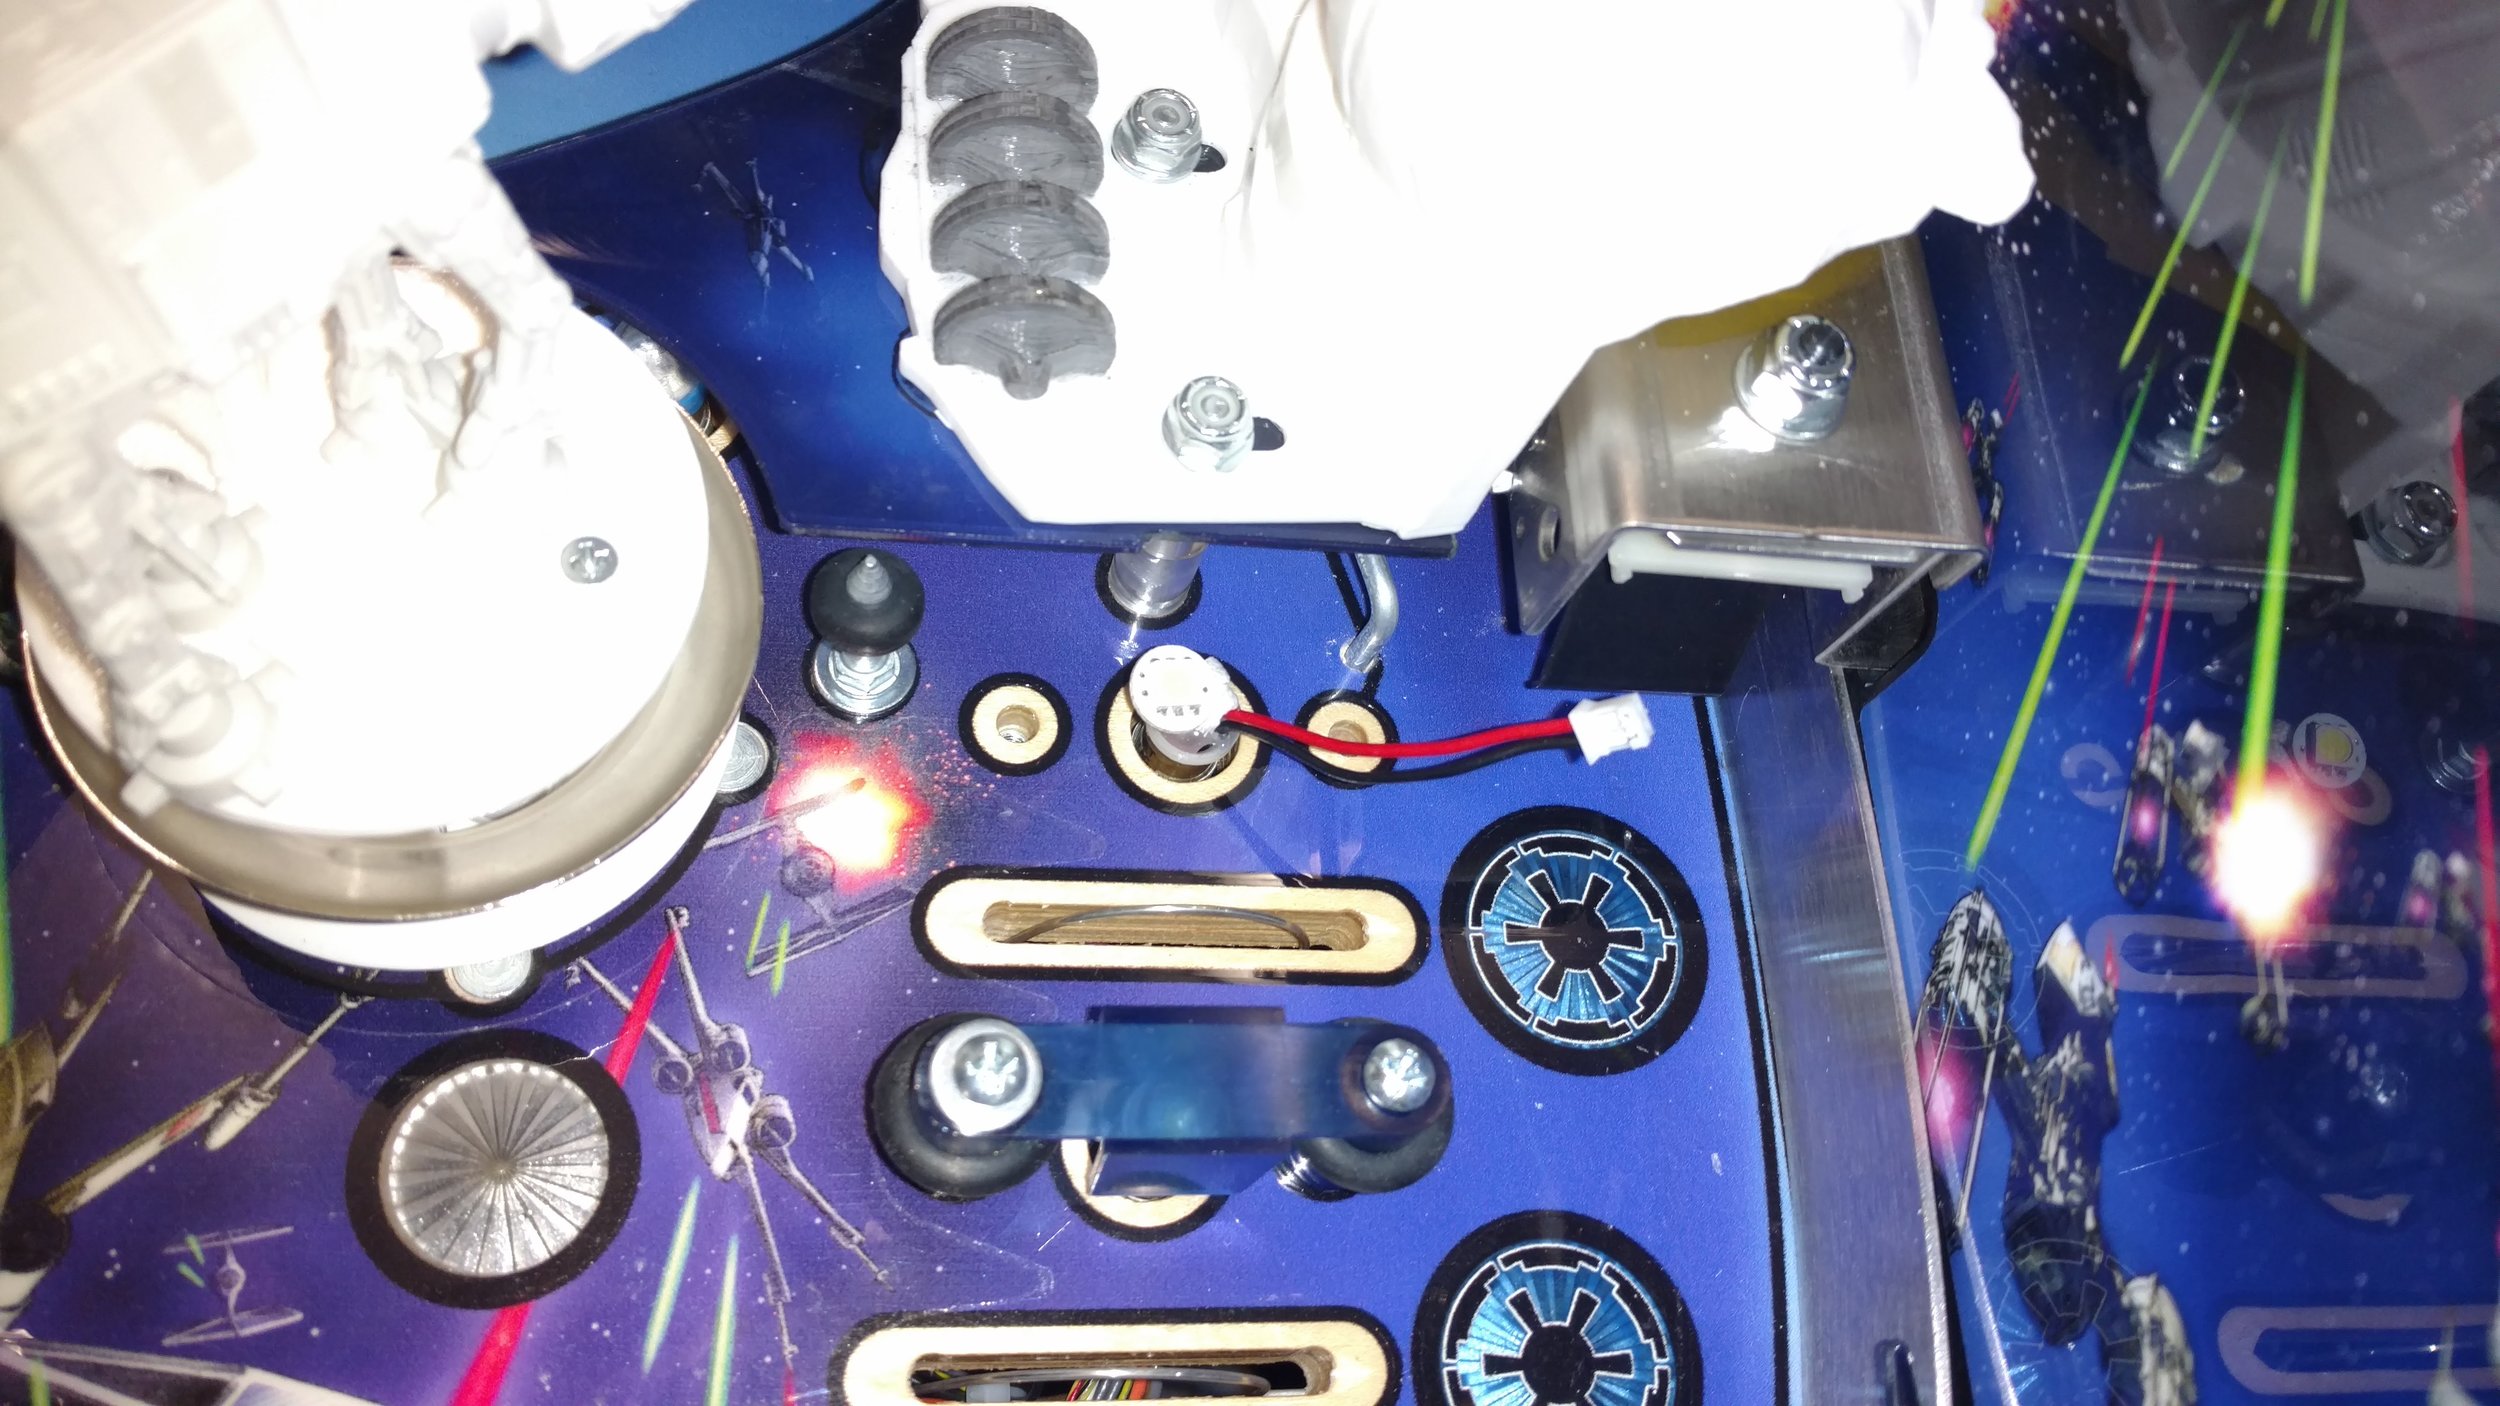
Locate the correct lamp under the playfield. Remove the screw holding the lamp in place and drop the socket and led out of the hole.
Replace the LED with the provided LED/Matrix connector. Make sure the wires/Matrix connector are straight up and replace the socket.
Remove at least the nut shown to loosen the plastic. Remove additional nuts securing the plastic to allow more flexibility.
Gently (don’t crack the plastic) bend the plastic and fish out the Matrix connector from the LED. The connector should now stick above the plastic.
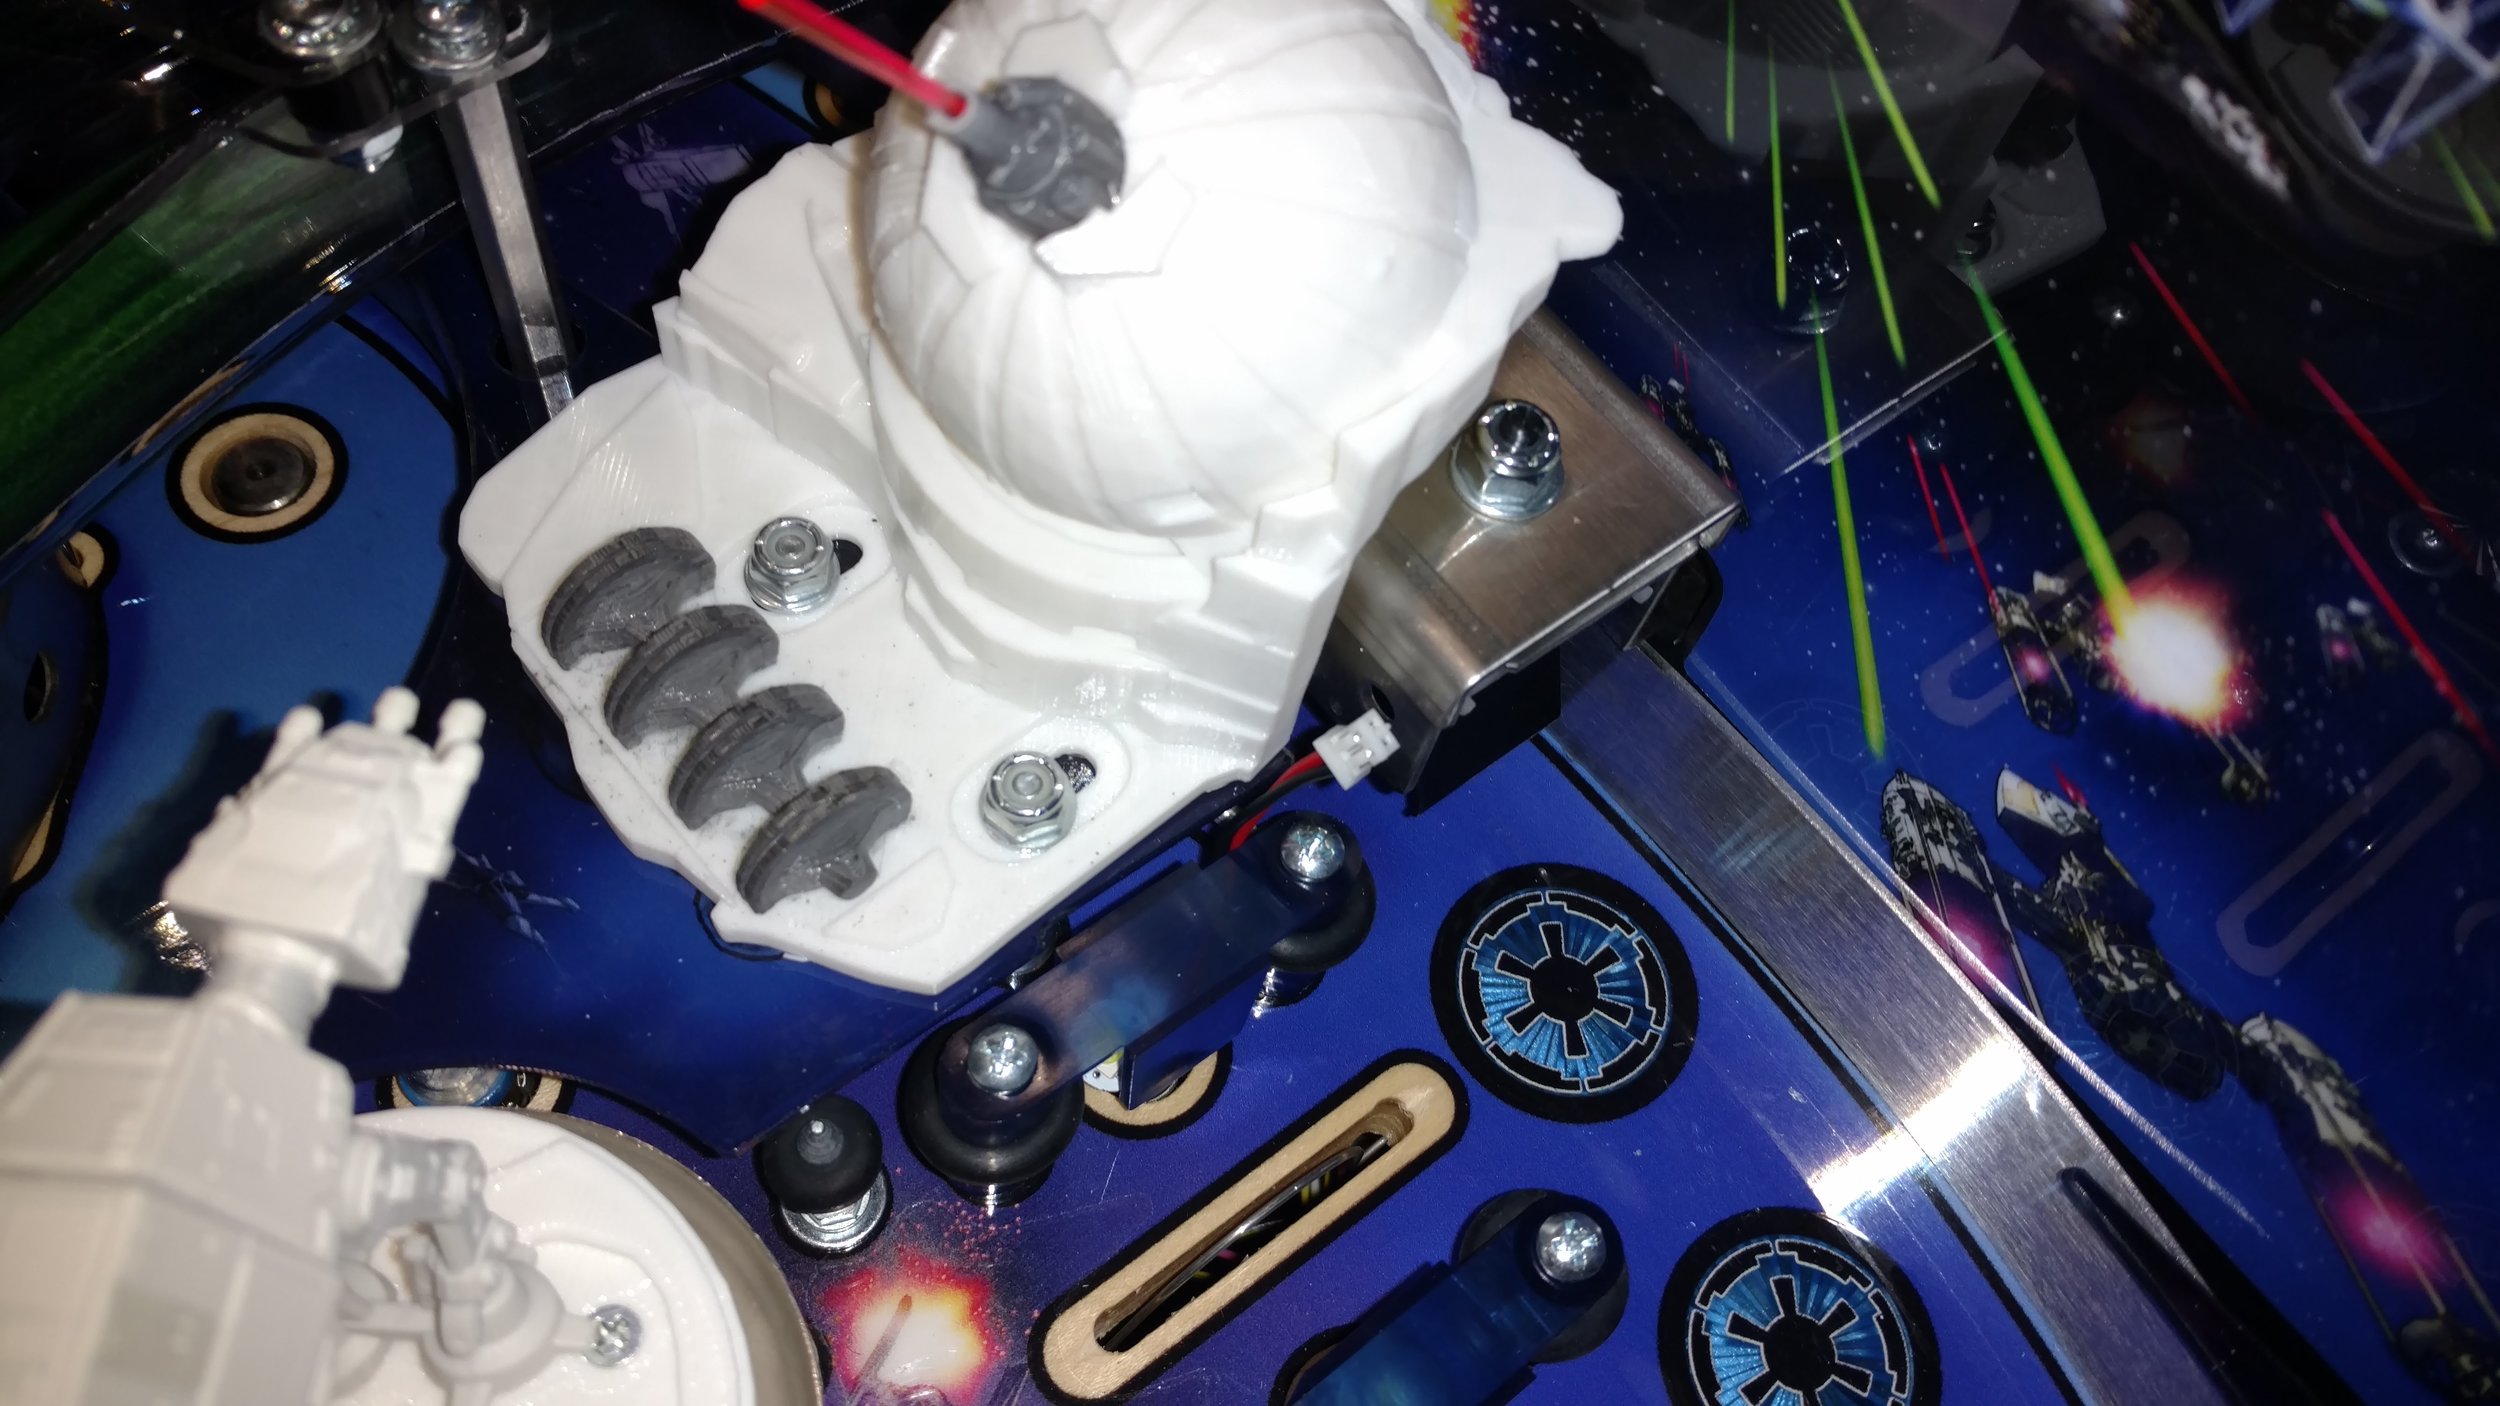
Attach Sand World, as shown.
Connect the Sand World Matrix connector to the led Matrix connector.
Gently bend the plastic again and drop the connector under the plastic.
Replace the nut to secure the plastic.
NOTE: If base is not tight to the wireform, check the hollowed-out channels in the mounting brackets. If there is some remaining plastic visible in the channel from the printing process, scrape out with a razor blade.
ice world installation
MAKE SURE PINBALL MACHINE IS OFF DURING INSTALLATION
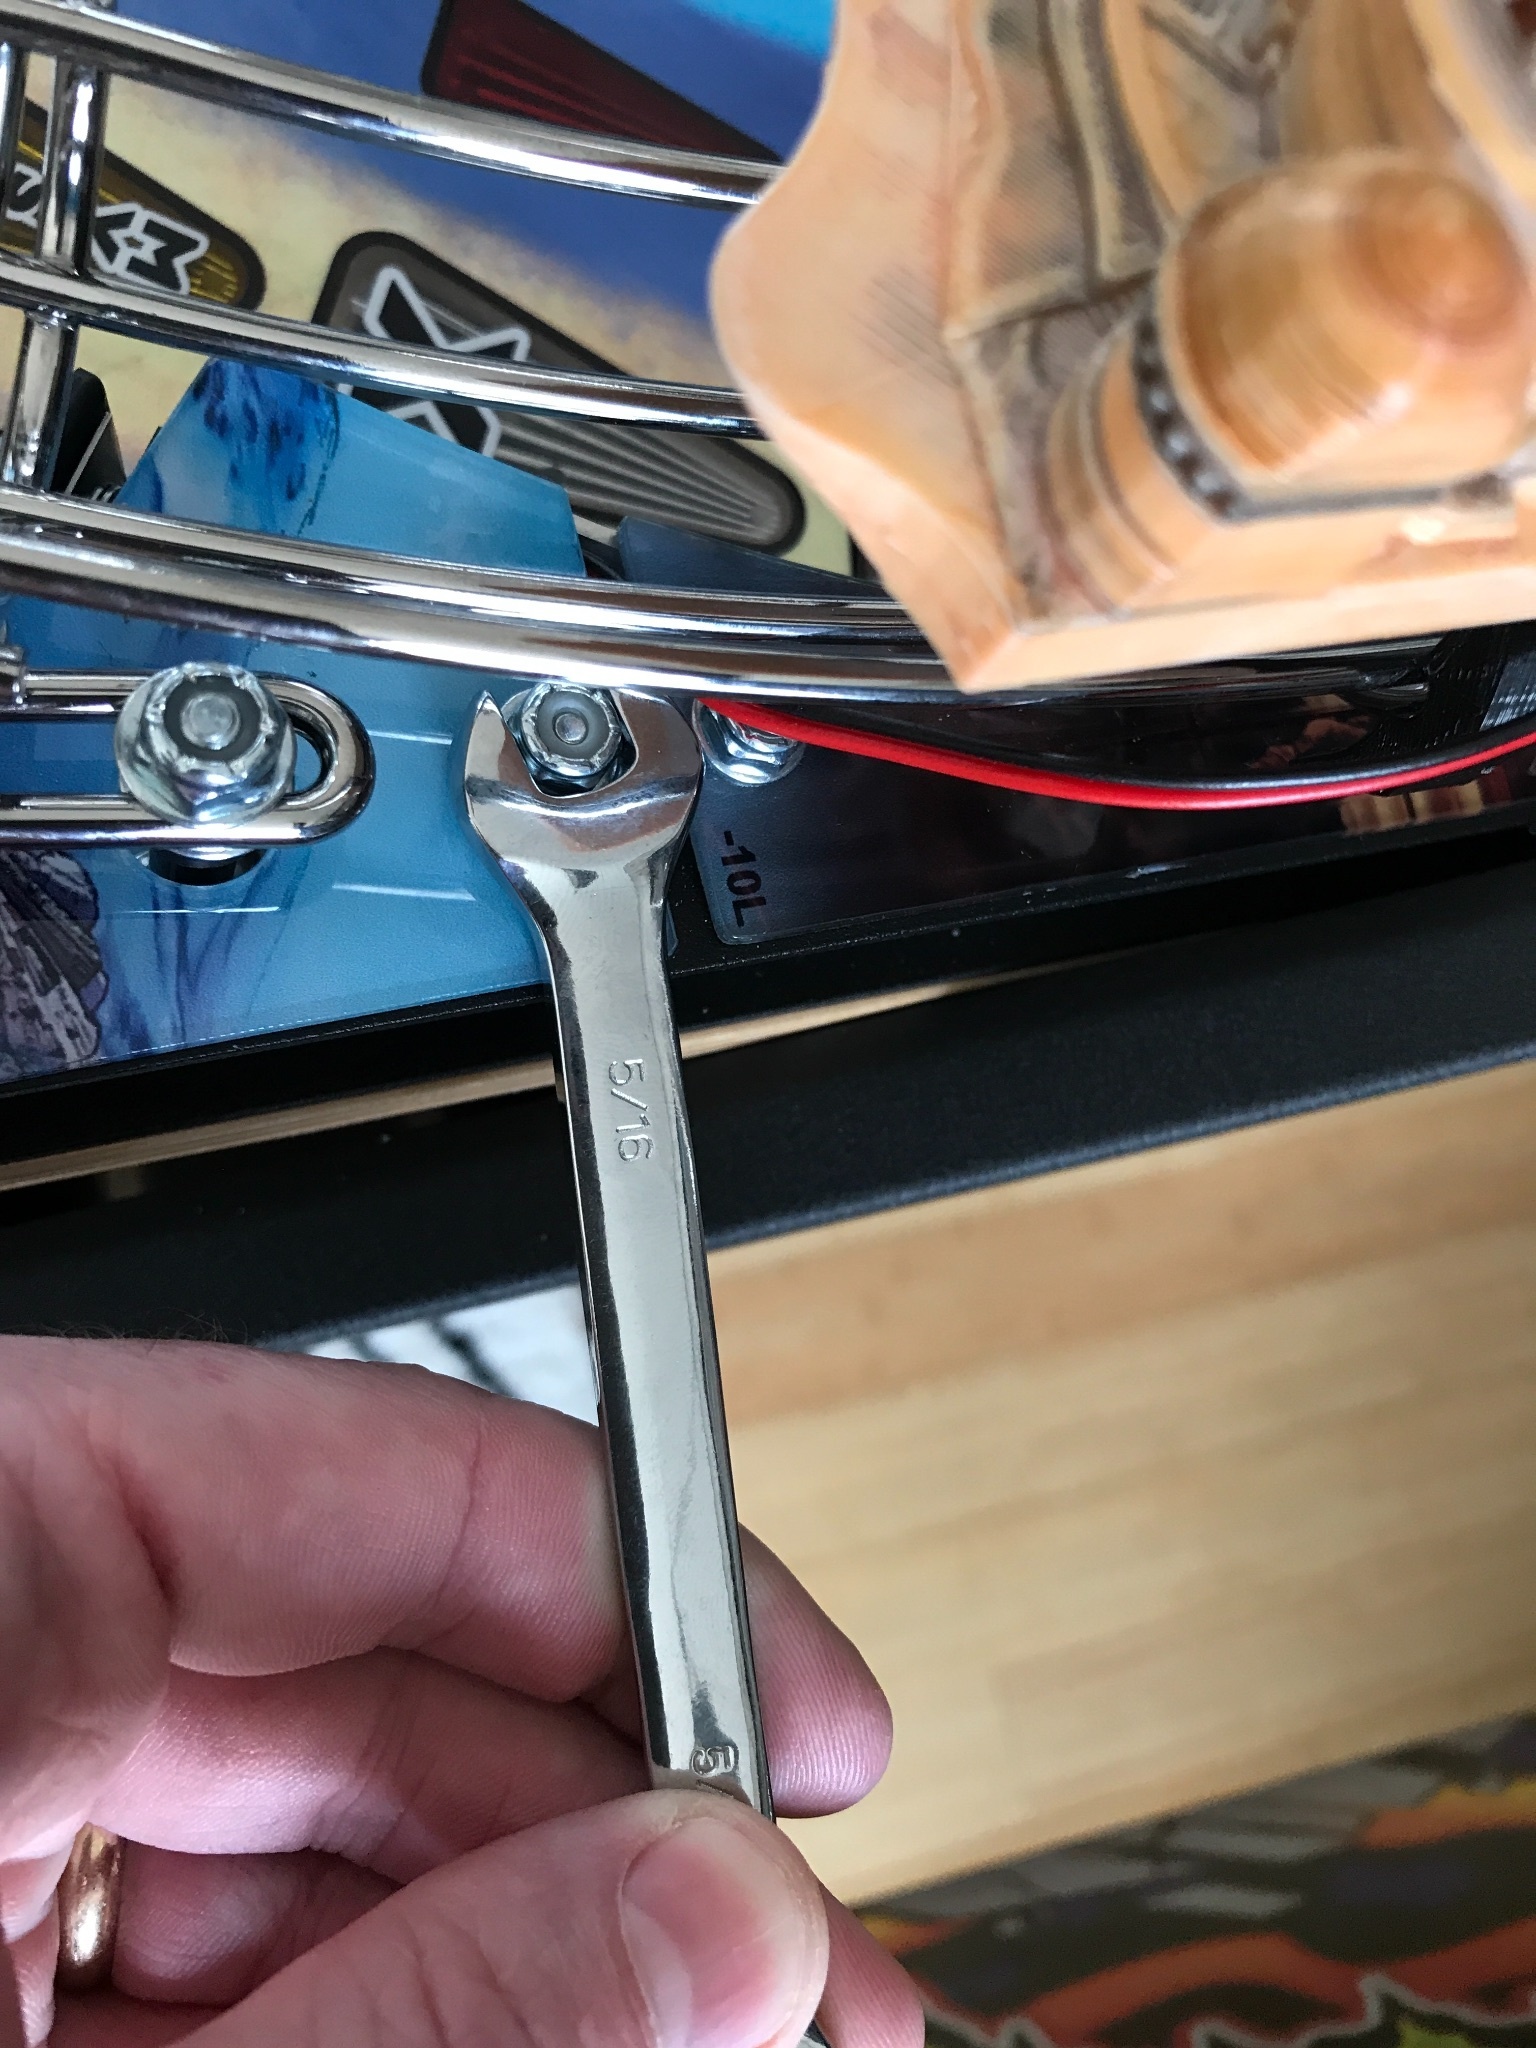
Locate the two 5/16” nylon nuts in the back of the machine, just left of the control gate for the orbit - the base will mount here.
Remove the two nuts and washers to expose the threaded posts and position to your liking.
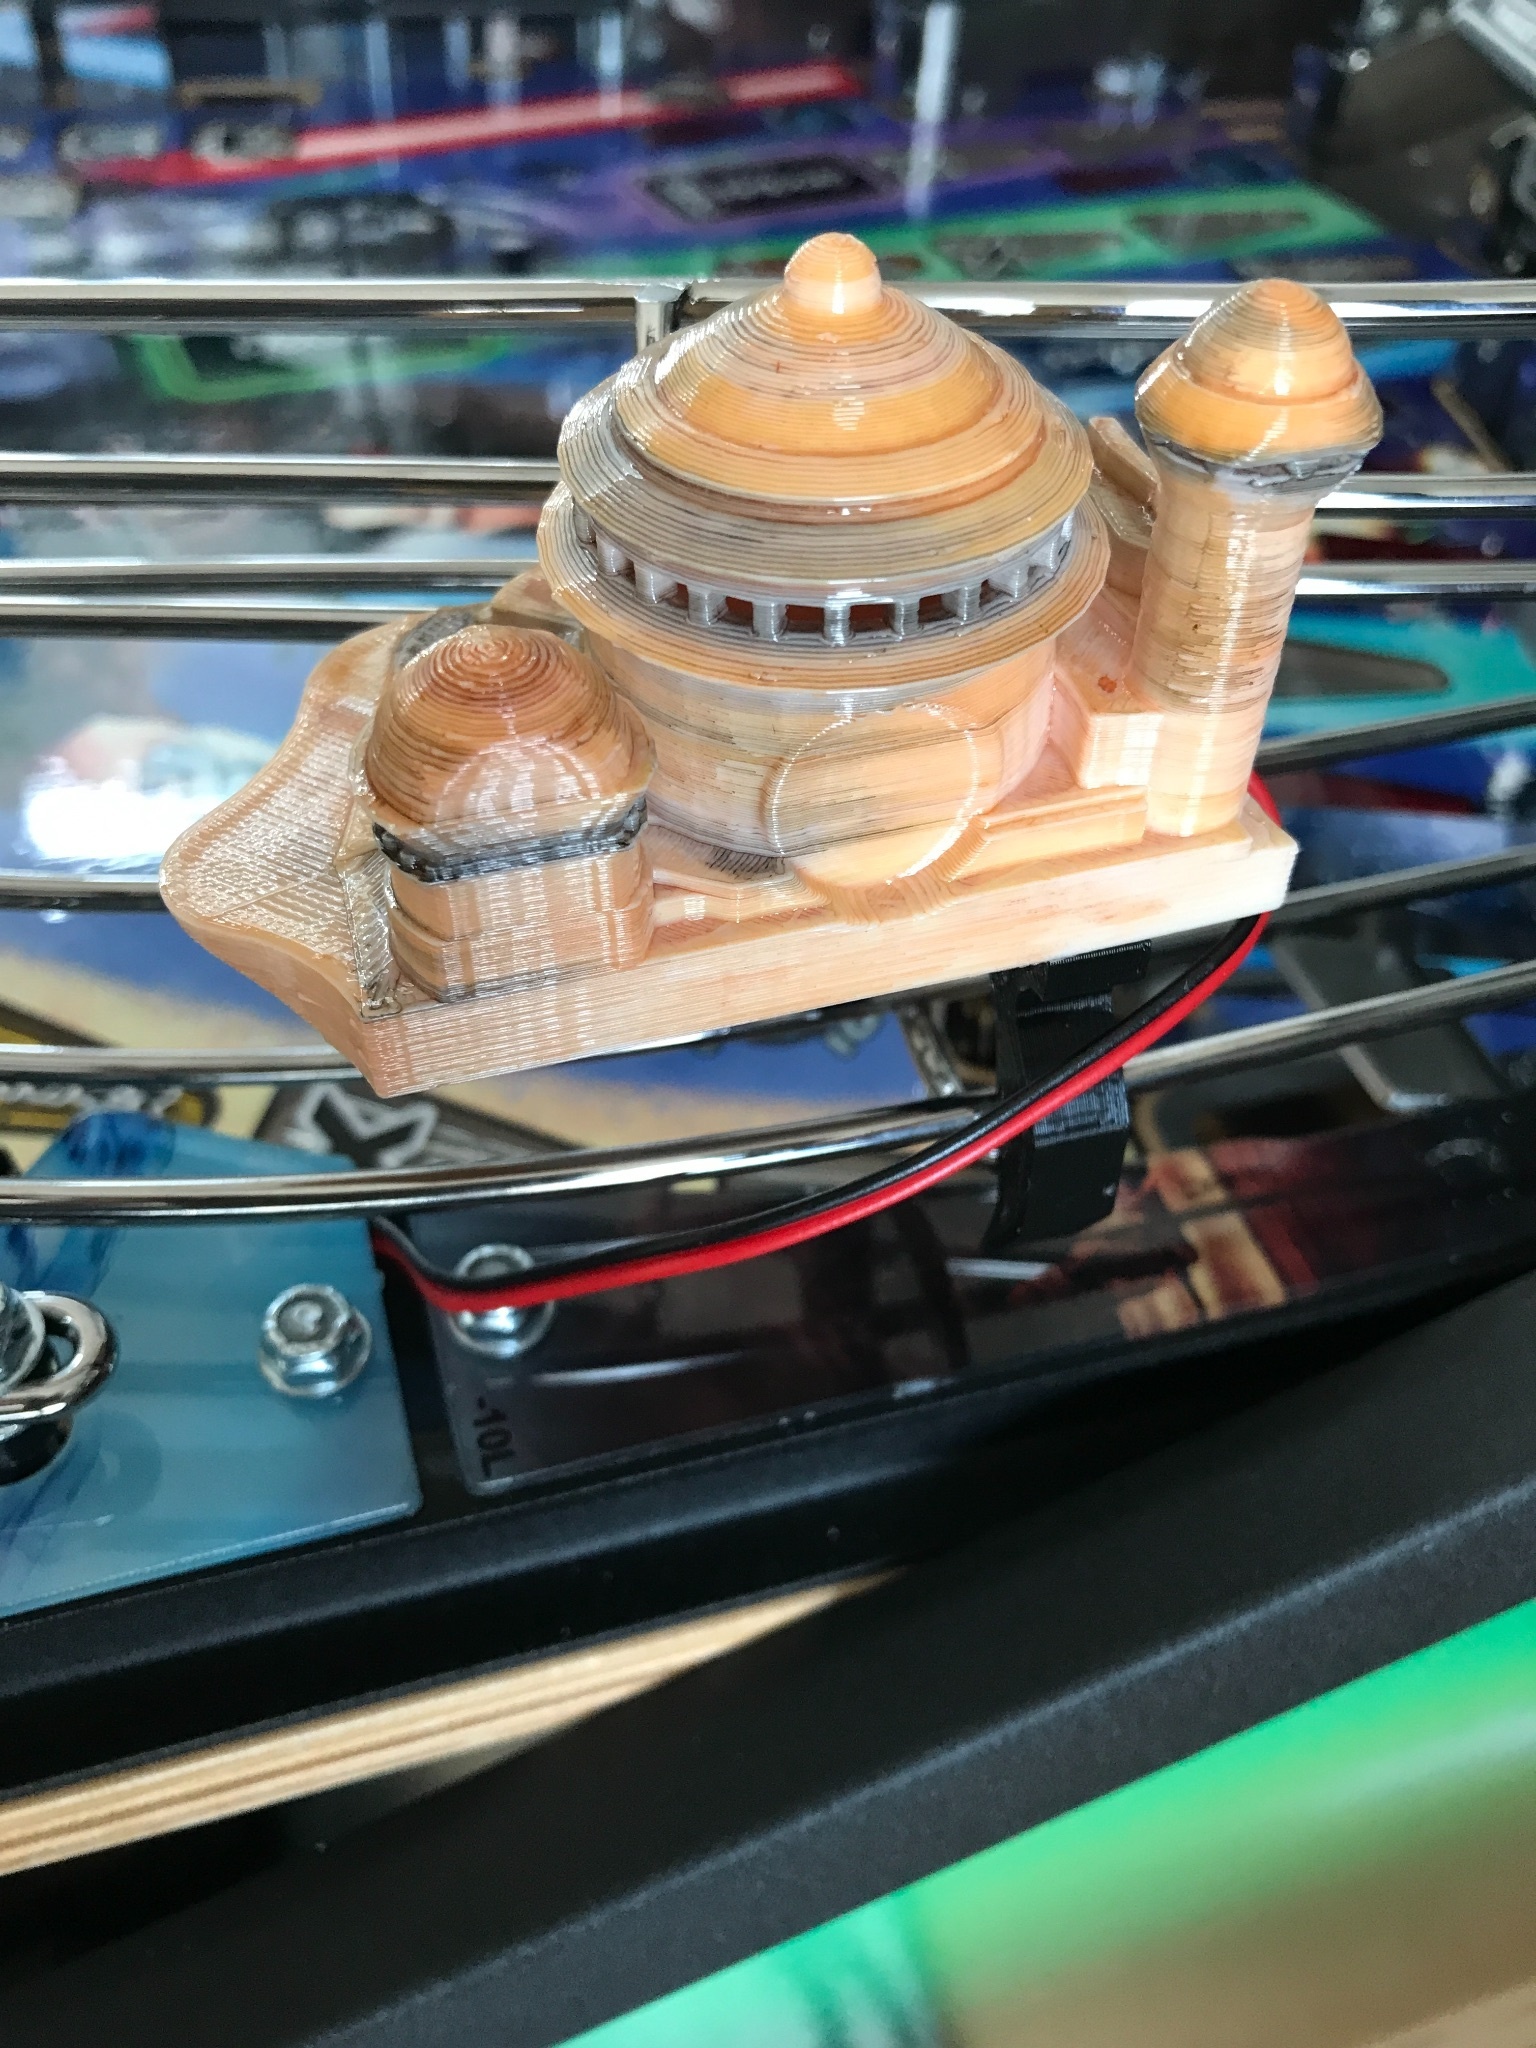
Place the base over the exposed posts and position to your liking.
Replace the washers and tighten the nuts (take care to not over-tighten).
Locate the left most GI lamp under the blue plastic lane guide. Remove the lane guide using a Phillips head screwdriver.
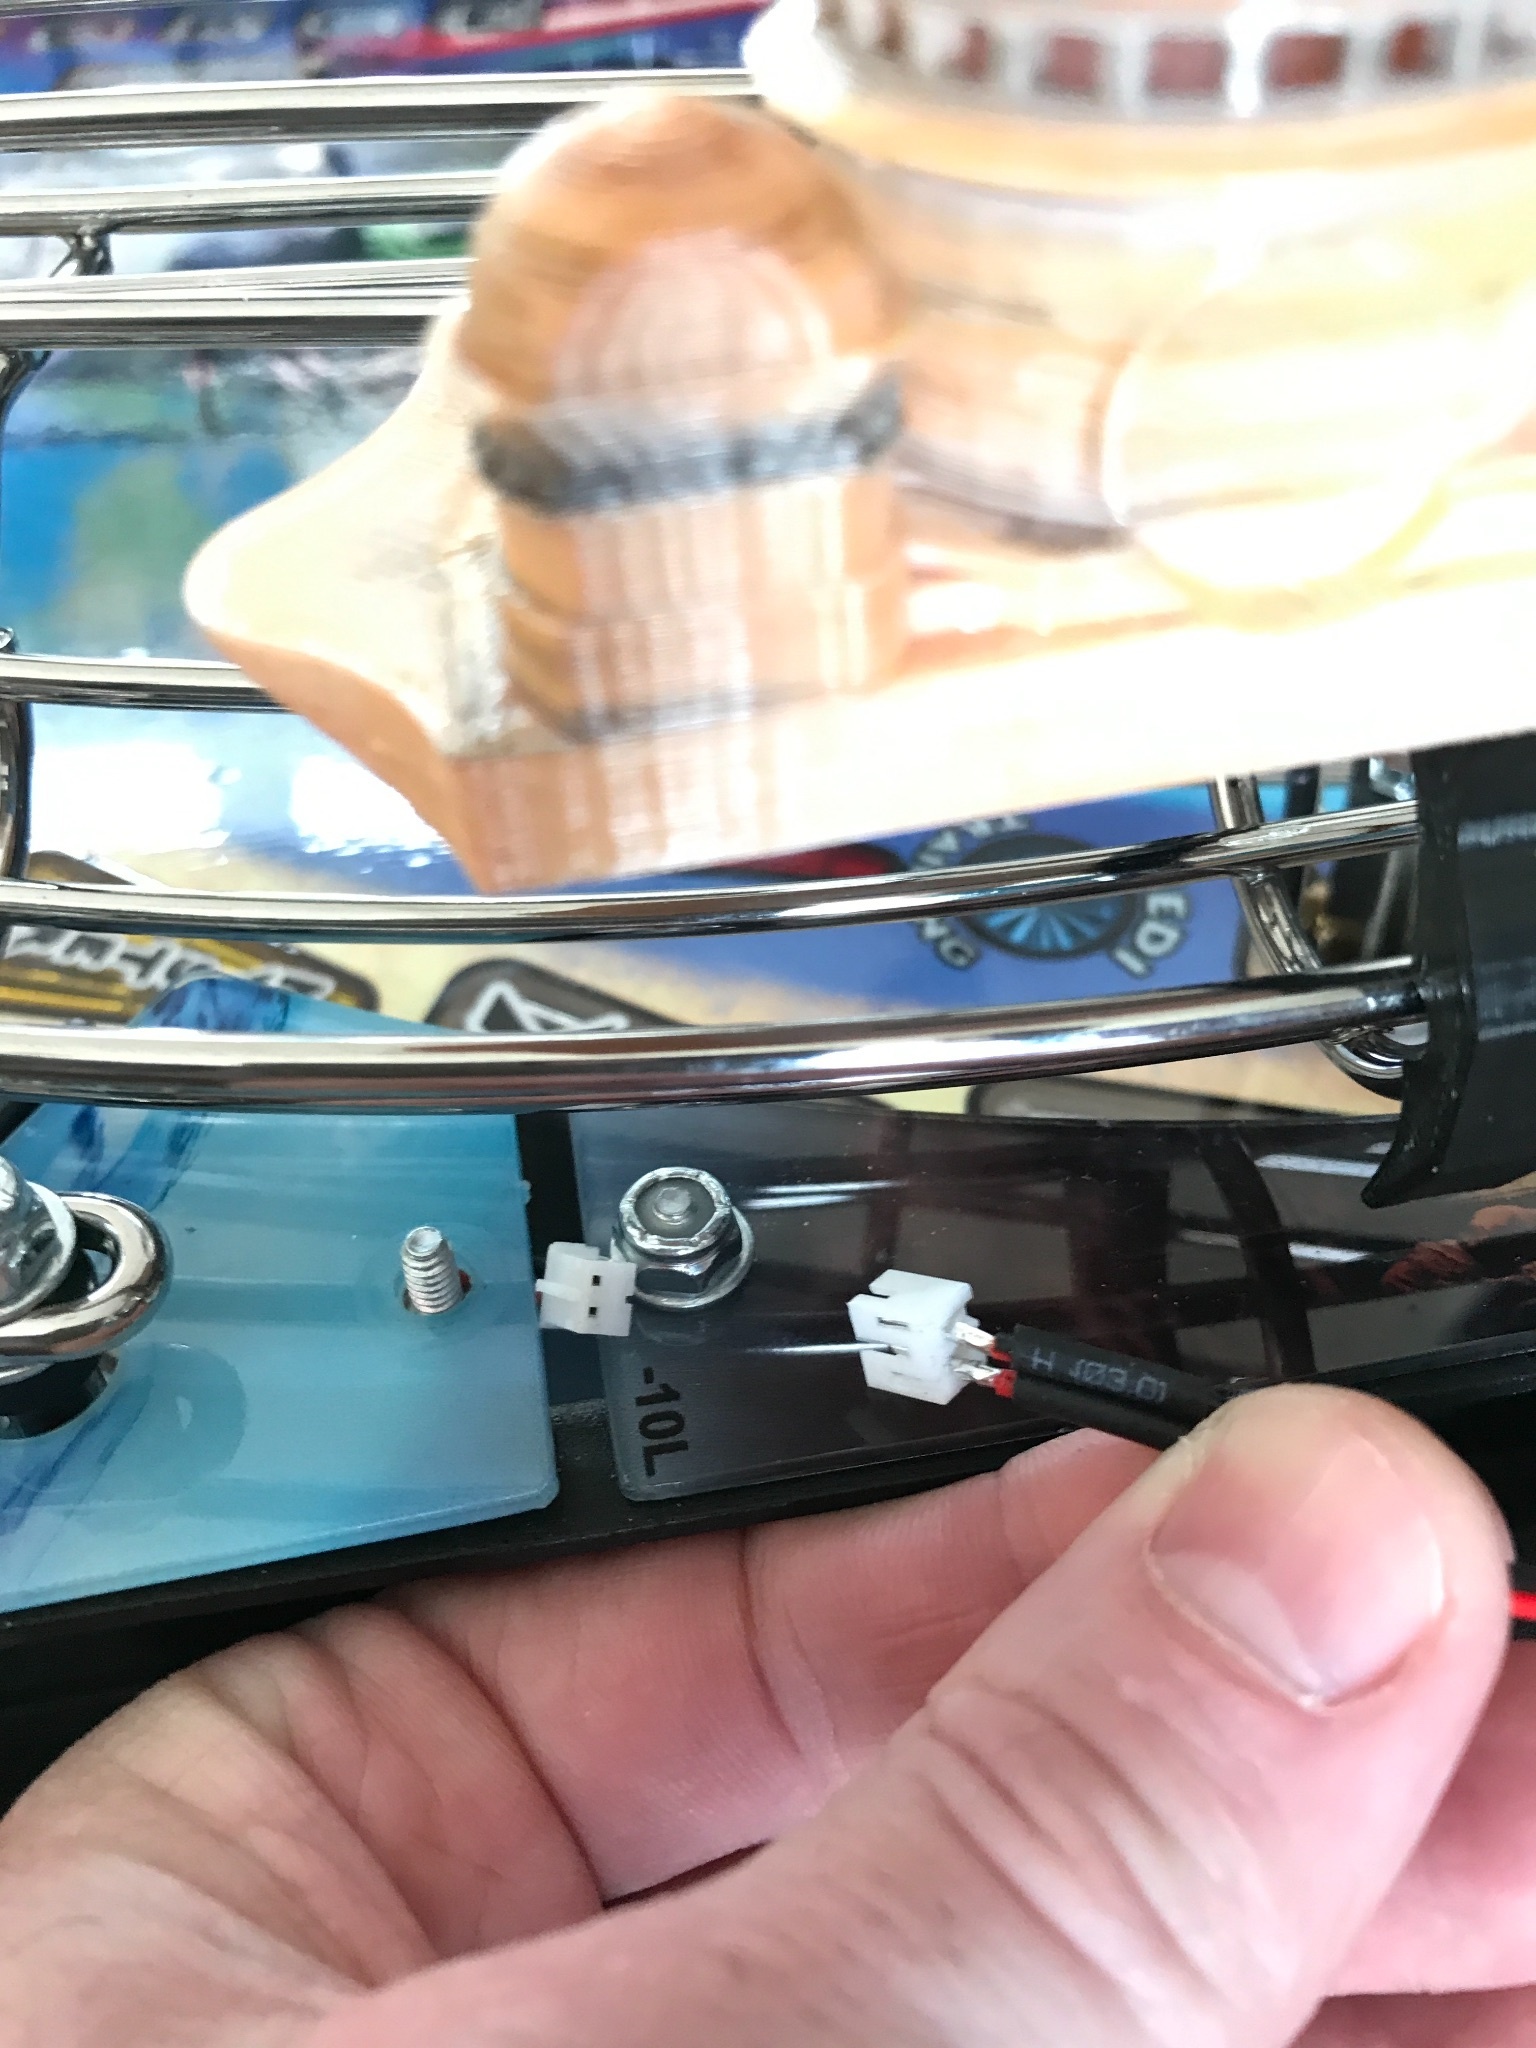
Remove the existing lamp and replace with the included Matrix connector.
Replace the blue lane guide. Make sure the wire connector is sticking out and ready for connection.
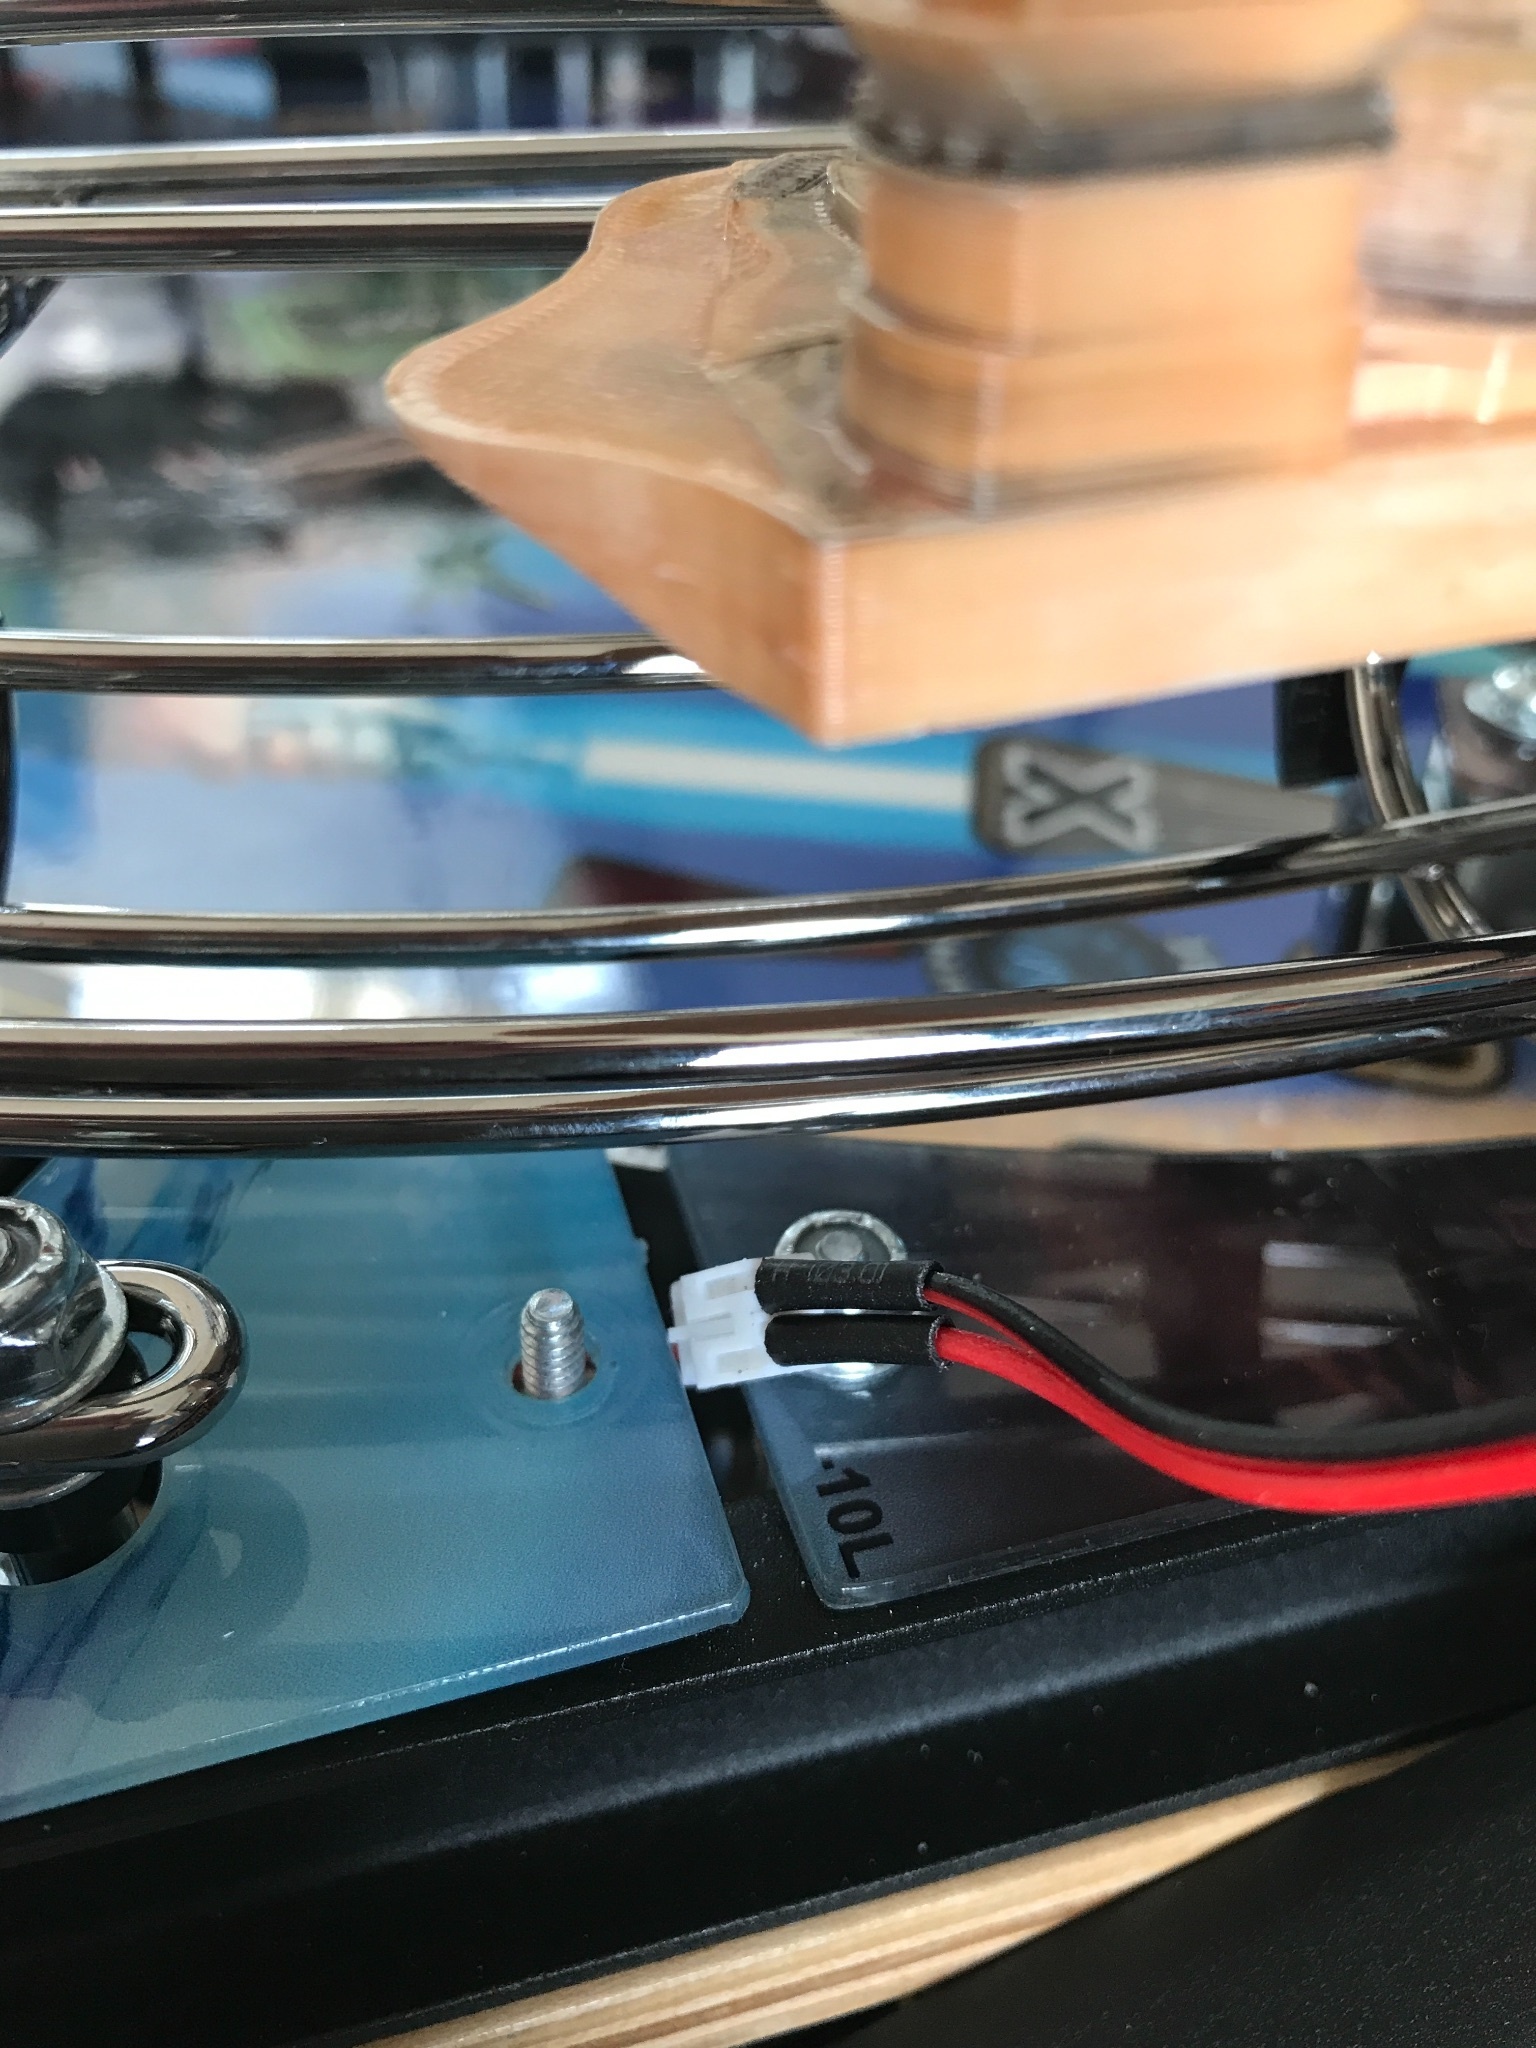
Connect the Ice World connector to the Matrix connector.
Make sure wires are tucked away behind the Ice World and won’t interfere with ball travel.
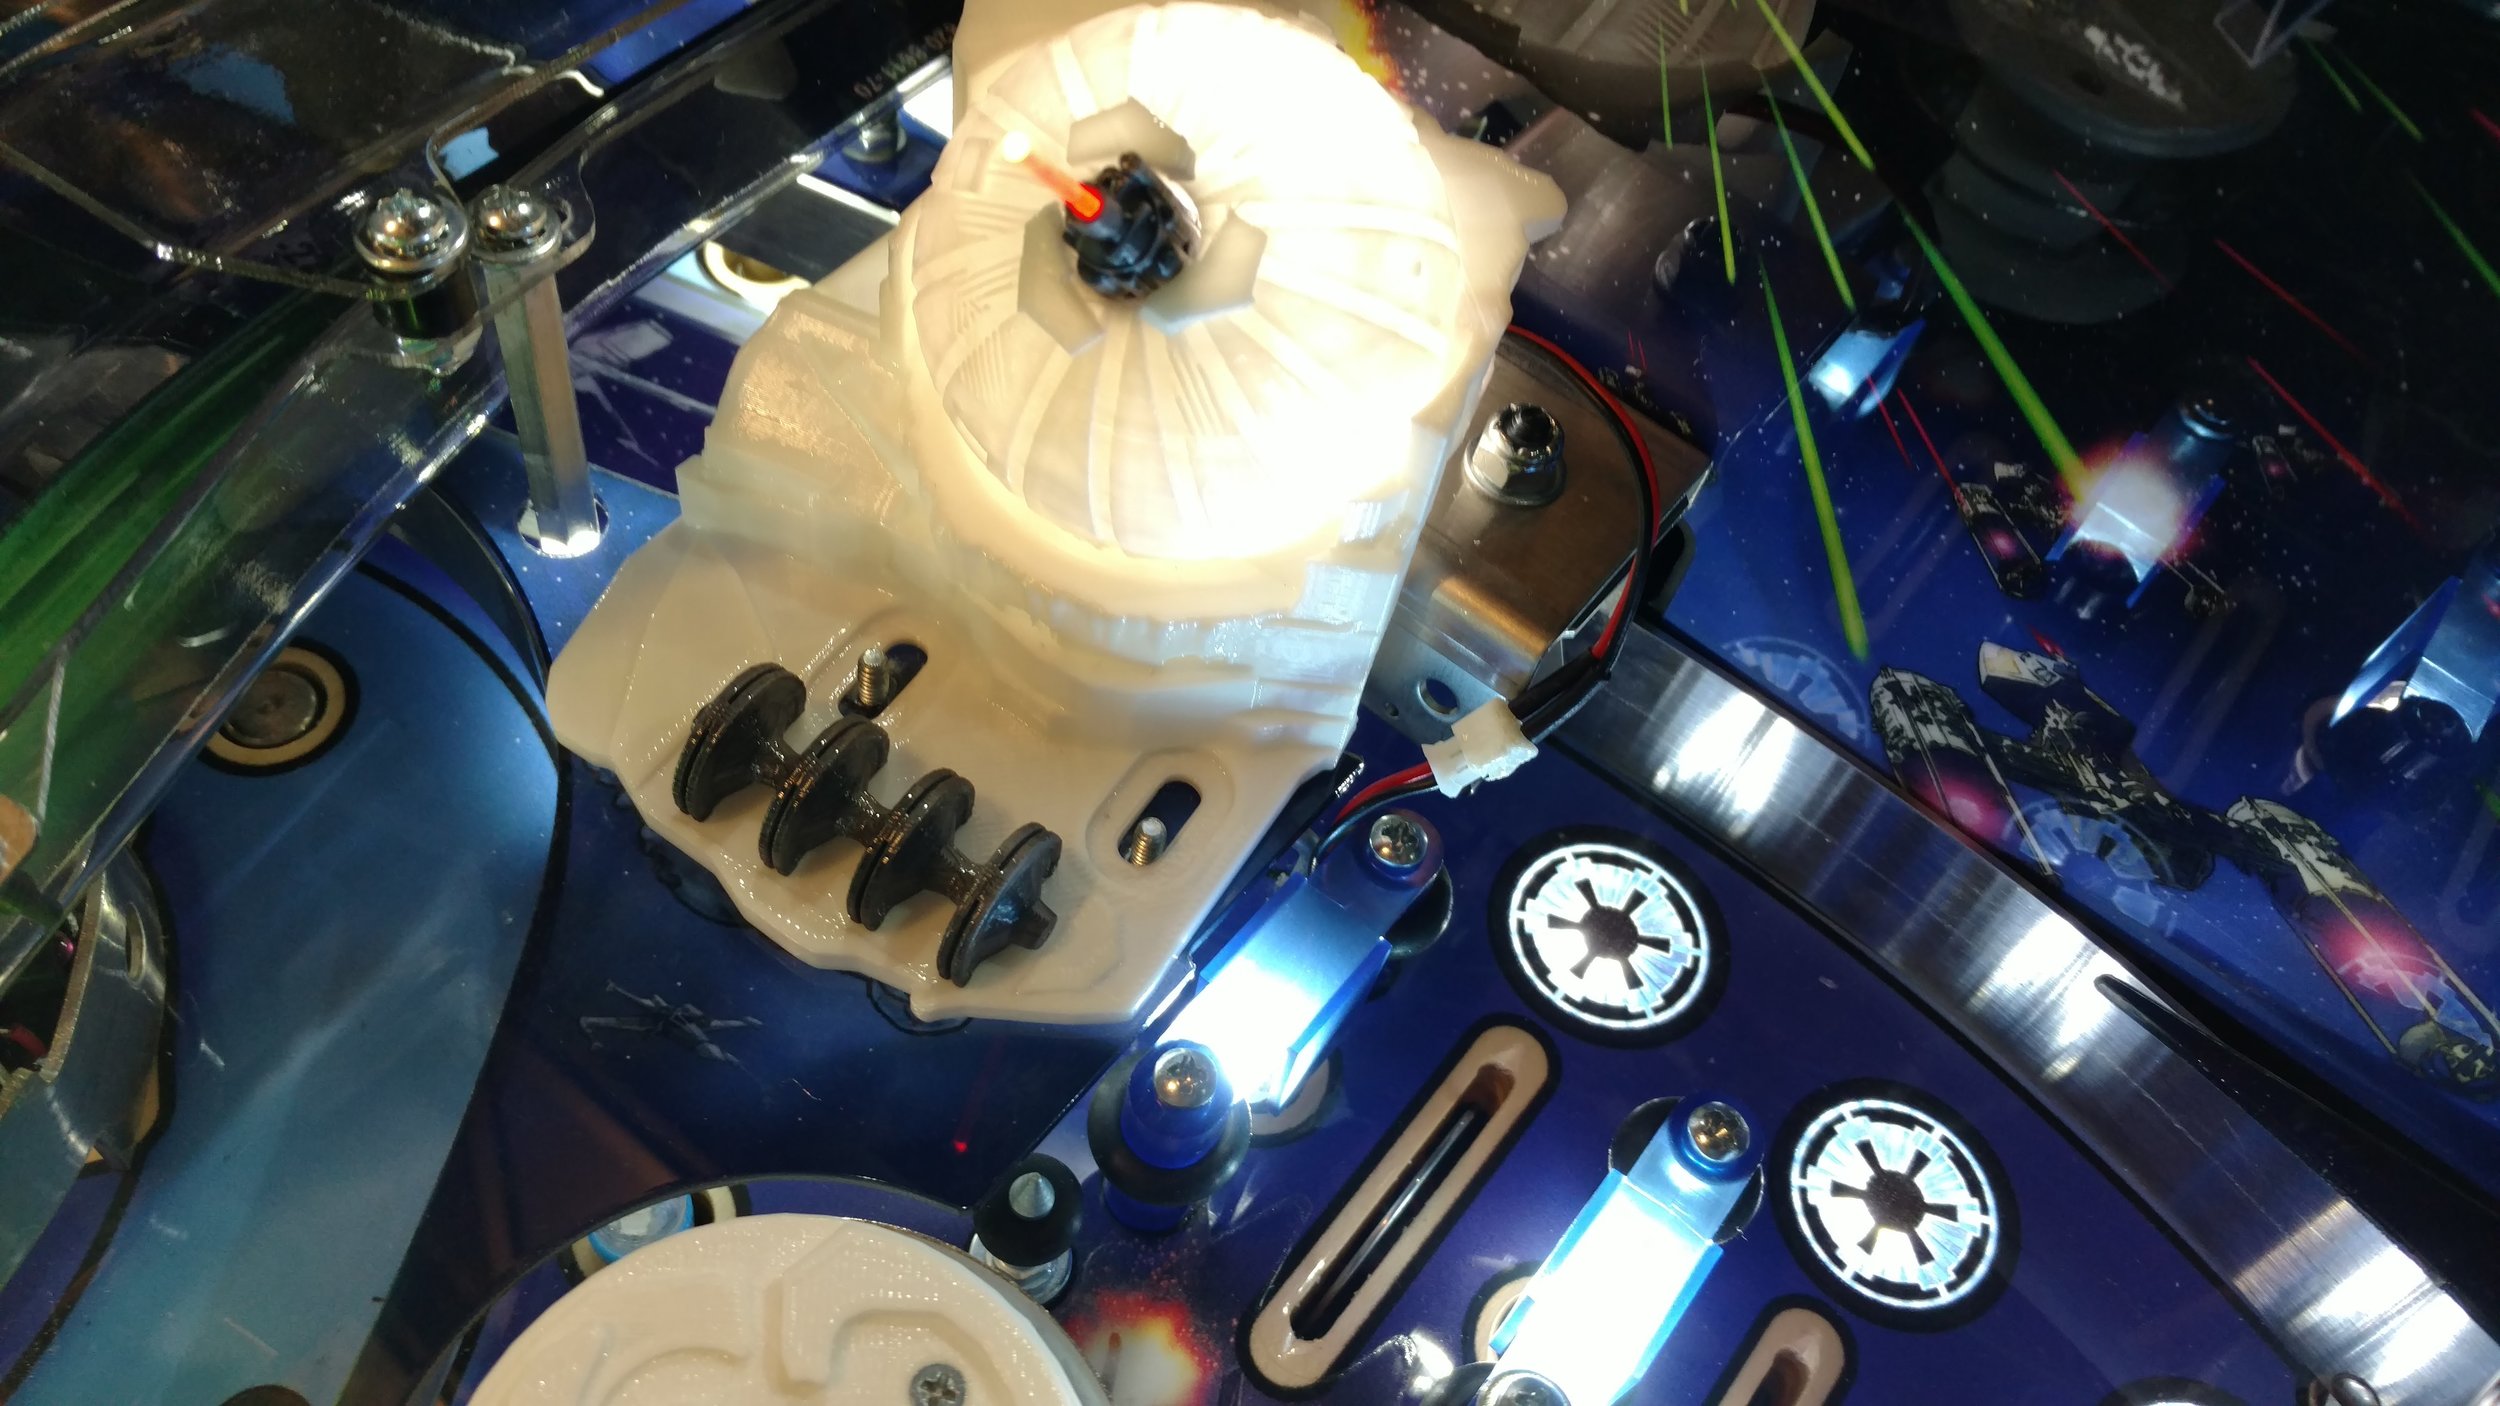
Slide/work the red, green or blue translucent acrylic rod through the hole on top of the turret until it stops. NOTE: The closer the acrylic rod is to the heart of the cannon, the more saturated the tone becomes.
Install the pop bumper cap with the included "Ice" cap by removing the two screws holding it in place, removing the old cap, and replacing with the new cap.